Controls
Add Mask
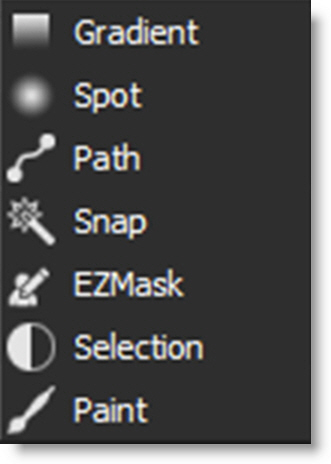
Using the Add Mask icon in the Layers window, one of seven mask types can be applied to a layer: Gradient, Spot, Path, Snap, EZ Mask, Selection and Paint. Masks can be used to limit where a filter is applied to an image and are displayed to the right of the layer’s image thumbnail in the Layers window.
When a mask is added, its controls appear to the right of the Toolbar.
Mask Blend Mode
The Blend mode controls how the current mask is combined with the previous mask and is only active when more than one mask has been applied.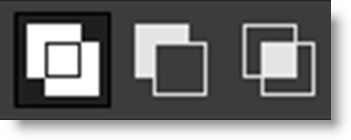
Normal
Normal blends masks based on each mask’s transparency.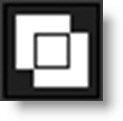
Subtract
The pixels of one mask are subtracted from another mask.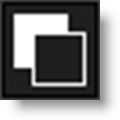
Multiply
Produces a result where there is a union of pixels from two masks.
Invert Mask
Inverts the current mask.
Mask Opacity
Sets the opacity of the current mask.
Mask Blur
Sets the blur level of the EZ Mask, Path, Selection and Snap masks.
Inner Blur
The mask is blurred inward from the edge of the mask.
Centered Blur
The blur is centered on the edge of the mask, equally blurring inward and outward.
Outer Blur
The mask is blurred outward from the edge of the mask.
Importing and Exporting Masks
Import Masks
Masks are imported into the Original Layer in Optics. The mask can then be copied for use on other layers.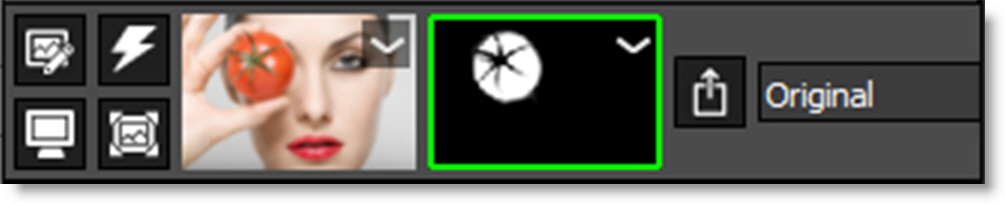
Photoshop
The Photoshop layer mask is transferred to Optics.
Note: If you are working with a file with transparency, convert it to a layer mask by either dragging and dropping the layer thumbnail onto the Add Layer Mask icon or select Layer > Layer Mask > From Transparency.
Standalone/Lightroom
Load a PNG or TIFF file with alpha/transparency.
To view the imported mask, select the Original layer and press the A key.
Export Masks
Masks are exported using a layer’s Export Masks icon visible to the right of the layer’s masks.
Requirements for mask export:
• Photoshop: A layer mask is present.
• Lightroom: Exporting to PNG or TIFF files.
• Standalone: Saving to PNG or TIFF files.
To view the masks to be exported, select the layer whose Export Masks icon is enabled and press the M key.
Note: The masks will not be exported if a layer mask is not present in Photoshop or you don’t save/export to a PNG or TIFF file in the Standalone or Lightroom.