Applying Multiple Masks to a Layer
More than one mask can be applied to a layer.
1 Select a filter and preset that changes the image in an obvious way.
2 Click the Add Mask icon in the Layers window and choose Selection.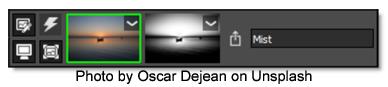
3 Click the Add Mask icon again and select Spot.
A Spot mask thumbnail appears to the right of the Selection mask and is automatically combined with it. View the Mask channel to see the results of the two masks.
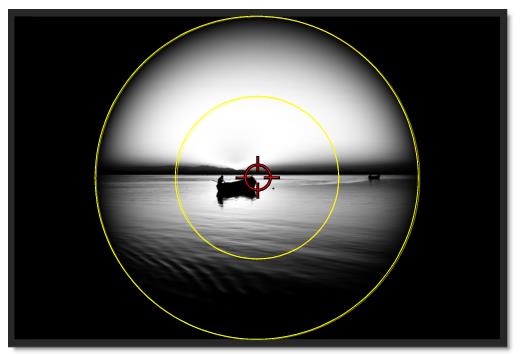
4 Click the Show Mask icon above the Viewer so that you can see the combination of all your masks.
To change how the active mask is combined with the previous mask, use the Blend modes in the Toolbar. 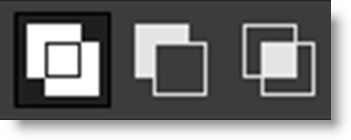
5 Select the Multiply blend mode to see how it affects the way the masks are combined.
6 Click the M shortcut key to switch the Viewer to display the full color image.
When you have multiple masks, the mask with the green outline around it is considered the active mask and it’s controls are displayed in the Toolbar.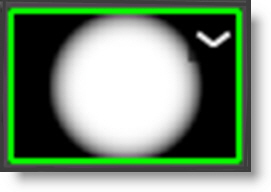
To change the active mask, simply click on the thumbnail of another mask.