Comparing Layers
Optics can compare layers using Side-by-Side, Vertical Split, Horizontal Split, A/B or Snapshot comparison modes. By default, the current filter and original image are selected for comparison.
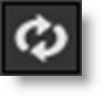
The View/Compare icon in the Layers window changes which layers are used in the comparison.
1 Apply a filter and make sure it is affecting the image in some way.
2 Click on the Side-by-Side Comparison icon.
Horizontal images are stacked vertically and vertical images are placed side by side.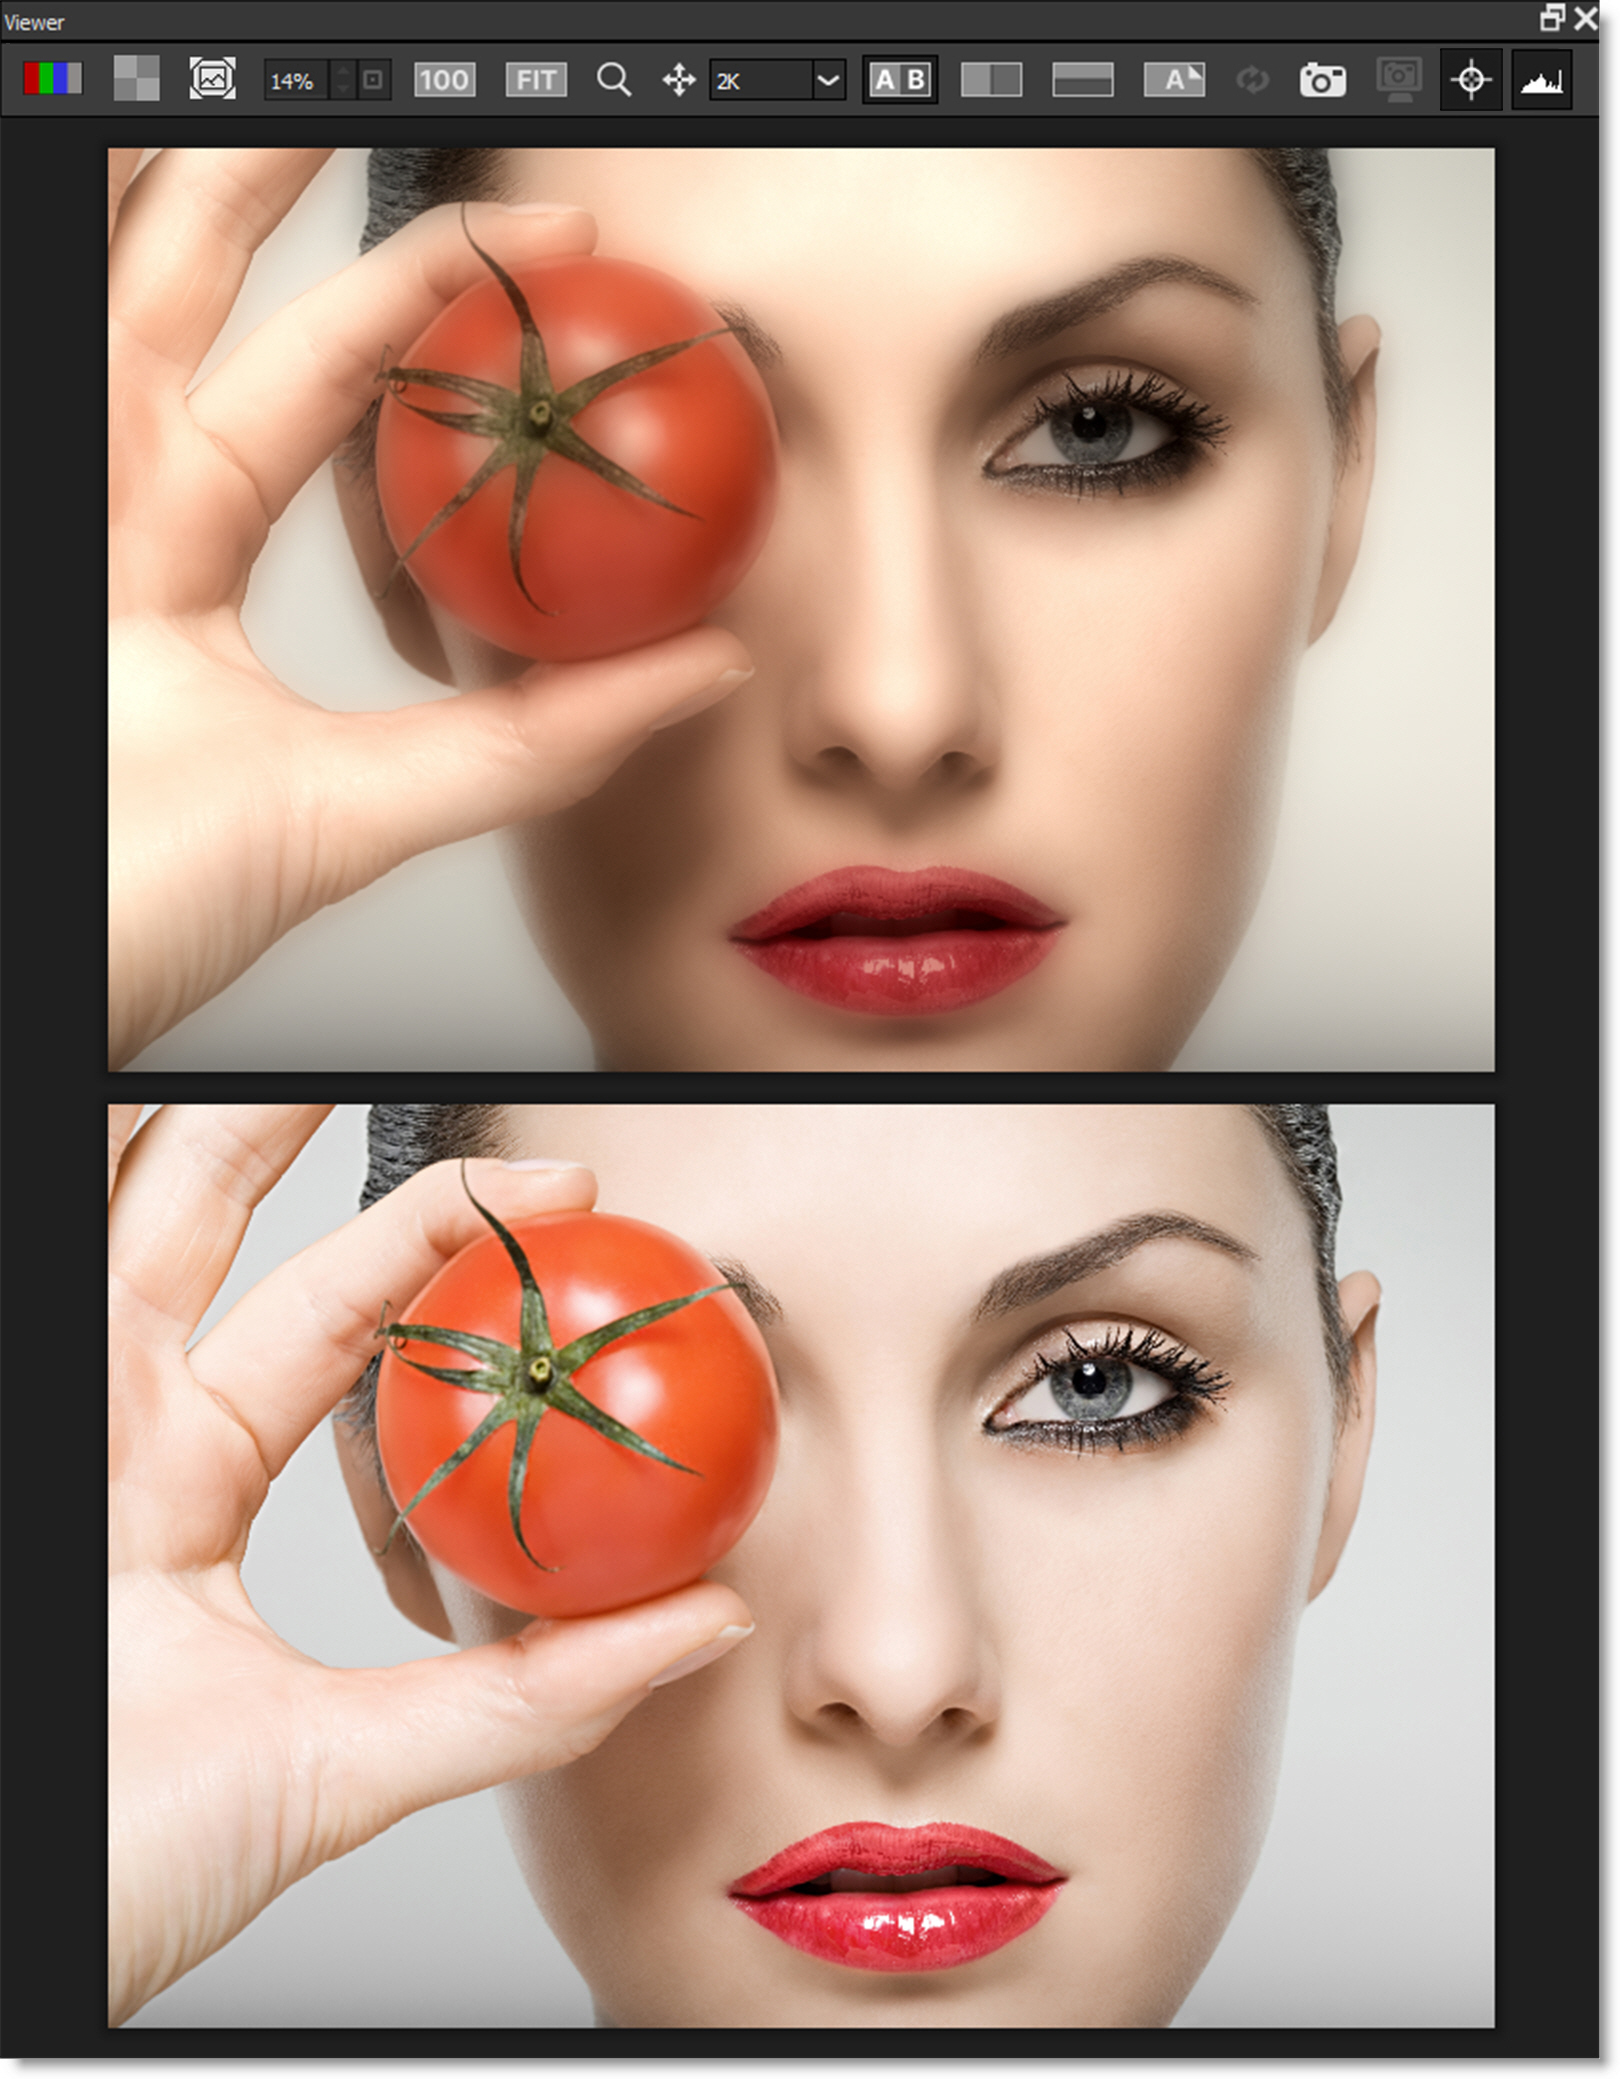
3 Click the Vertical Split Comparison mode icon.
You can now compare the images using a vertical split.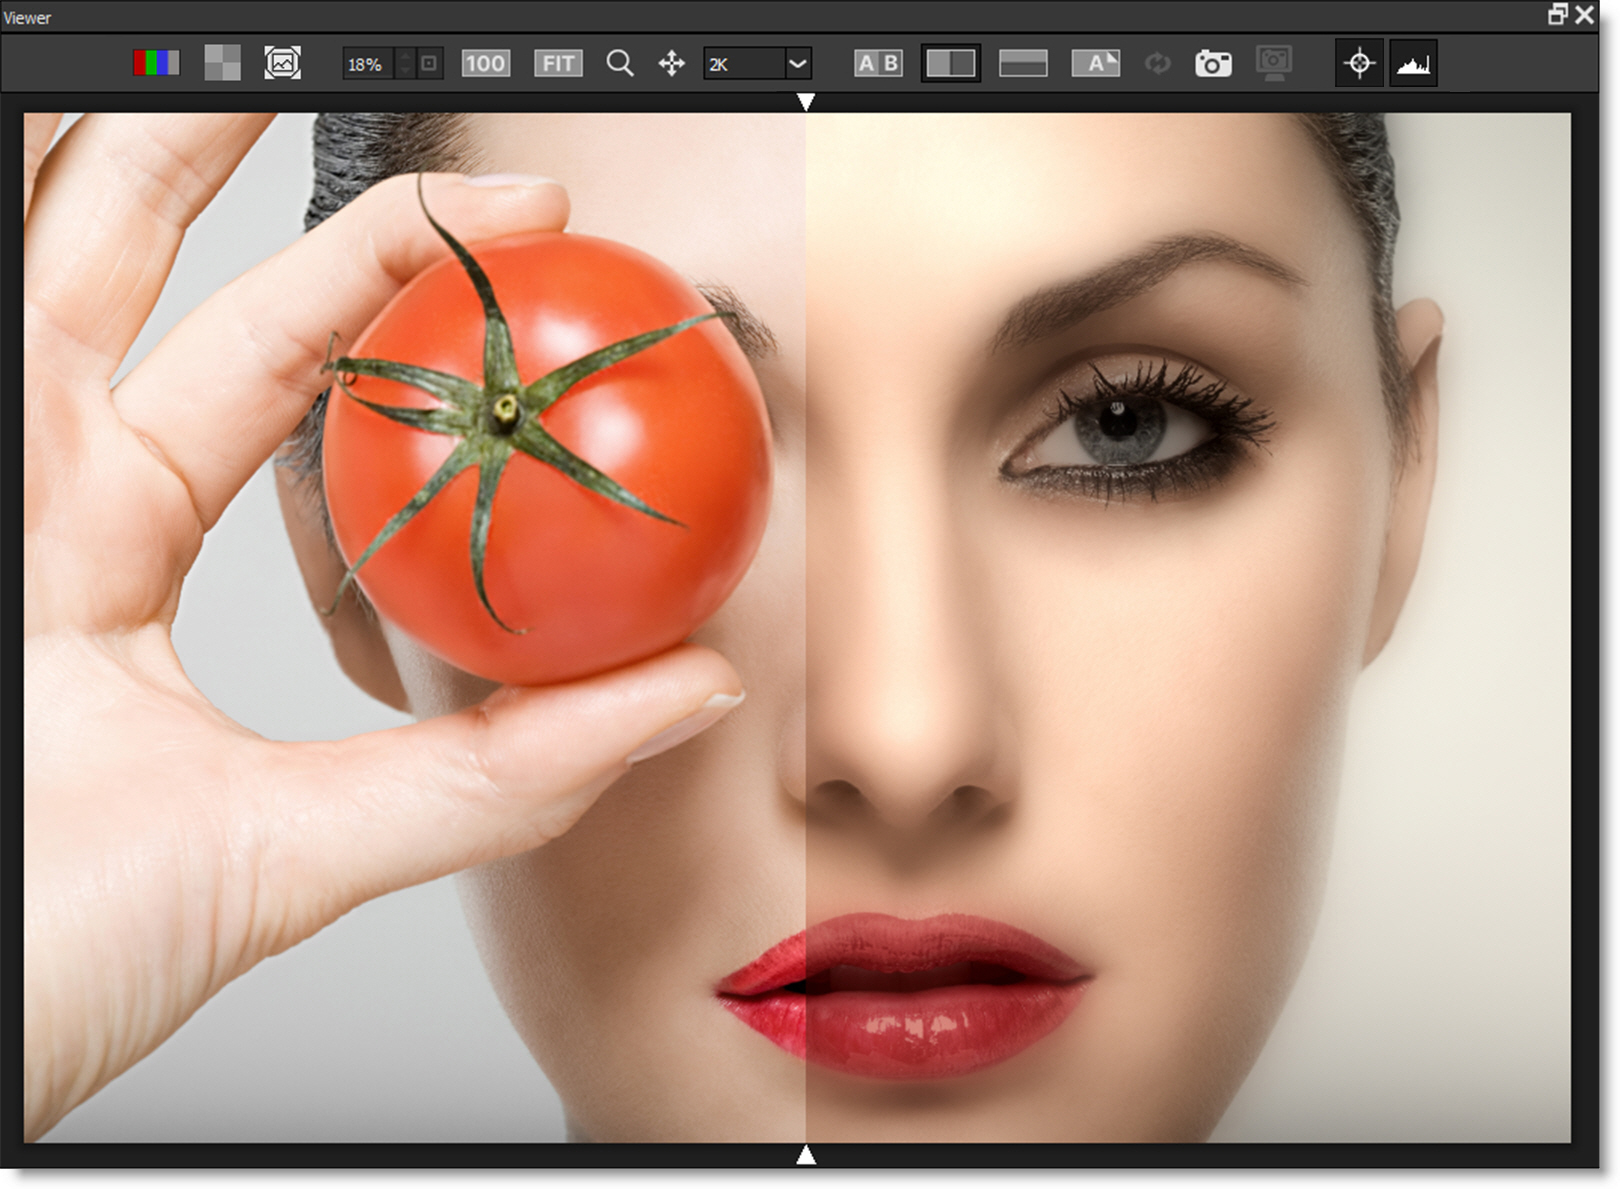
4 Move your cursor into the image area over the split line and when the cursor changes to a double-arrow, click and drag to move the split.
Depending on the filter used, the split line may not be obvious, so triangular sashes on the outside of the image help you find it. If you drag the sash all the way around, it will swap directions.
5 Enable the A/B Comparison icon and then click the Show Other View icon that appears to cycle the current filter with the original image.
6 When done, press the A/B Comparison icon to turn it off.
7 Press the Snapshot icon.
Once clicked, a snapshot of the image in the Viewer is taken as well as the layer’s mask, if there is one.
8 Press the View Snapshot icon that appears.
View Snapshot allows you to now use the various comparison modes to compare the snapshot to other layers or different filter settings.
9 Turn off View Snapshot when done.