Working With Camera RAW Files
Optics supports loading the most popular Camera RAW files.
Note: Loading Camera RAW images is handled by the host application when using the plug-in.
1 Open a Camera RAW file using File > Open.
The image appears in the Viewer and a Develop filter is automatically applied in the Layers window as the first layer.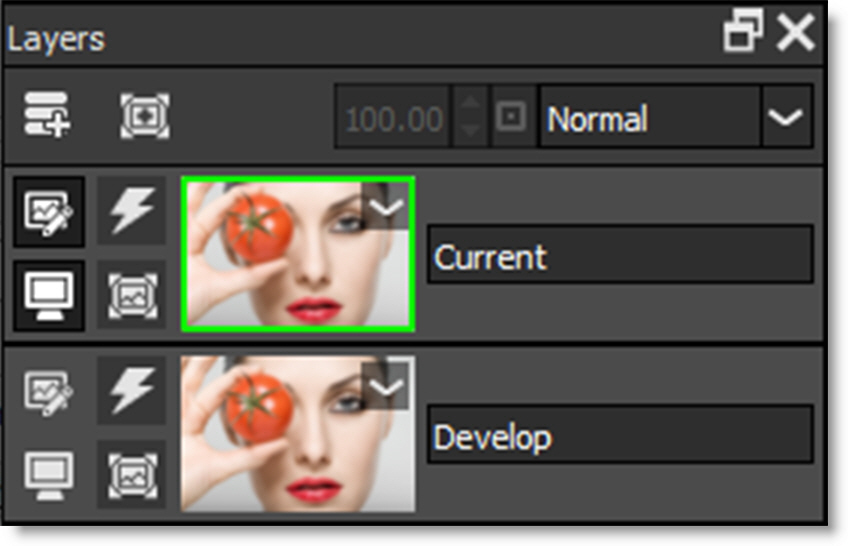
Note: The Develop layer can’t be deleted.
2 To edit the camera RAW settings for the image, double-click on the bottom, Develop layer’s image thumbnail.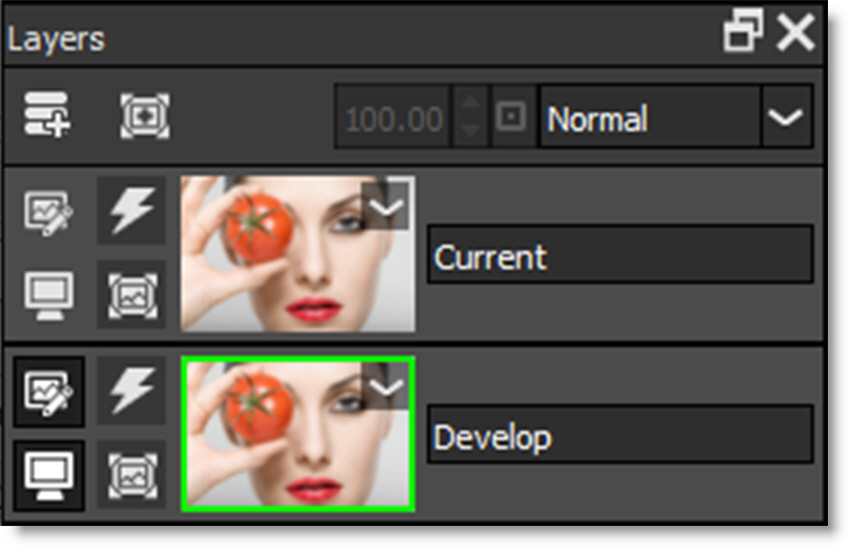
You are now viewing and editing the Develop layer. The layer that you are editing is considered the active layer. You can tell which layer is active by the green outline around its image thumbnail in the Layers window.
3 In the Parameters window, adjust the Develop parameters to your liking.
Adjusting the parameters will update and change the image in the Viewer. The initial Develop filter applied to the RAW image can’t be masked and affects the entire image. However, you can add additional layers, apply Develop filters from the Color tab and selectively mask them--all topics covered in tutorials to follow.
4 To add a filter, double-click the top, Current layer’s image thumbnail and select a filter and then a preset.