Toolbar
Plug-in
The plug-in Toolbar has Apply, Cancel and Reset buttons at the bottom right of the user interface.
Apply
The values of the parameter adjustments in the Optics user interface are transferred to your host application.
Cancel
Closes without making any changes.
Reset
Resets Optics back to the original image with nothing applied to it.
Standalone
The standalone Toolbar contains Reset All, Crop, and Rotate tools. When a tool is selected, its controls appear to the right of the Toolbar.
Reset All (Ctrl/Cmd+R)
Resets Optics back to the original image with nothing applied to it.
Crop and Rotate
Non-destructive cropping and rotation is possible within Optics.
Crop and Rotate Notes
1 When the Crop and Rotate tools are selected, only the original image can be seen. All filter and mask processing is deactivated until the tool is deselected.
2 Crop and Rotate should be used before filter and mask applications as some of these operations are dependent upon the image size.
3 The Crop and Rotate tools are non-destructive and you can reset their settings by re-selecting the Crop or Rotate tool and hitting the Reset icon to the right of the numeric fields.
Crop
Crops the image.
When the Crop tool is selected, a white outline appears around the image and a set of icons appear above the Viewer in the Toolbar.
You can move the Crop in the following ways:
Shortcut | Action |
|---|---|
Drag on one of the vertical boundaries | Crops horizontally |
Drag on one of the horizontal boundaries | Crops vertically |
Drag bounding box corner | Scales the Crop |
Drag inside the bounding box | Moves the Crop |
Final Image Size
There are four Final Image Size numeric entry fields: Left, Top, Width and Height. Together, they determine the position and size of the crop.
Reset
Resets the crop.
Finish
Applies the crop to the image and exits the Crop tool.
Cancel
Exits the Crop tool without applying any changes.
Rotate
Rotates the image.
Once the Rotate tool is selected, a set of icons and controls appear above the Viewer in the Toolbar.
You can use the icons to rotate the image, but can also directly rotate by:
• Clicking and dragging outside of the image area in the direction that you would like to rotate.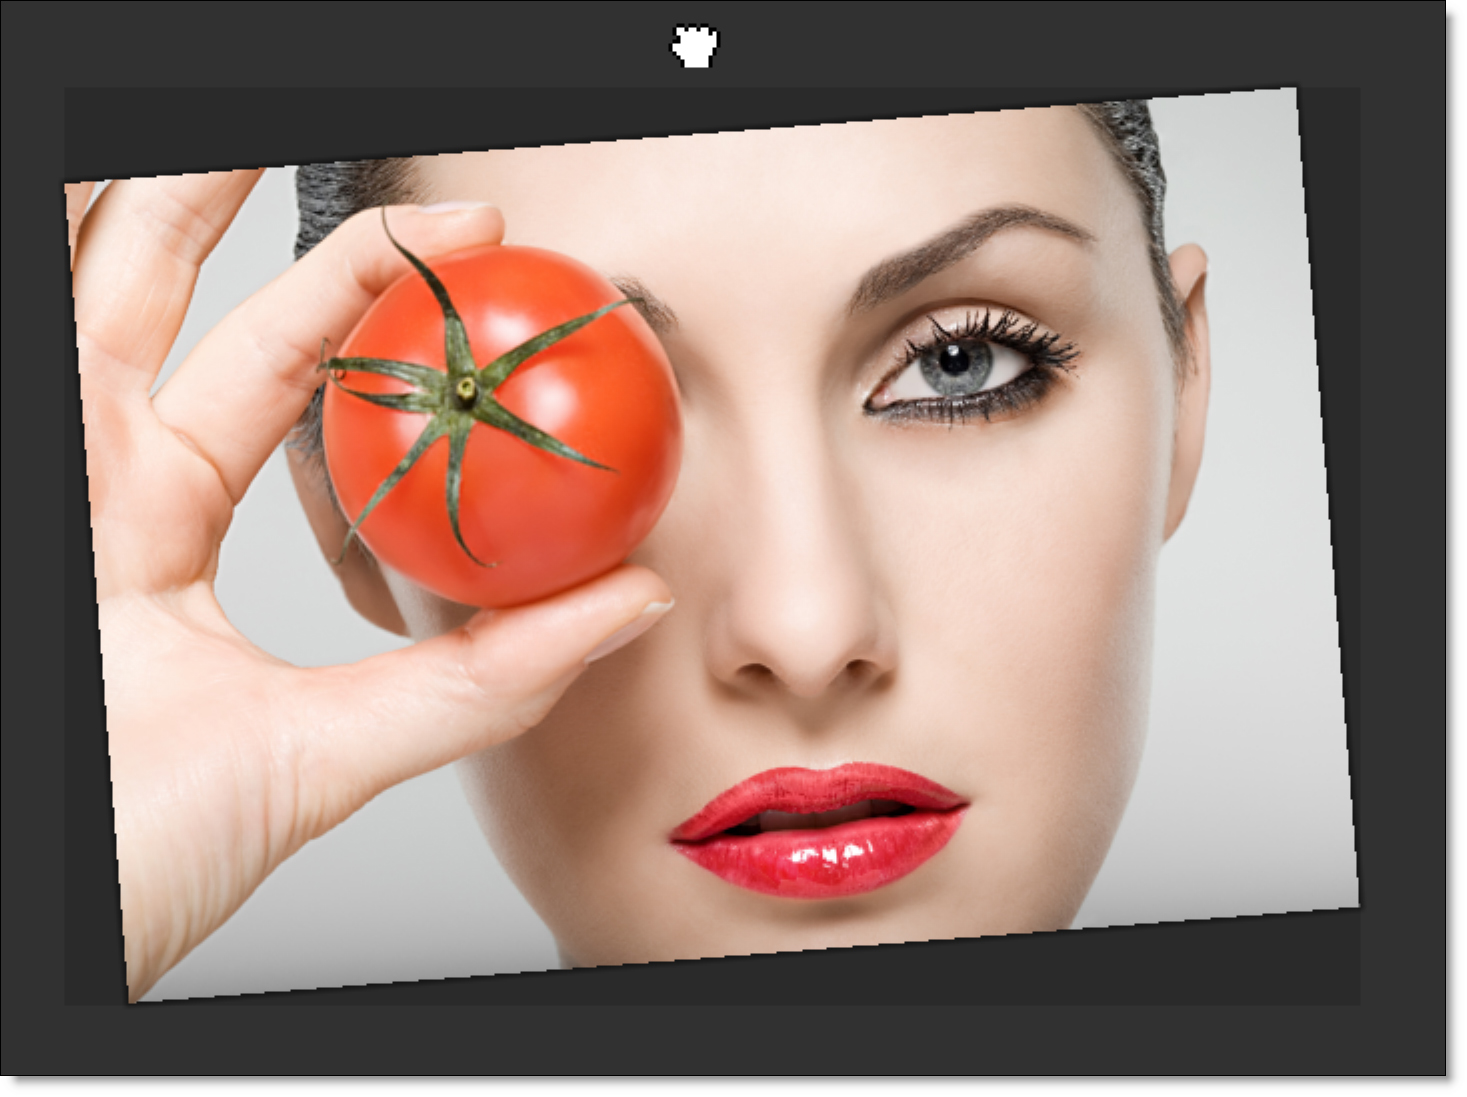
• Clicking and dragging along a diagonal portion of the image that you would like to straighten. As you click and drag, a line is drawn. When you release the mouse button, the image is straightened.
Rotate to 0 Degrees
Rotates the image to 0 degrees.
Rotate 90 Degrees
Rotates the image 90 Degrees.
Rotate 180 Degrees
Rotates the image 180 Degrees.
Rotate 270 Degrees
Rotates the image 270 Degrees.
Rotation Angle
Rotates the image.
Reset
Resets the image to a 0 Degree angle.
Finish
Applies the rotation to the image and exits the Rotate tool.
Cancel
Exits the Rotate tool without applying any changes.