Mask ML
Mask ML is an easy to use point and click mask generator utilizing machine learning object segmentation.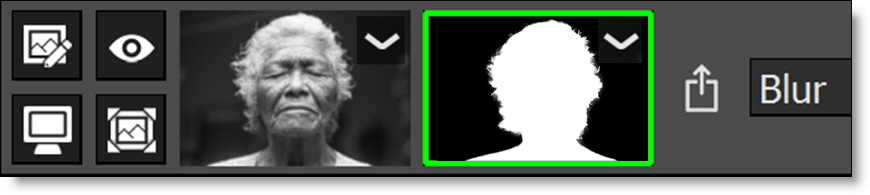
A single click selects a defined segment of the image while successive clicks add adjacent areas to the object.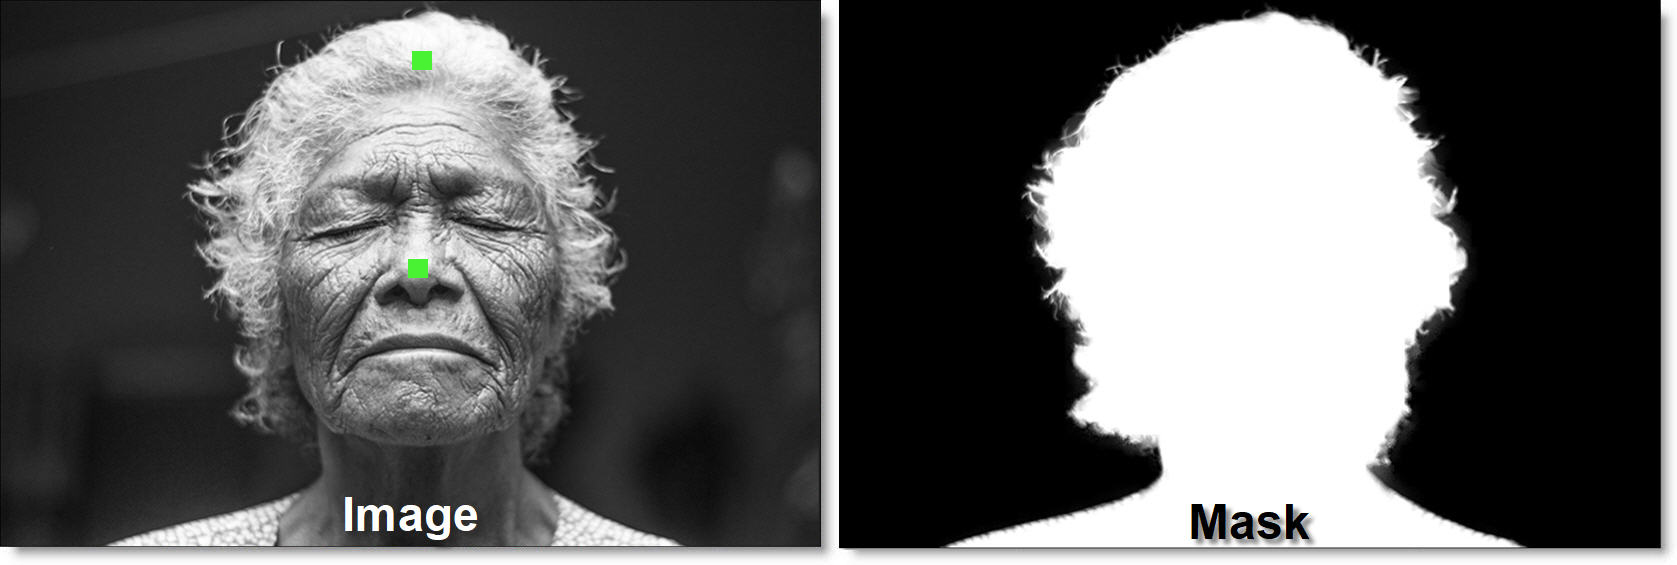
1 Select a filter and preset that changes the image in an obvious way.
2 Click the Add Mask icon in the Layers window and choose Mask ML.
Once Mask ML is selected, the ML model initializes and loads, and the effect of the filter in the Viewer can no longer be seen until you hover over an object. Note that the Add tool is enabled by default.
3 Hover over an object to see a live preview of the masked effect, click to drop a point and create a mask. 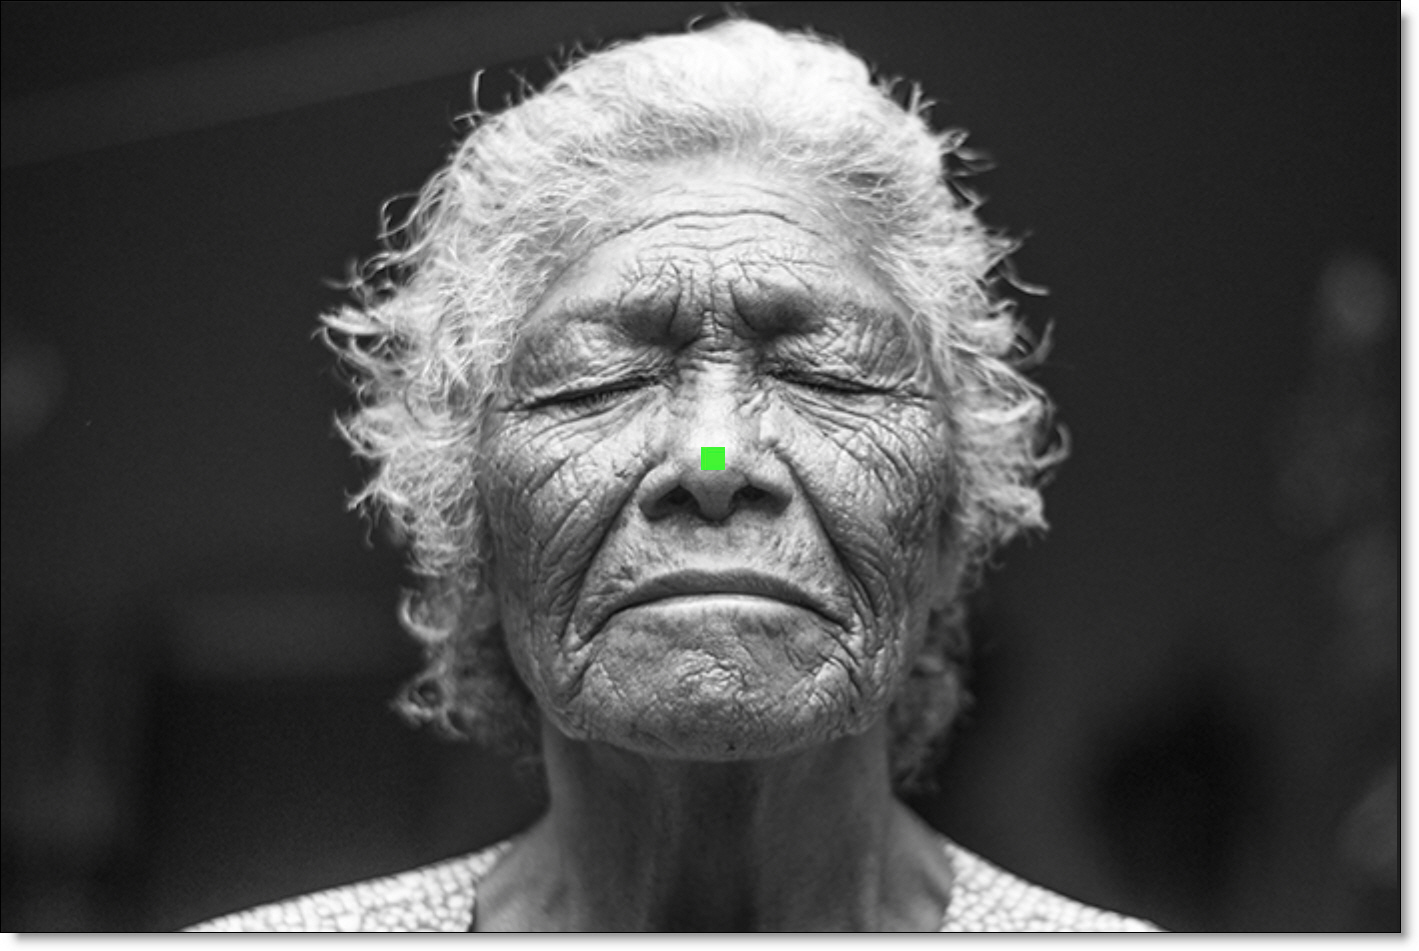
4 Add additional points as needed.
Note: Use Alt while hovering to display a live mask overlay.
5 If you see white mask areas outside of the selected object, select the Subtract tool and click on those areas.
Note: Ctrl/Cmd+clicking on a Mask ML point deletes it.
6 At any time, press the Shift+M key to view the mask overlay or the M to key to view the mask only.
7 To mask an object without using the Add and Subtract tools, use the Rectangle tool.
8 Select the Rectangle tool, drag out a rectangle to see a live preview of the masked effect and then mouse up to create a mask.
9 Press the M key to view the mask in the Viewer. You can also use Shift+M to view the mask overlay.
The initial mask that is generated has hard edges.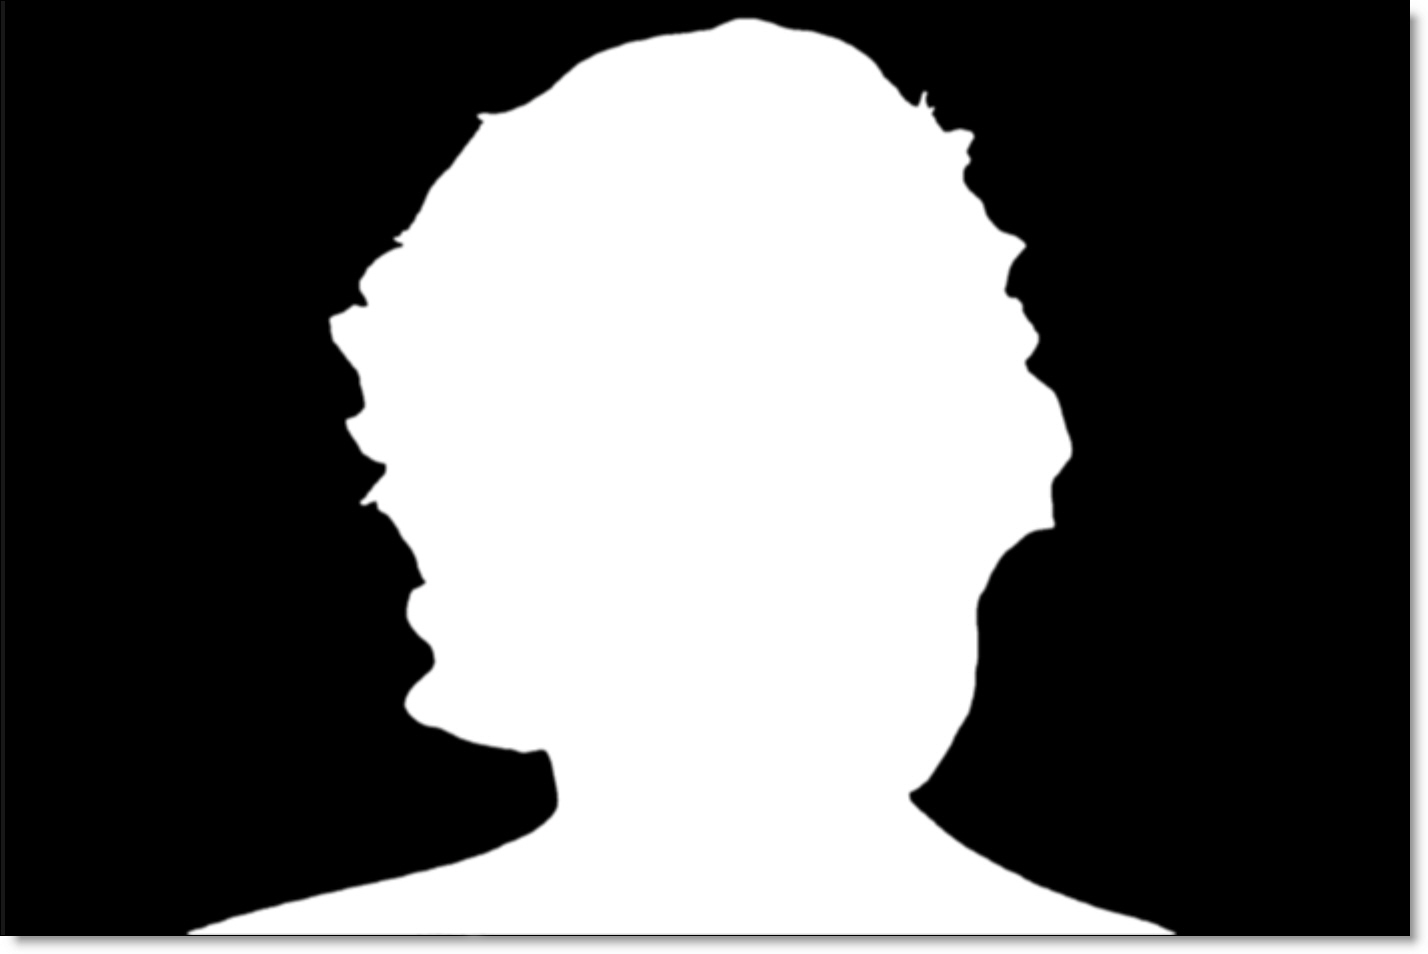
10 To create natural, non-hard, variable opacity mask edges, click Generate Edge.
The mask now looks more natural with proper hair detail.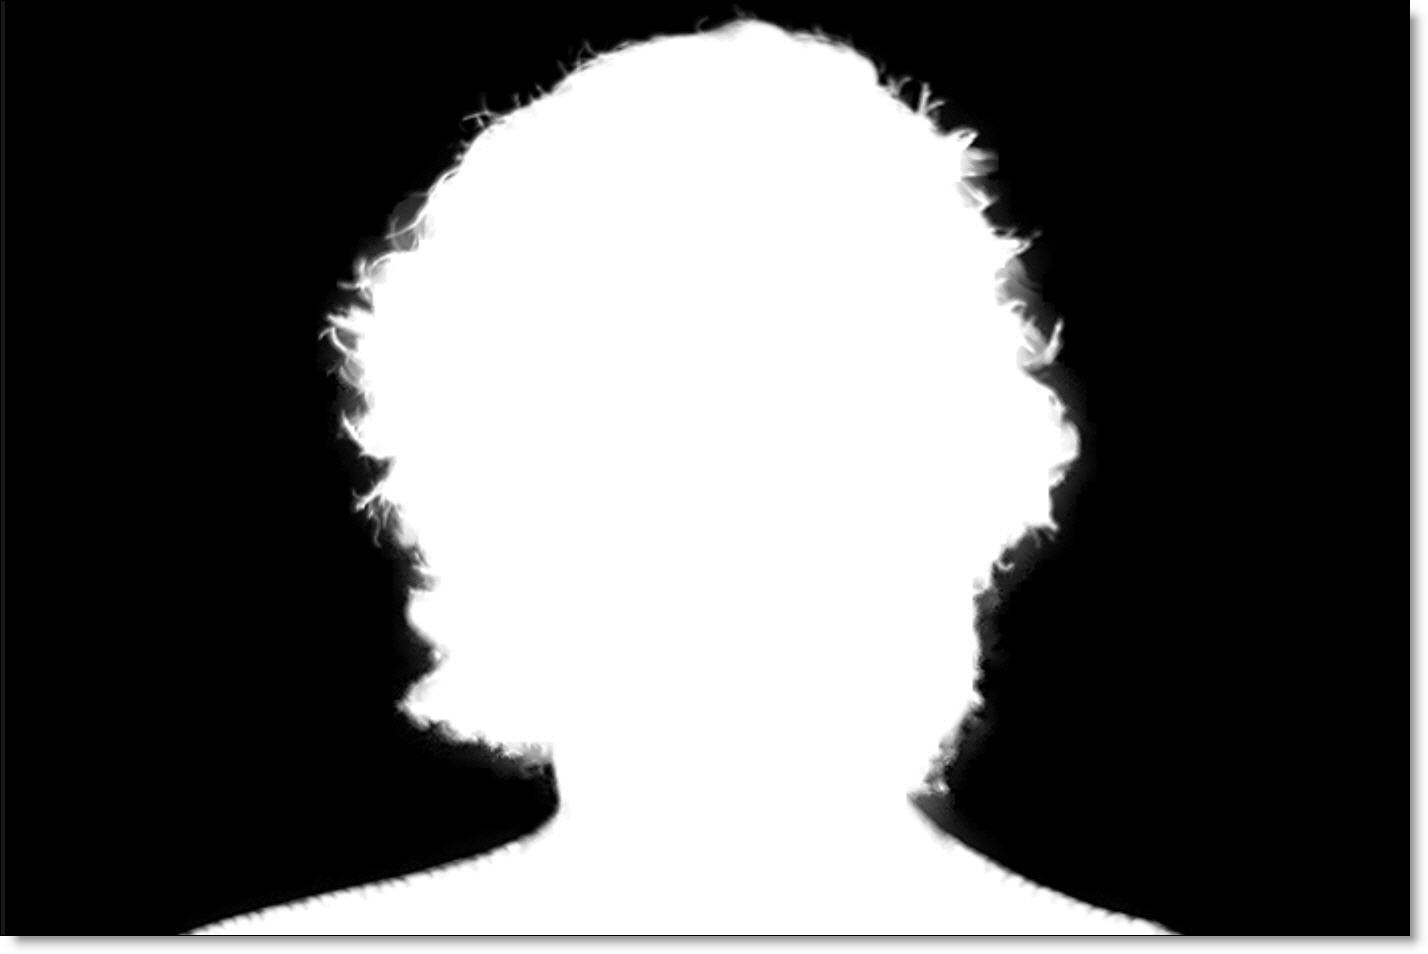
Used in conjunction with Generate Edge, Edge Size can increase the edge area and Edge Position can move the edge inward or outward.
See Mask ML for more information.