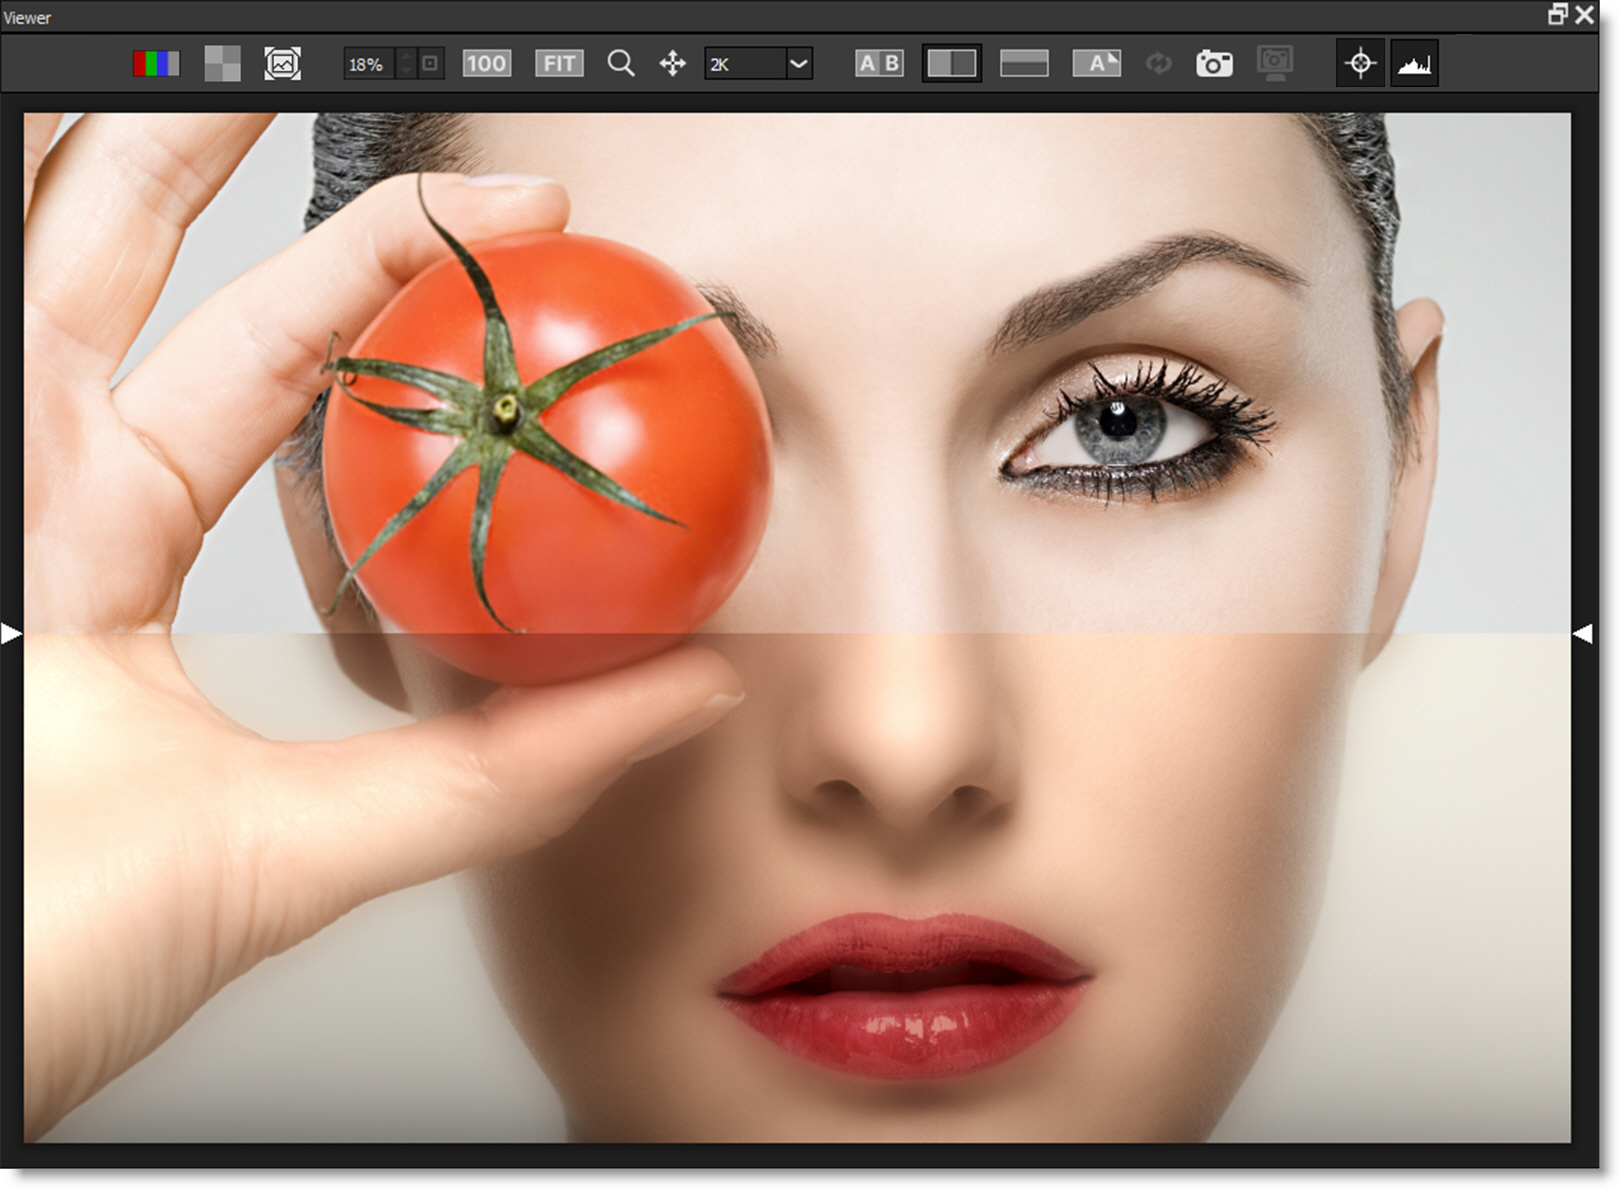
Viewer
The Viewer is where images are viewed, edited and manipulated.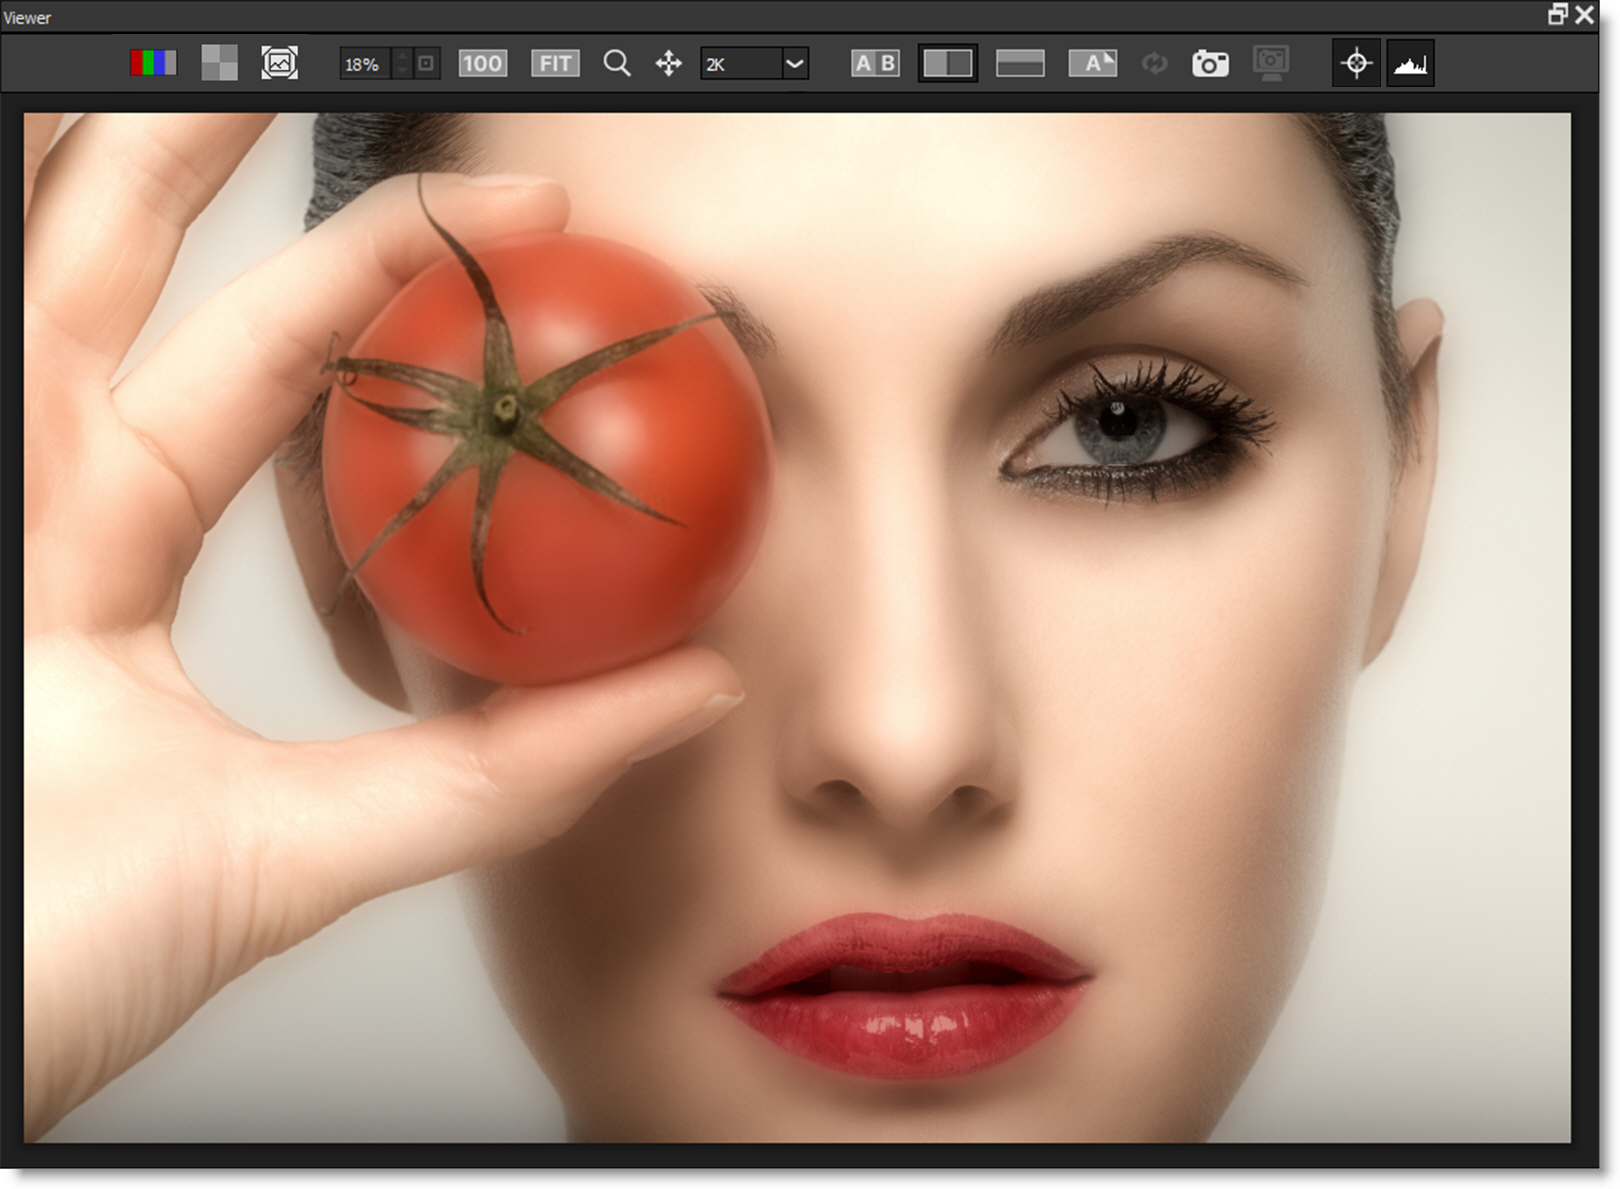
Preview Channel
View the individual Red, Green, Blue or Alpha channels as a gray scale image. In addition to selecting this icon, you can use the R, G, B, A, Shift-A keyboard shortcuts to toggle the red channel, green channel, blue channel, alpha channel, and alpha overlay on and off.
Viewer Preview
When an alpha channel is present, the Viewer has a variety of display options.
Preview Over Black
The image appears in areas of the alpha channel over a black background.
Preview Over Gray
The image appears in areas of the alpha channel over a gray background.
Preview Over White
The image appears in areas of the alpha channel over a white background.
Preview Over Checkerboard
The image appears in areas of the alpha channel over a checkerboard background.
RGB Straight
Shows the entire image regardless of the alpha channel.
Show Mask
Cycles the display between the full color image and the Mask channel.
Zoom and Pan
Zoom Level
Sets the zoom level as a percentage.
Zoom to 100% (1)
Sets the Zoom level to 100%.
Zoom to Fit (F)
Fits the entire image inside the Viewer.
Zoom
Click to zoom the image in, Alt+click to zoom out or drag select a square region in the Viewer to zoom in on that area.
Pan
Click and drag to pan the image left, right, up and down.
Space Bar+drag also pans the image.
See the Viewer Keyboard Shortcuts for more zooming and panning options.
Preview Resolution
Defines the default working resolution. However, when your image is saved, Optics always processes at full size.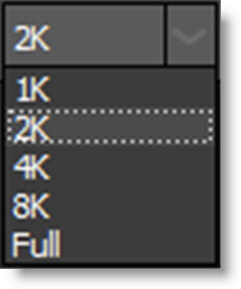
By default, the Viewer is set to a size smaller than full resolution resulting in snappy interactive editing, but will not represent the final render for some filters. These filters include: S_BleachBypass, S_Brush, Chromatic Aberration, DeNoise, Detail, S_EdgeRays, S_Etching, S_FilmDamage, S_FilmEffect, Film Stocks, Frost, Grain, Key Light, Looks, S_NightSky, Night Vision, S_RomanTile, Silk, S_VintageColor2Strip, S_VintageColor3Strip, S_ZapFrom and S_ZapTo.
To see an accurate representation of what the above filters will look like when rendered, set the Viewer > Preview Resolution to Full and the Zoom to 100%.
Note: The default Preview Resolution is set in Preferences.
1K
Optics works at a maximum resolution of 1024 x 1024 pixels.
2K
Optics works at a maximum resolution of 2048 x 2048 pixels.
4K
Optics works at a maximum resolution of 4096 x 4096 pixels.
8K
Optics works at a maximum resolution of 8192 x 8192 pixels.
Full
Optics works at full resolution.
Note: Large Preview Resolutions take much longer to process when making parameter adjustments.
Compare
Compares images using Side-by-Side, Vertical Split, Horizontal Split, A/B or Snapshot comparison modes. By default, the current filter and original image are selected for comparison. Choose one of the comparison modes using the icons above the Viewer.
The View/Compare icon in the Layers window determines which layers are used in the comparison.
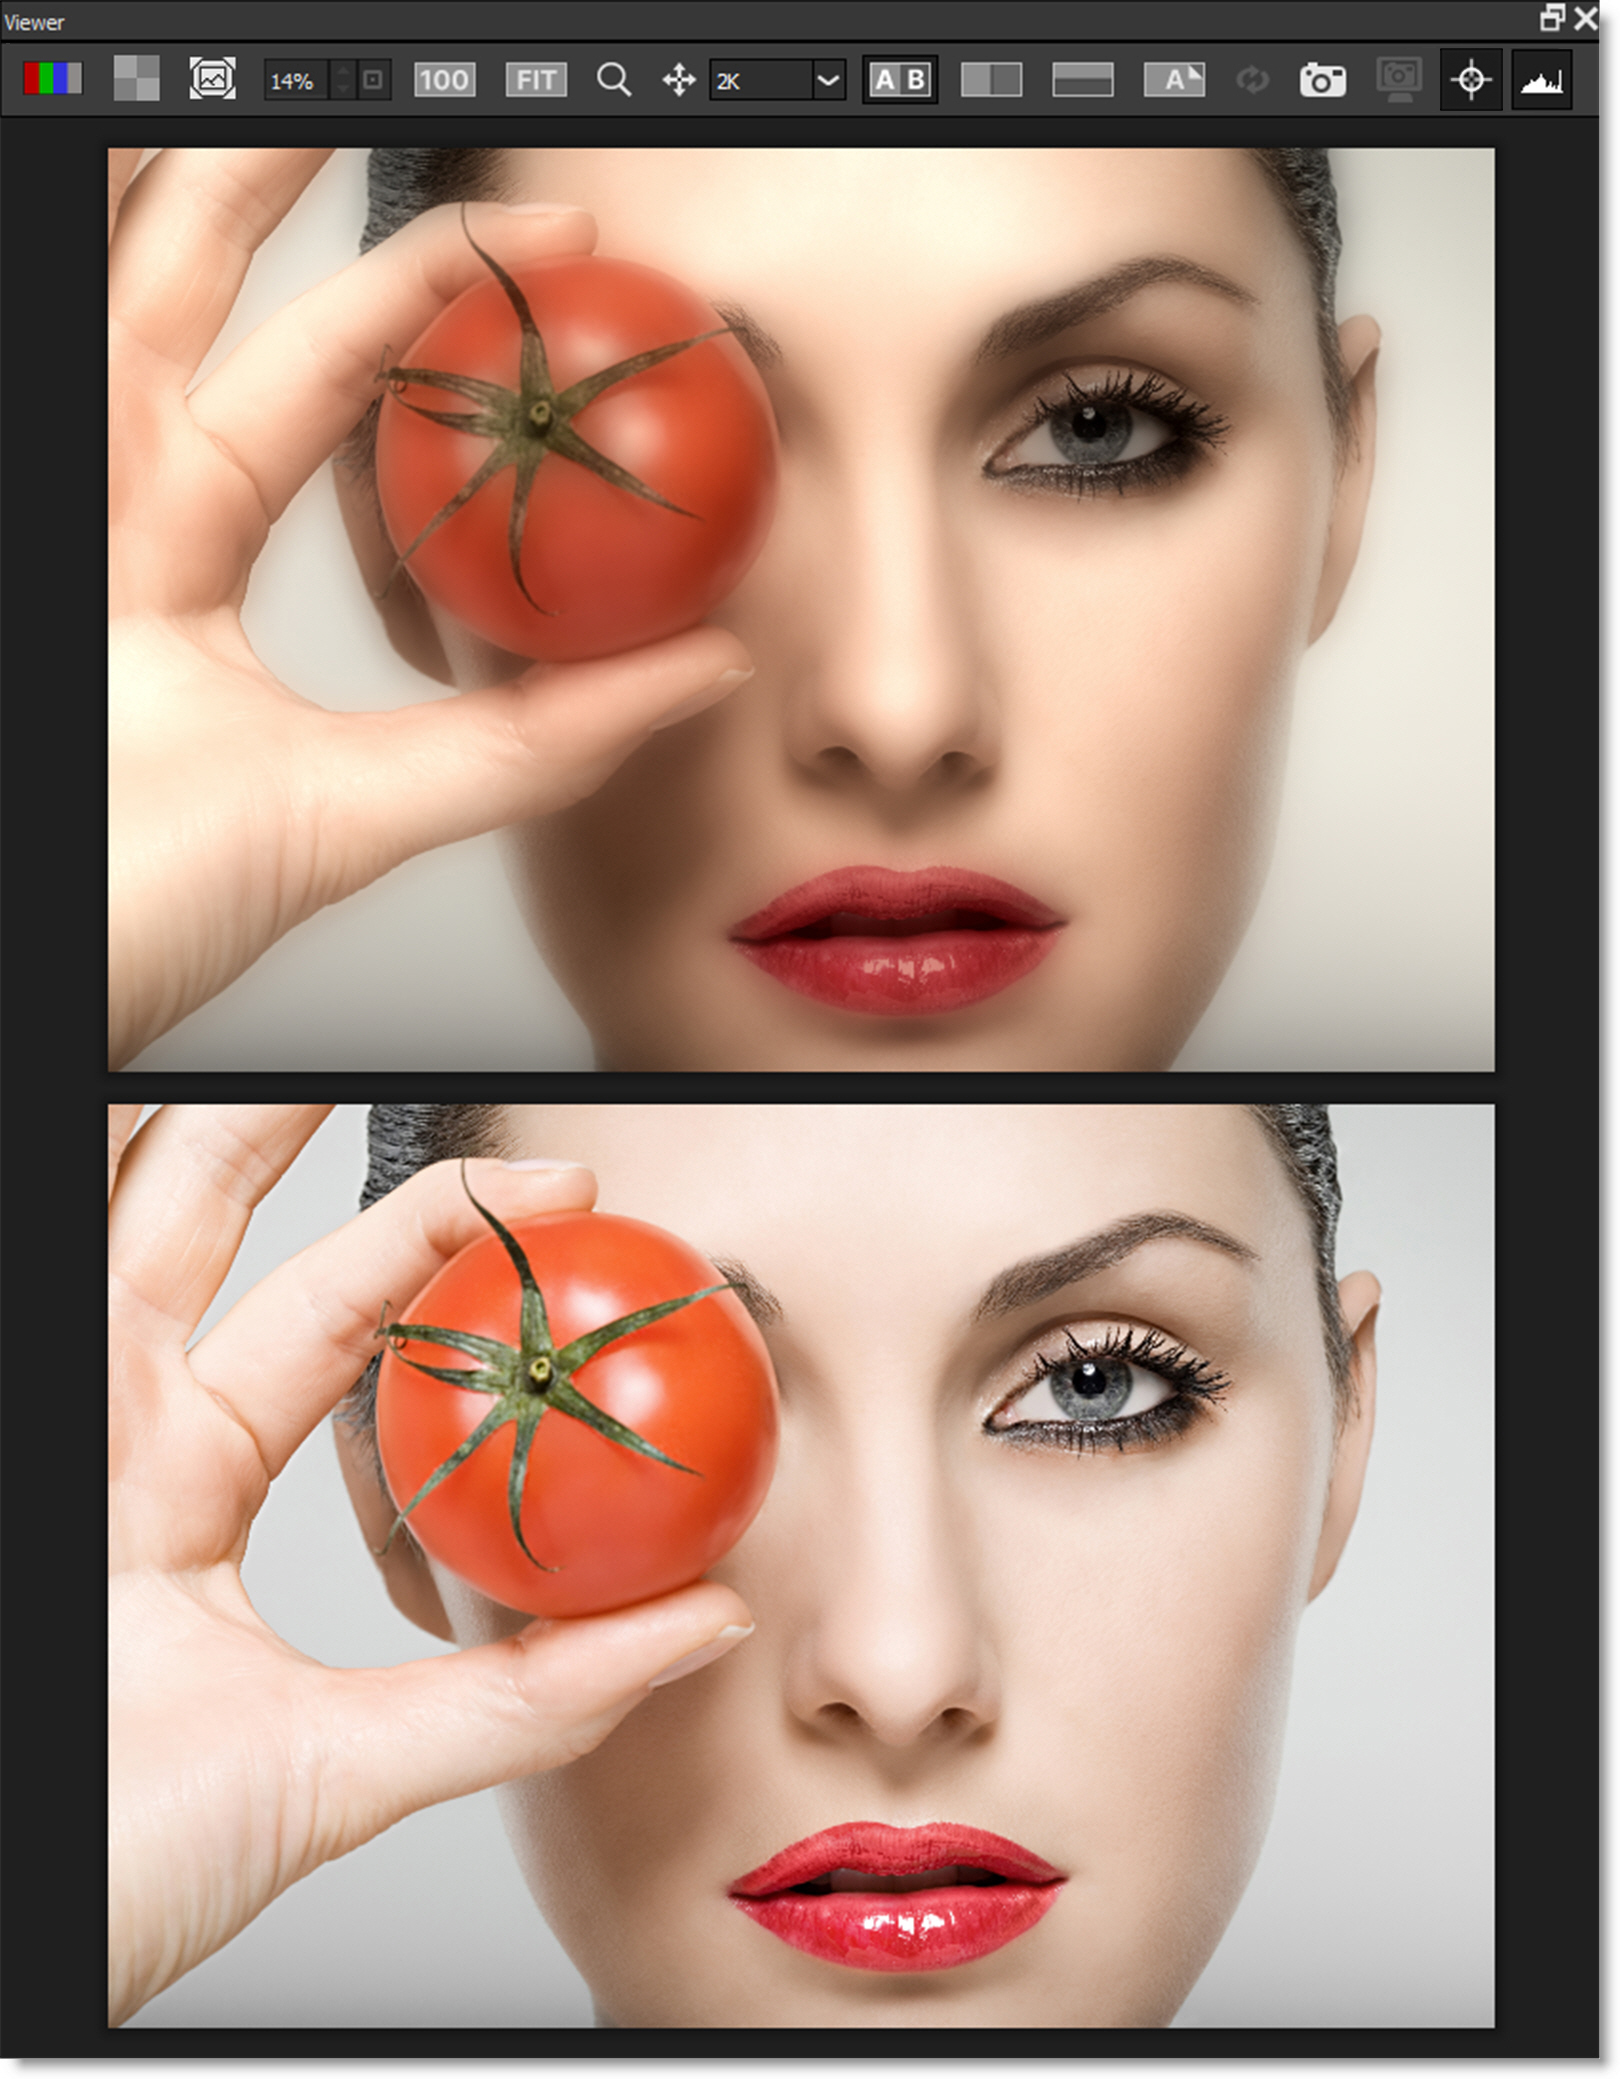
Side-by-Side Comparison
Compares images side by side in the Viewer.
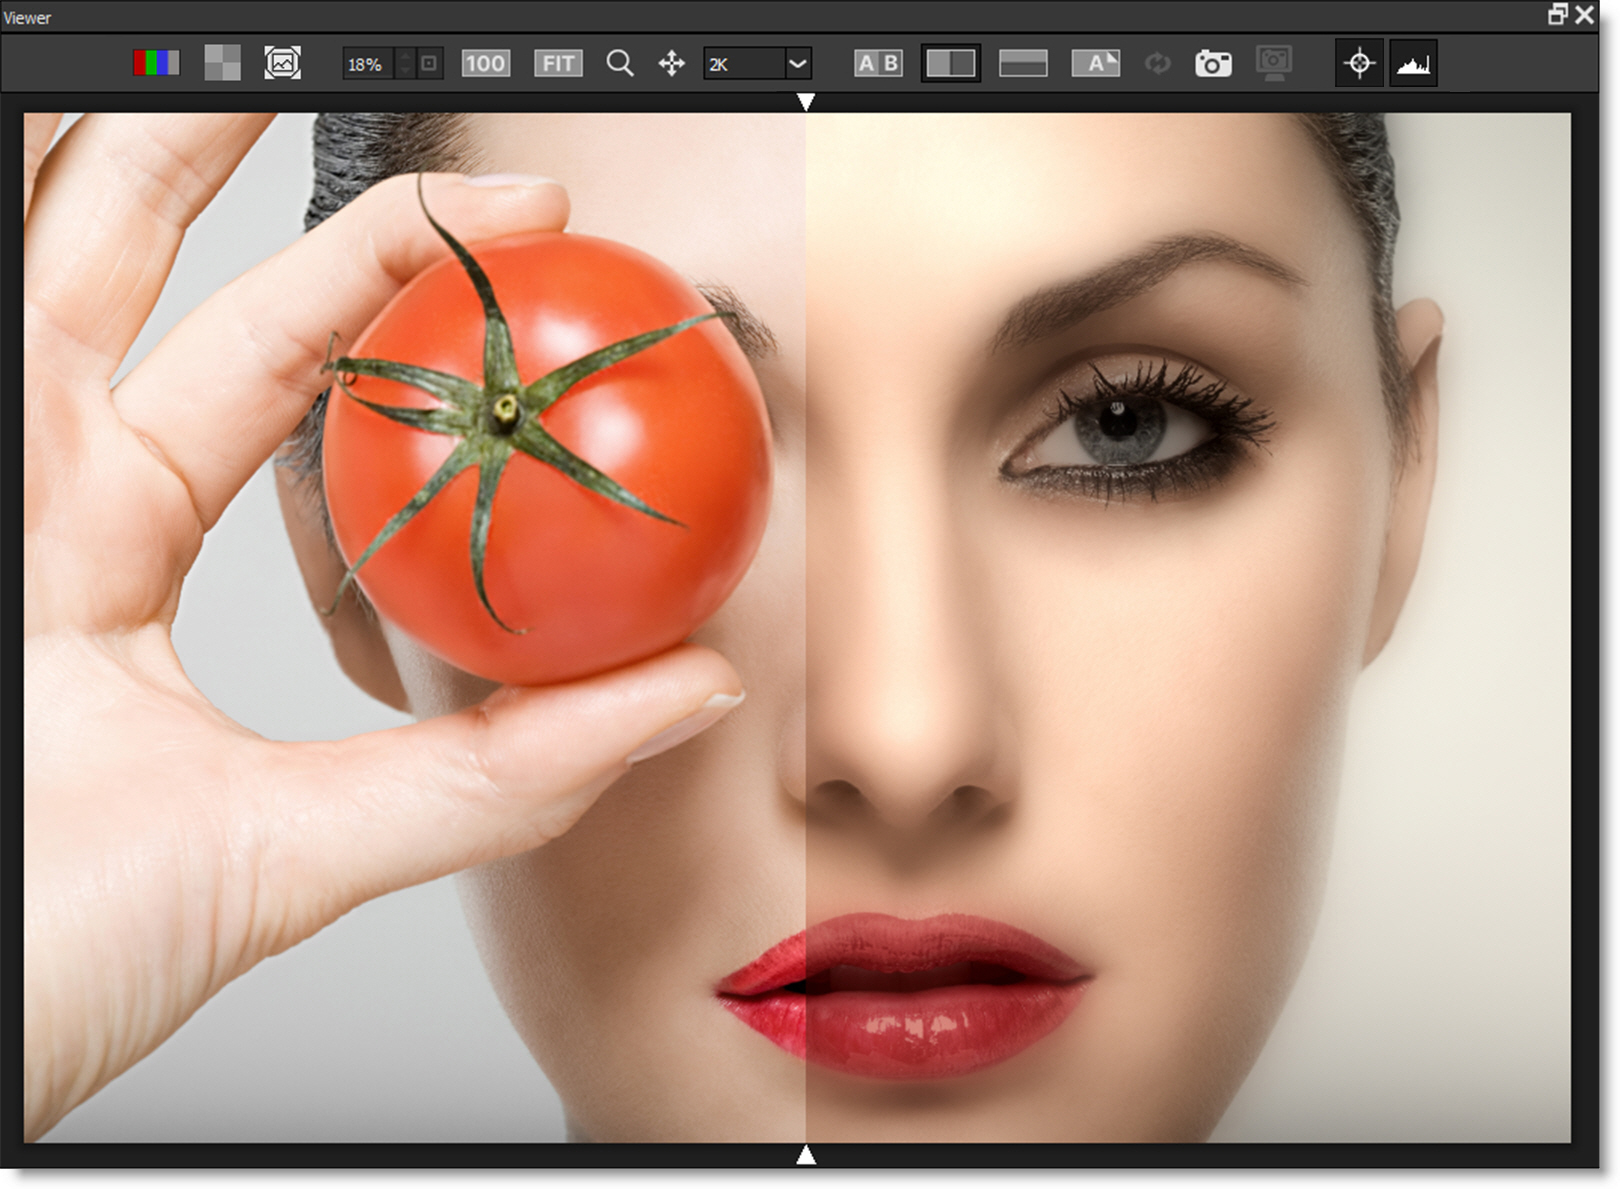
Vertical Split Comparison
Compares images using a vertical split. Move your cursor into the image area over the split line and when the cursor changes to a double-arrow, click and drag to move the split. Depending on the filter used, the split line may not be obvious, so triangular sashes on the outside of the image help you find it. If you drag the sash all the way around, it will swap directions.
Horizontal Split Comparison
Compares images using a horizontal split. Move your cursor into the image area over the split line and when the cursor changes to a double-arrow, click and drag to move the split. Depending on the filter used, the split line may not be obvious, so triangular sashes on the outside of the image help you find it. If you drag the sash all the way around, it will swap directions.
A/B Comparison
When the A/B Comparison button is selected,
a Show Other View icon is enabled. Clicking it cycles through the images.
Snapshot
When the Snapshot icon is enabled, a snapshot of the image in the Viewer is taken as well as the layer’s mask, if there is one.
A View Snapshot icon then appears and allows the use of the various comparison modes to compare the snapshot to the other layers or different filter settings.
Overlay (0)
Toggles the display of overlays which are point, lines, or shapes that Optics superimposes over the image. 0, the number zero, toggles the overlay.
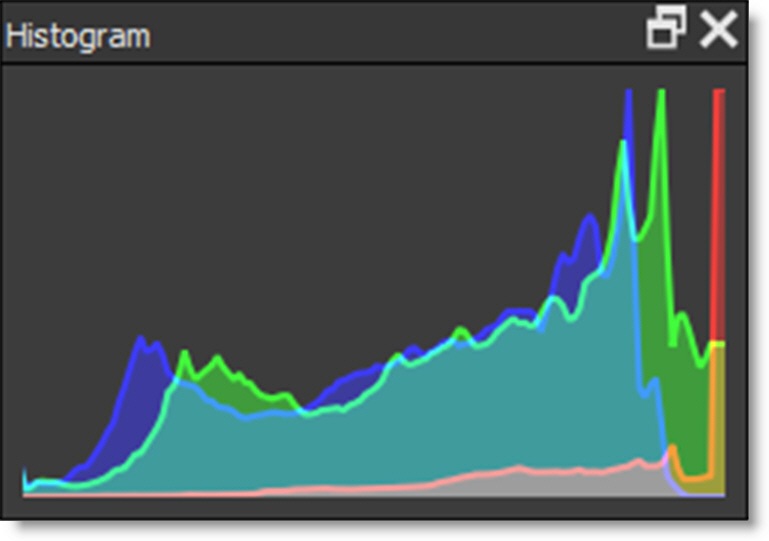
Histogram (H)
A histogram is a specialized graph that plots the number of pixels at each color intensity level. It is very useful in seeing how an image’s pixels are distributed.
Viewer Keyboard Shortcuts
Shortcut | Action |
|---|---|
R, G, B, A | Toggles the red, green, blue and alpha channels on and off |
Shift-A | Superimposes the alpha channel over the image |
Middle-mouse drag | Pans the image |
Space Bar+drag | Pans the image |
I | Zooms the image in |
O | Zooms the image out |
Zoom icon+click | Zooms the image in |
Zoom icon+Alt+click | Zooms the image out |
Zoom icon+Drag a square | Zooms into the defined area |
Scroll wheel over image | Zooms the image in and out |
Middle-mouse double click | Fits the image to the window |
F | Fits the image to the window |
1 | Sets the Zoom level to 100% |
M | Cycles the display between the color image and the Mask channel |
0 | Toggles the display of overlays which are point, lines, or shapes |
H | Opens the Histogram window |