Black and white photos offer an aesthetic, timeless, and classic quality that can evoke a wide range of emotions, from nostalgia to drama and suspense. Sometimes, adding color to a part of the image can change the mood, bring attention to an object, or tell a different story.
Adding color to a black and white image is also a way to revive an old family portrait with a unique, fresh look. In today’s tutorial, I’ll show you how to add color to black and white photo and make that color stand out using Optics by Boris FX.
Let’s dive in!
How to Add Color to a Black and White Photo with Enhancing by Optics
Optics is a photo editor and plug-in that allows you to enhance and correct photos and add a cinematic look to your images with visual effects and particles. It’s easy to use yet offers many options for advanced and professional photo editors and VFX artists.
-
Step 1: Download and Install Optics
The first thing is to get Optics. Download the Boris FX Hub, where you can manage all of your Boris FX applications, updates, and subscriptions. Find Optics from the products list and click Install. The installation includes both the plug-in and the standalone app.

-
Step 2: Launch Optics
After installing the software, run the Optics standalone app and open your photo by clicking File > Open.
When using it as a plug-in in Photoshop, load Optics from the Filter menu, then scroll down to Boris FX and click Optics. In Lightroom, you load Optics from the Photo menu, then click Edit in > Optics.
When you launch Optics from Photoshop, remember to convert the layer to a smart object. Right-click the layer and select "Convert to Smart Object" to make changes in Optics later.
When using the plug-in, your photo will be automatically imported into Optics. When you launch the plug-in, you'll be asked whether you want to apply previous filters and masks. You can click "No" the first time, but if you're returning to make changes, you should click "Yes" to load all the layers and filters for adjustments.
-
Step 3: Add Color to the Image
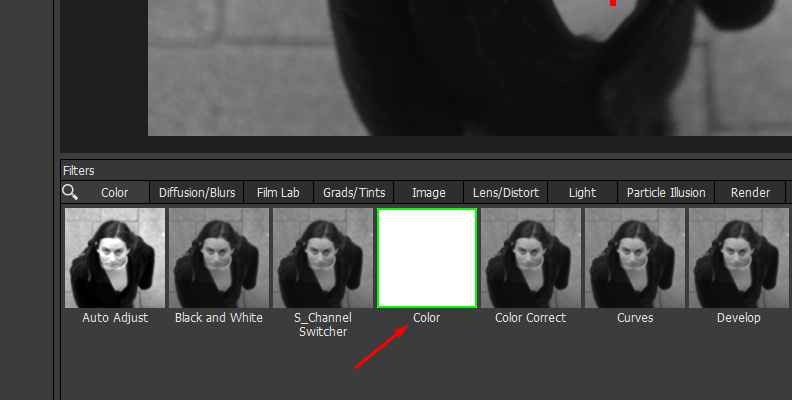
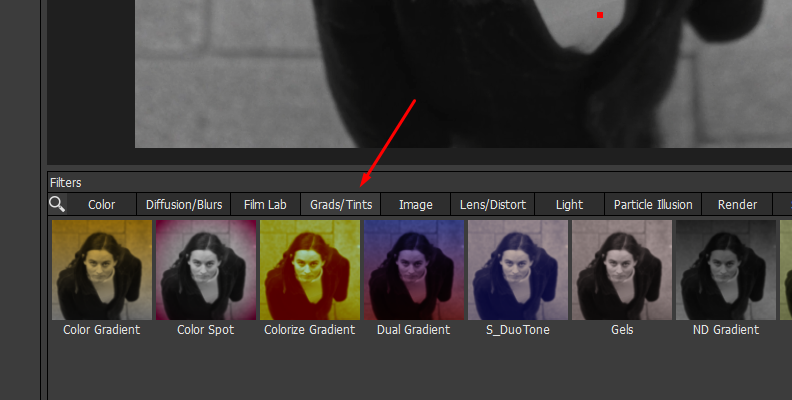
You can go different routes to add color to a black and white photo. In Optics, you can use the Color Correct filter under the Color category, add film stock from the Film Lab category, or a colorize filter from the Grads/Tints category.

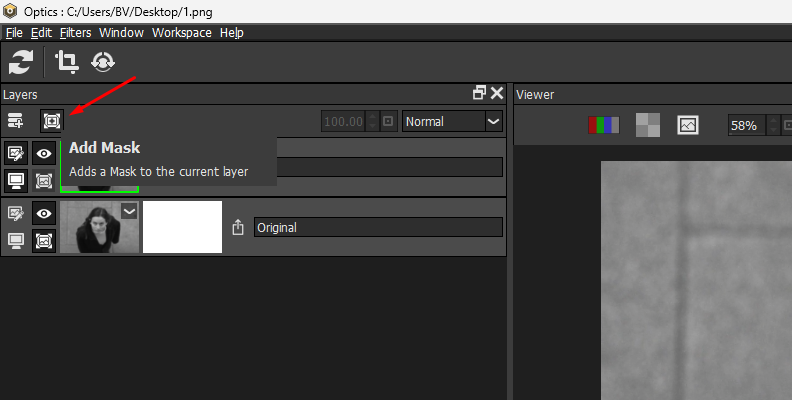
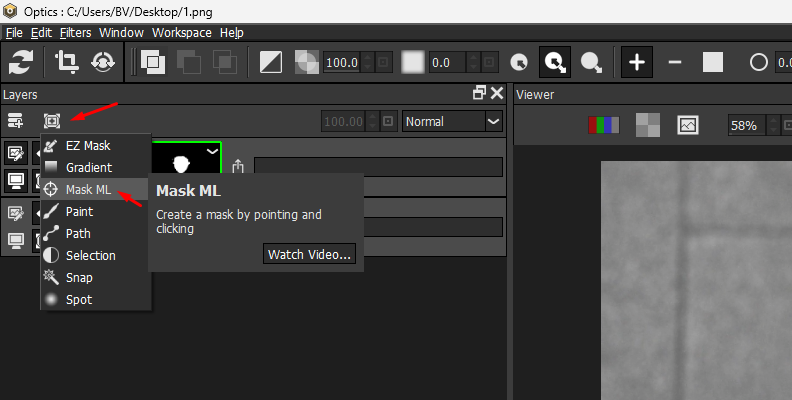
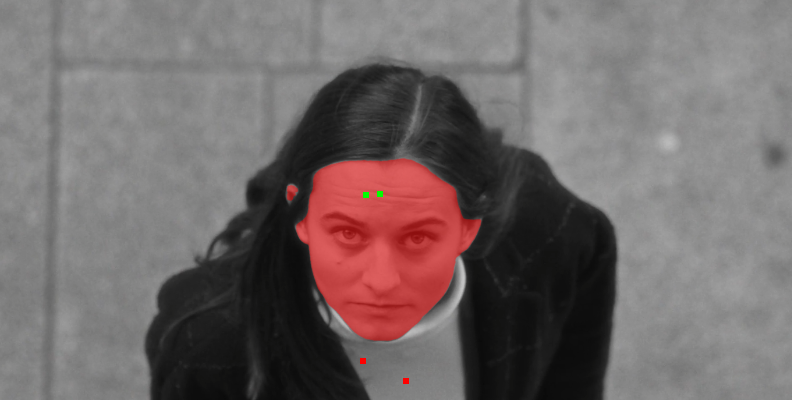
Use masks to select an element in the photo and add color only to that object, making it stand out in the black and white photo. Later, you can use the Enhancing filter to improve and refine the color. To add a mask, click the Add Mask icon above the layers panel, then choose a mask tool.
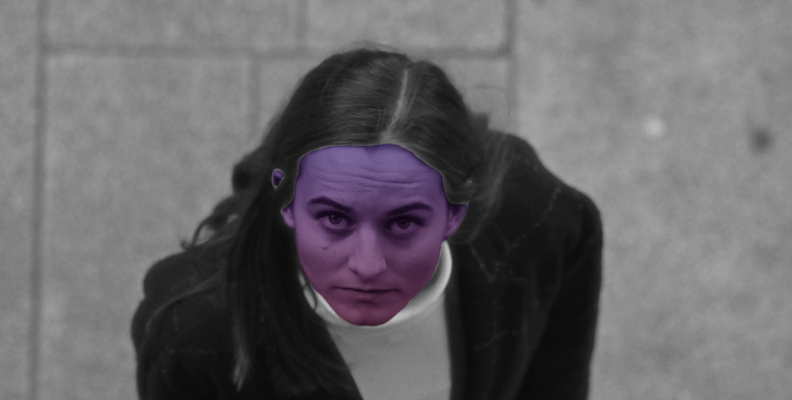
For example, if you have a landscape image, you can use the Colorize Gradient filter and its Blue Sky preset to add color only to the sky. Or you can use the color wheels in the Color Correct filter and add a Paint Mask to paint directly on the object you want to colorize. Explore and combine different filters to achieve the desired color.
-
Step 4: Apply the Enhancing Filter
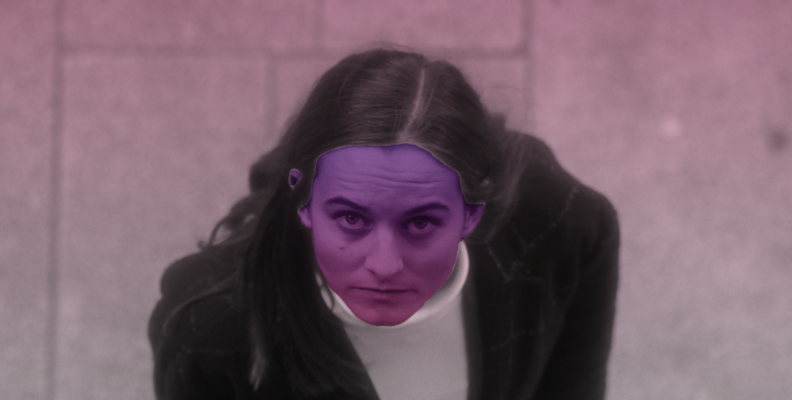
Once you have added color to an object in the image, let’s add the Enhancing filter to make that color stand out in the white and black photo.
First, add a new layer to apply the new filter. Press CTRL/CMD + L or click the Add Layer icon above the layers panel.
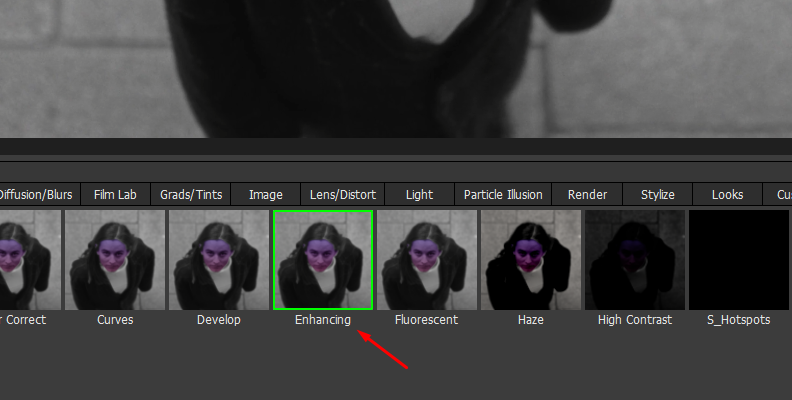
Next, go to the Color category in the filter's library at the bottom center and browse for the Enhancing filter. Click on it to apply it to the new layer. When you add a filter, the parameters appear on the right panel, and the presets are in the bottom left corner, below the layers panel.
-
Step 5: Adjust Enhancing Parameters
The Enhancing settings are easy to use. You have one Enhancing control to adjust the saturation of red, green, blue, and custom hues.
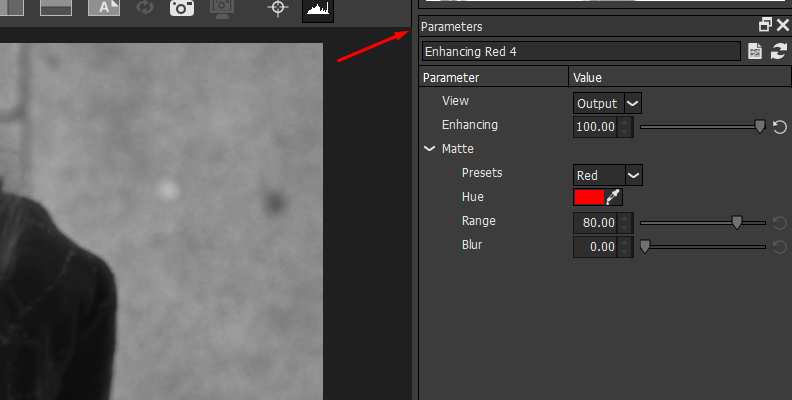
The filter generates a matte to create the enhancement effect, but you can customize the generated matte. First, select one of the Blue, Red, and Green matte presets or choose a custom hue to enhance. When you select "Custom," you can pick any color using the eyedropper tool.
You can see the generated matte by changing the View from “Output” to “Matte” and then adjusting the Range and Blur controls to customize it. With Range, you can add or decrease the hue values to be included in the matte for the effect, and Blur softens or sharpens the matte.
Explore the Enhancing presets to find various effects and looks and adjust the settings to customize the preset.
-
Step 6: Fine-Tune the Image
You don't have to stop right there. Optics gives you many tools to create eye-catching images, including more filters and masking tools. You can add a film stock or light filter and use a mask to bring attention to the enhanced area.
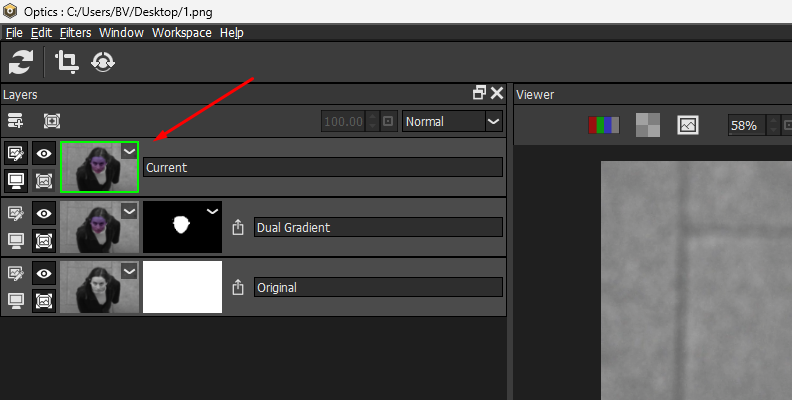
Remember that every effect is added on its own layer, so you can always return to adjust its settings and change the layer's blending modes and opacity. When you need to add more filters, add a new layer, or duplicate an effect to create more instances of the same effect for complex looks.
Use the different types of masks, such as paint, EZ Masks, AI Mask, gradient, path, and more. Experiment with various combinations and play with the filter settings to bring even your old photos back to life with color enhancements.
-
Step 7: Export Photo
To export a photo in the Optics application, go to File > Save and choose the file format and location. With the Optics plugin, click Apply and return to your host. If you need to return to Optics to edit the filter, remember to click “Yes” when asked if you want to apply previous filters and masks.
Final Words
Optics is a tool every photographer, digital artist, content creator, and hobbyist should use to upgrade their photo editing tools. It’s a great standalone tool, and if you already work with Photoshop or Lightroom, it will further enhance your workflow. With Optics, you can access many effects from Boris FX, such as Sapphire and Particle Illusion.
Optics can be purchased as a monthly subscription or a perpetual license. Before purchasing, you can download a free trial to see if it suits your needs.
Have fun!