Adding noise to your images may sound counterproductive, but when a certain kind of noise, such as film grain, is used wisely and in the right amount, you can transform your photos into artistic pieces. In today’s post, you’ll learn about film grain and why you should use it in your photography work.
For this tutorial, we’ll use Adobe Photoshop and one of our favorite Boris FX tools for photography: Optics.
Let’s dive in!
What is Film Grain and Why Should You Use it?
Film Grain is the result of the silver halide in developed films, which makes the image look grainy and dusty. If you’ve watched an old movie or photograph, you’ve probably seen these little dots and speckles randomly appear on the screen. That’s what’s known as film grain.
Since digital photography does not use development chemicals, film grain must be replicated. Typically, this is accomplished by shooting with high ISO settings or adjusting them in post-production.
The reasons to use film grain in your photos are that it can add a layer of texture and make the image look more cinematic. It helps add a sense of nostalgia and smooths or hides imperfections.
How to Add Film Grain in Photoshop

-
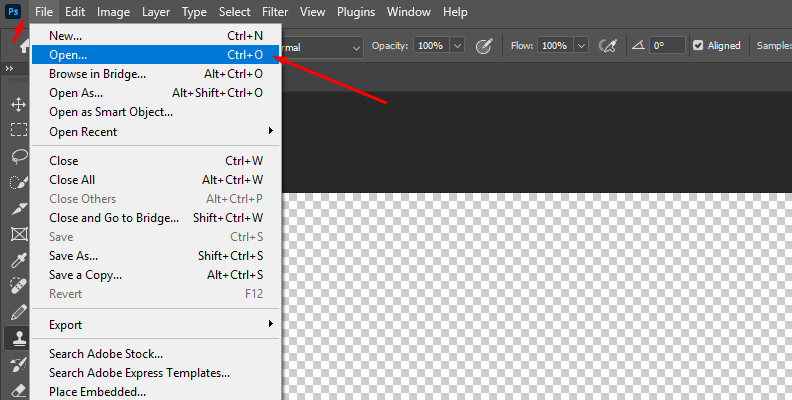
Step 1: Import Image
Open Photoshop and import the Image to add a film grain effect.
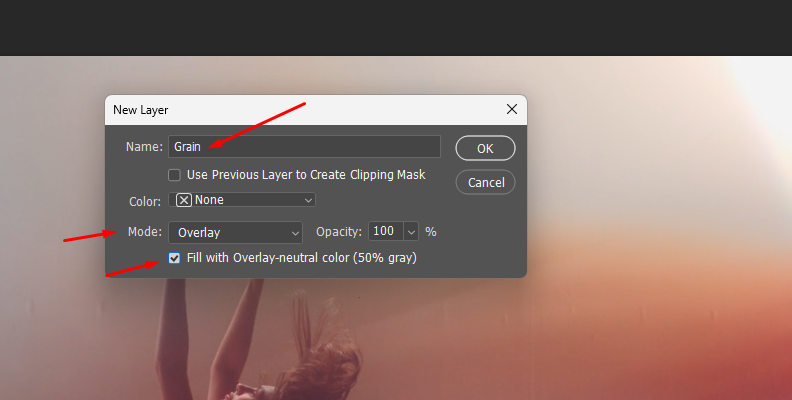
Create a new layer by pressing Ctrl+Shift+N on Windows or Cmd+Shift+N on Mac. In the dialog box, name the layer 'Grain' to identify it. Choose the Mode Overlay and mark the Fill with Overlay-neutral color checkbox. Click OK to create the new layer that will appear on top of the layers panel.
-
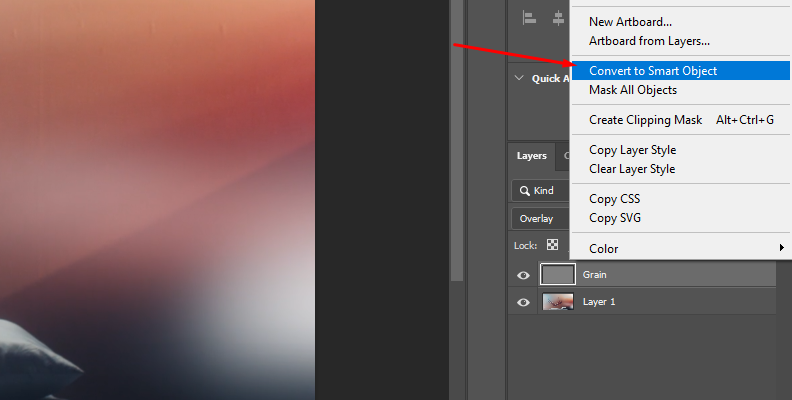
Step 2: Convert to Smart Object
This next step is crucial, as it enables you to make adjustments and fine-tune the film grain effect without needing to redo all the steps each time you want to modify the filter. It will also affect other filters you add to that layer. Right-click the Grain layer (the one you created in the last step, not the original image) and select the option 'Convert to Smart Object.'
-
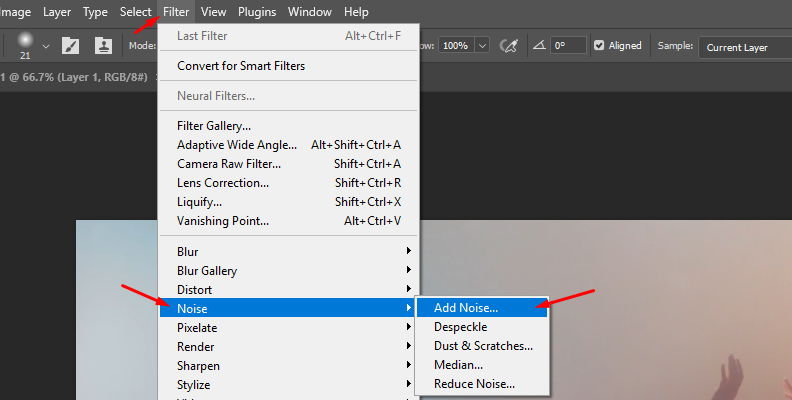
Step 3: Add Noise Filter
Select the Grain layer and go to Filter > Noise > Add Noise.
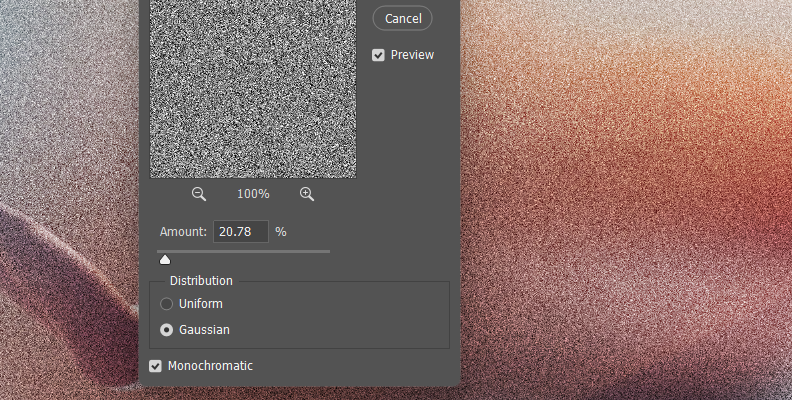
Once the ‘Add Noise’ window pops up, set the amount of noise. You can begin with something around 20-25% and decrease it if needed. Select the Gaussian distribution to distribute the speckles randomly. Then, check the Monochromatic box to make the speckles black and white only. Click OK to close the window and see the film grain over your image.
-
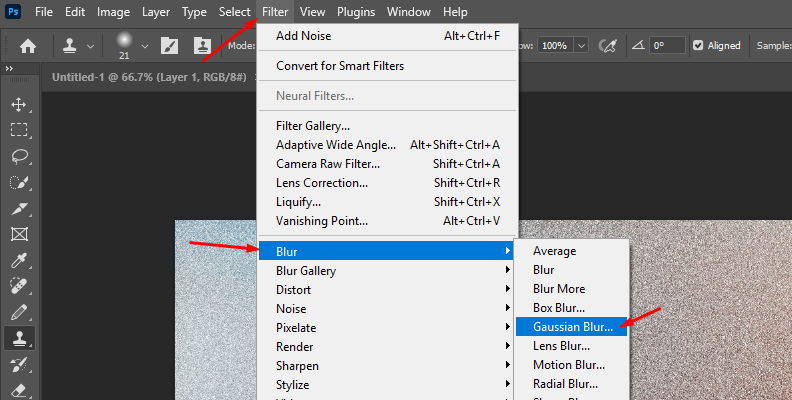
Step 4: Add Blur
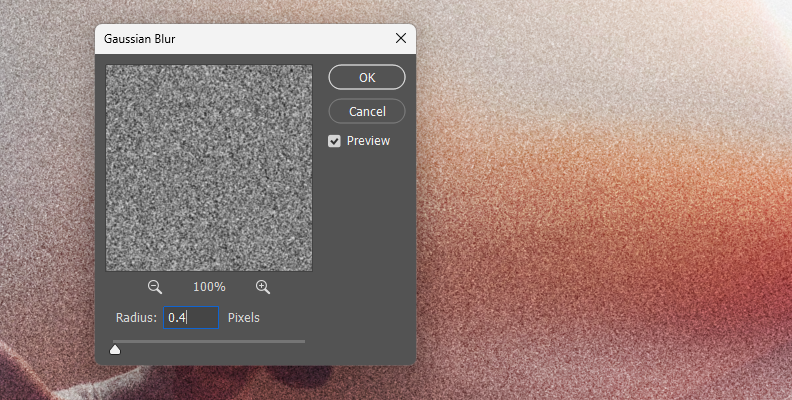
To enhance and smooth the image, you can add a Gaussian blur filter. Select the Grain layer and go to Filter > Blur > Gaussian Blur.
In the Gaussian Blur window, adjust the Radius. Start with a low value, such as 0.3 or 0.5. And see how it fits with your image.
-
Step 5: Make Adjustments
Since you make the Grain layer a smart object, if you want to make some changes to the filters applied to it, click the layer, and you'll see a list of the filters applied. Double-click the one you want to edit, and the filter's window will pop up. Make the adjustments and click OK. You can repeat this with any filter you wish to modify.
How to Add Film Grain in Photoshop with Boris FX Optics' Film Grain Effect
-
Step 1: Import Image
Launch Photoshop and import the image to edit in a new project. Duplicate the layer with Ctrl+J on Windows or Cmd+J on Mac. Now, right-click the duplicate layer and select 'Convert to Smart Object.' I recommend using the Smart Object function anytime you use filters that you know will require modifications. It will make it easier to click the filter and readjust settings.
-
Step 2: Apply Optics Filter
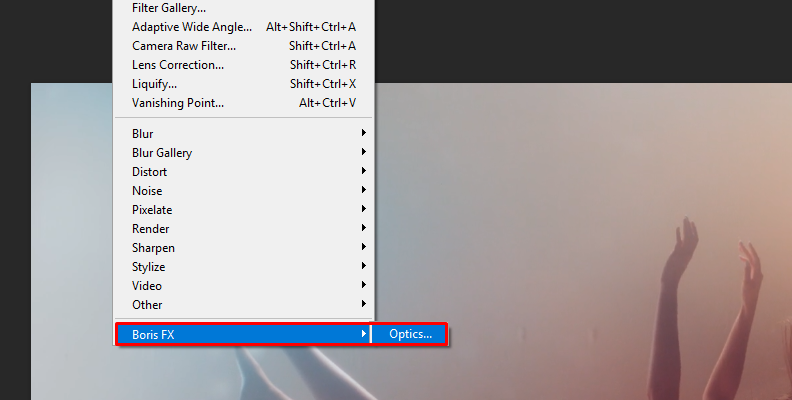
Select the layer you converted to a smart object and go to Filter > Boris FX > Optics to apply Optics as a filter in Photoshop. The filter will instantly launch the Optics user interface and import the image layer.
-
Step 3: Add S_UltraGrain Filter in Optics
Optics works as an independent photo editor, allowing you to create layers, add filters and masks, and then render them back to your Photoshop document. Below the preview window is the filter library, where you can search with the magnifying glass or browse by category. Two filters can help you achieve a good-looking film grain for your photos: Grain and S_UltraGrain from the award-winning Sapphire plug-in.
Both Grain and S_UltraGrain can be found under the Film Lab category.
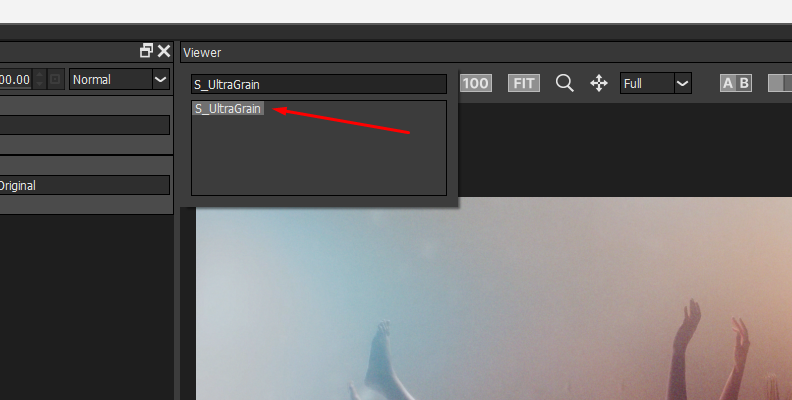
Let’s use the S_UltraGrain for this tutorial, but feel free to try both filters to see which one works best for your image. Click S_UltraGrain from the library to apply it.
-
Step 4: S_UltraGrain Presets and Parameters
All Optics filters come with presets, which you can view on the Presets panel located on the left side of the screen.
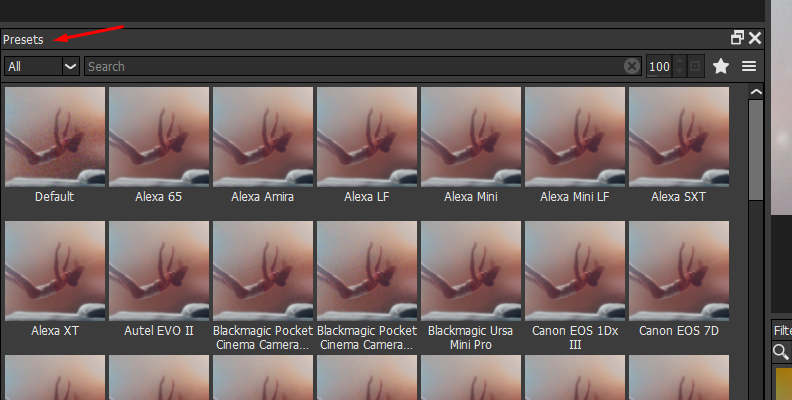
Click one and preview it, then you can modify it from the parameters panel on the right side of the Optics UI.
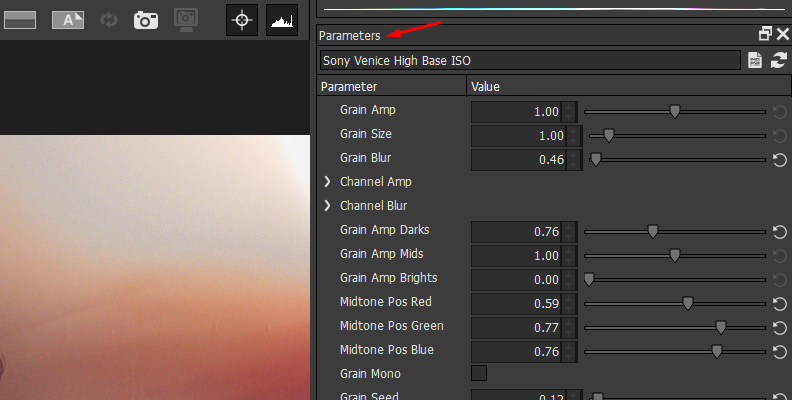
Adjust how much grain to apply with Grain Amp and the size with the Grain Size parameter. You can add blur to grain directly with the Grain Blur slider to smooth it.
You can adjust the grain amplitude and blur for the red, green, and blue channels, as well as the darker and brighter zones and the midtones.
To achieve a monochromatic grain, you must enable the Grain Mono option and ensure that the same values are set for the Channel Amp, Channel Blur, and Midtone Pos parameters.
-
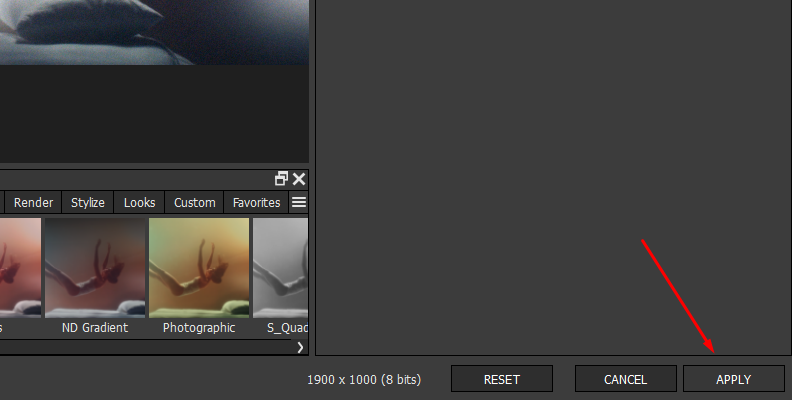
Step 5: Render the Image
When you achieve the film grain effect you want for your image, click Apply in the bottom-right corner to render it back to Photoshop.
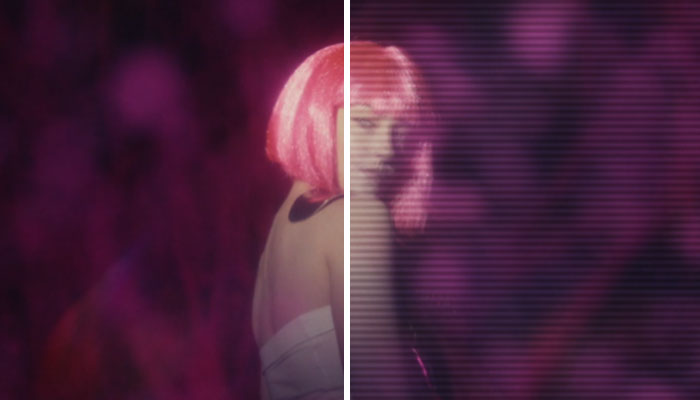
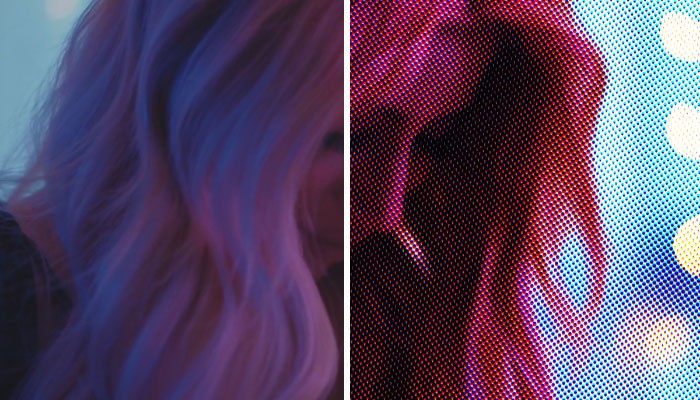
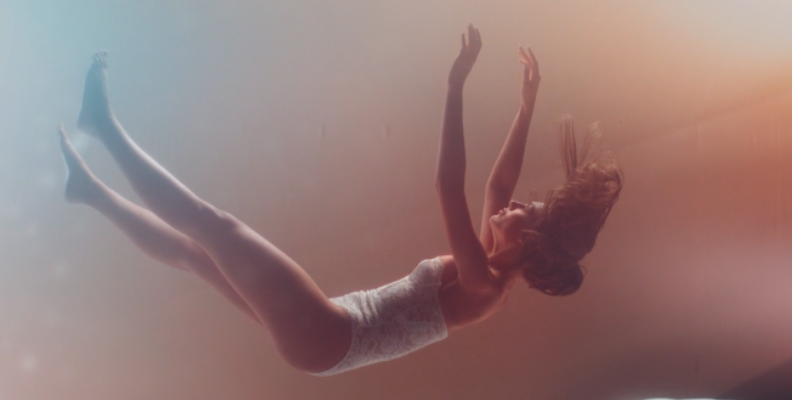
Before S_UltraGrain:
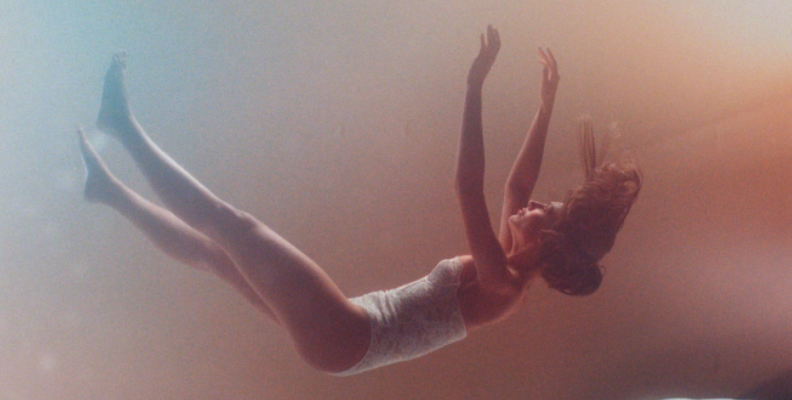
After S_UltraGrain:
In Photoshop, you can go back to Optics to make changes by selecting the layer and double-clicking the Optics filter that appears listed. Now, you can continue editing the image and export it from Photoshop.
Final Words
Film grain is an easy way to enhance the mood of an image. With Photoshop, it's easy to achieve, but it's more of a trial-and-error process. In contrast, Optics allows for real-time adjustments, offering more options to tweak the film grain to your liking, as well as the use of masks and all the available filters.
Check out the Optics free trial today to create unique pictures with film grain.
Good luck!