Learning how to use VST plugins is a crucial step for everyone working with audio. Whether you're a music producer, singer-songwriter, audio engineer, podcaster, sound designer, recording, mixing, or mastering engineer, you will use VST plugins sooner or later in your audio productions.
It’s hard to think of digital music production without VSTs nowadays, as they have become the bread and butter of all digital audio productions. They can help you create sound, fix audio, enhance it, make it sound analog-like, add soundscapes and unexpected sounds, or make homemade recordings sound like they were recorded in a professional studio.
In today’s article, we'll delve into the VST universe to learn about its history, how it works, and how it became the standard for audio plug-ins.
Let’s dive in!
What Are VST Plugins?
VST3 plugins are consistently mentioned alongside Audio Units (AU) and Avid Audio Extensions (AAX) when discussing audio plug-ins. VST plugins are among the most common and are considered universal plugins compatible with most digital audio workstations (DAWs). But what exactly are they?
VST stands for Virtual Studio Technology, a plugin format developed and released by Steinberg in 1996 for Cubase 3. VST processes the digital signal to mimic the traditional hardware used in studios. This innovative technology allowed developers to create audio effects that can be utilized within a DAW to manipulate sound.
Steinberg's Cubase 3 was the first DAW to integrate VST plugins for effects such as reverb, chorus, echo, and auto-panning, marking a transformative moment in digital music production.

The first version of VST only focused on audio effects until VST2 was released in 1999. The new version introduced what we know as Virtual Studio Technology Instrument or VSTi, allowing VST to receive MIDI information to work as a virtual instrument.
The VSTi can receive digital information from a MIDI device such as a MIDI keyboard, drum machine, or user input using the DAW's piano roll. Synthesizers, drum machines, and samplers were the most popular choices.
VST plugins offer a user interface that resembles the original hardware or instrument it was based on, including all controls, knobs, and meters. VST plugins made it possible to work with audio hardware that otherwise would be impossible to acquire or place in reduced spaces, small studios, and home studios.
In 2008, Steinberg introduced VST3, the newest version of their plugin technology. It can only use CPU power when the audio signal is present, thus reducing the heavy CPU-intensive work of working on projects with multiple VST3. It also allows audio inputs for VST instruments and multiple MIDI inputs and outputs.
Since then, VST3 has become the industry standard for audio plug-ins, competing with proprietary plugins like Audio Units for Apple’s Logic and AAX for Avid Pro Tools, two DAWs that do not support VST plugins.
Today, VSTs have replaced studio hardware and physical audio instruments with virtual tools capable of producing music at the same level as professional hardware and instruments without buying expensive hardware and allowing music to be made in smaller spaces.
Different Types of VST Plugins
There are two major types of plugins available in VST2 and VST3 versions. It's important not to confuse VST versions with types of VST. VST2 and VST3 refer to VST versions, and the two types of VST are VST effects and VST instruments.
VST Effects
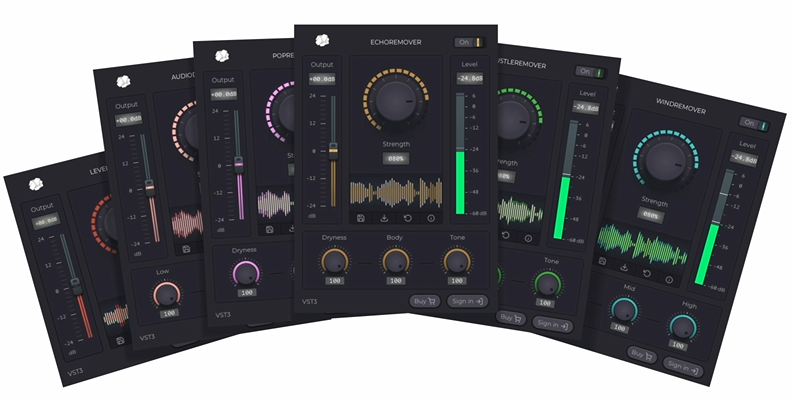
VST Effects, also known as VSTfx, were the first type of VST. This type of VST processes audio signals to add effects that enhance, improve, or modify the sound of your track. Some of the best examples of a VST effect include reverb on a vocal track to create depth, distortion for guitars, EQ, noise removers, and compressors to enhance the sound quality of a recording, as well as monitoring effects like a spectrum analyzer that provides visual feedback for your mix.
Many VST effects were developed to simulate popular physical audio hardware. These allowed music producers to create sounds that were only available through specific audio devices that were no longer on the market.
VST Instruments
VST instruments generate audio from user input via your DAW or a MIDI controller. They allow you to add musical instruments without needing the actual physical instrument or even knowing how to play it. A VSTi can be a guitar, a piano, a full orchestra, or percussion, and many of the VSTi plugins are sampled from the original instruments.
Some of the most popular VSTi are Native Instruments’ Kontakt, Xfer Records’ Serum, and the extensive list of VSTis from Spitfire Audio.
How to Install VST Plugins on Windows
When you download VST plugins for Windows, you may receive compressed files or an .exe file. For both options, ensure a dedicated VST plugins folder exists, whether the default one or a custom folder.
Step 1: Download Compatible VST Plugins
Ensure you get the correct VST version for your operating system and DAW. For example, if you use a Mac computer and Logic Pro or GarageBand for audio production or Final Cut Pro for video production, you must download the AU plugin version, as VSTs are incompatible with those DAWs. You can verify compatibility with your DAW's manual.
VST3 is the best option if you use Ableton Live, Audition, Audacity, FL Studio, Cubase, or Studio One for audio production and Premiere Pro, Resolve, or VEGAS on a Mac or Windows computer.
Step 2: Install VST Plugins
If you download an installer, run it and wait for it to complete. Ensure you install it in the default VST or VST3 plugins folder or create a custom folder to put all your VSTs. If you download a zip or other compressed file, you must extract the .dll or .vst3 file and move the plugin file to the VST3 folder.
Step 3: Manage VST Plugins in DAW
When you install new VST plugins, your DAW usually scans the folder automatically. However, you may occasionally need to scan it manually through your DAW preferences.
Installing new VST plugins while your DAW application is closed is advisable. Also, keep in mind that your audio interface may have come with some plugins included. Check all your folders, just in case you already have some useful plugins!
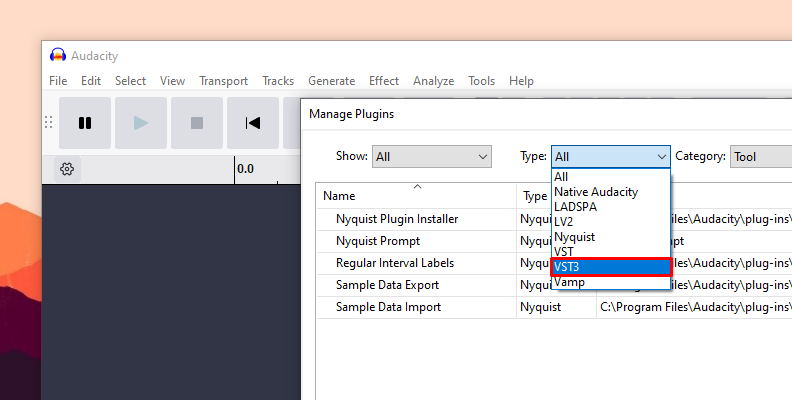
To rescan your VST plugins, navigate to your DAW's properties or configuration to access the plugin manager. The location may vary depending on which DAW you use, so it's best to consult your DAW's manual.

Under the plug-in's preferences, you can select the VST folder location, manage VST plugins, and rescan the list of installed VST plugins.
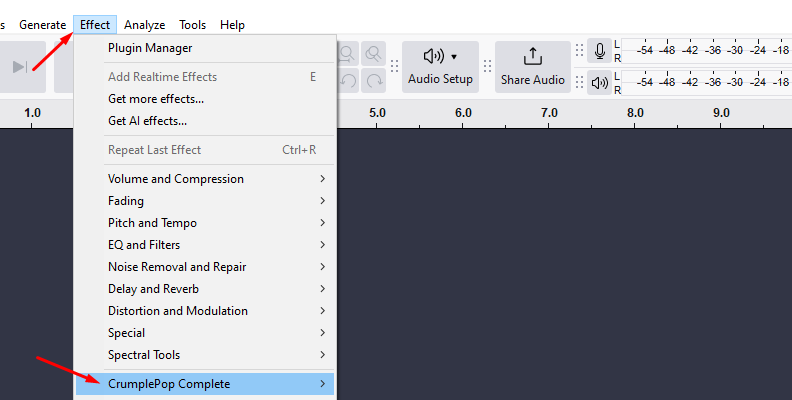
Step 4: Use VST Plugins
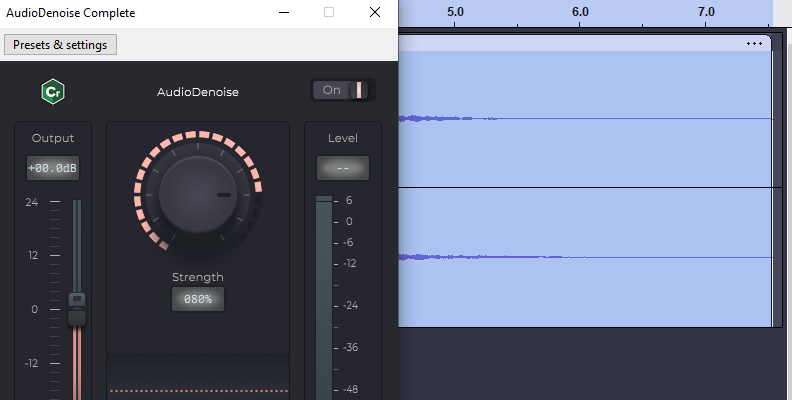
Once you have installed your VST plugins and your DAW recognizes them, you're ready to use them in your tracks. Your VSTs are automatically added to your DAW's library as effects or virtual instruments. Then, apply them to your audio tracks and use the UI to shape your audio.
Where Do I Find the VST Plugins Folder?
The VST plugins folder in Windows can vary depending on the VST version and if the plugin is 32 or 64-bit.
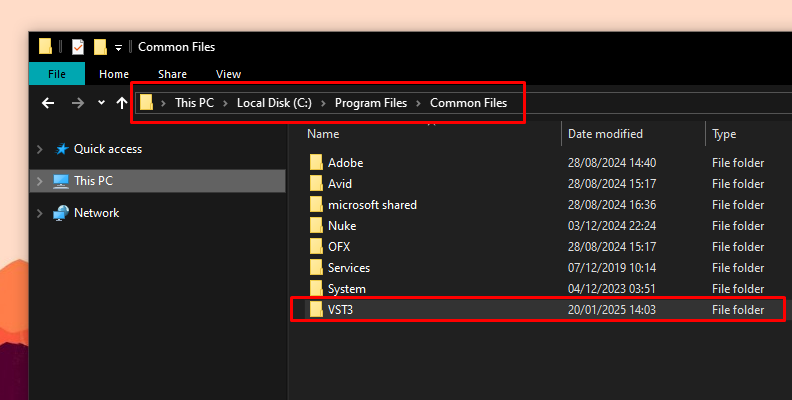
VST3 Plugins Folder
VST3 uses the .vst3 extension and is located in the following folders:
C:\Program Files\Common Files\VST3 for 64-bit VST3 plugins.
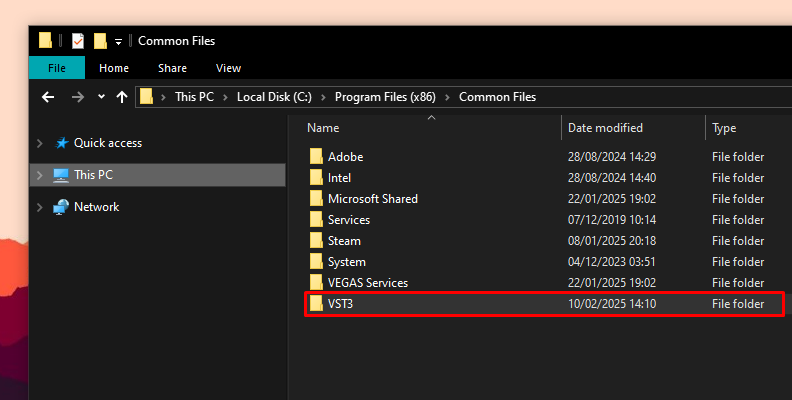
C:\Program Files (x86)\Common Files\VST3 for 32-bit VST3 plug-ins on 64-bit Windows.
VST2 Plugins Folder
VST2 uses the .dll extension and can be found in one of the following folders:
C:\Program Files\VSTPlugins
C:\Program Files\Steinberg\VSTPlugins
C:\Program Files\Common Files\VST2
C:\Program Files\Common Files\Steinberg\VST2
C:\Program Files (x86)\Steinberg\VstPlugins for 32-bit plug-ins on 64-bit Windows.
Custom VST Plugins Folder
You can create a custom plugin path to install and organize your VST plugins. Just remember to add the path to this custom folder in your DAW, so it knows where the plug-ins are installed and can access them. Also, remember to select the custom folder when installing new VST plug-ins.

Pro Tips
Now that you know what VSTs are and how to install them on Windows, let’s review some pro tips for using VSTs correctly and avoiding problems when working in your audio sessions.
Avoid Mixing Plugin Formats
Several plugin formats and versions exist, such as VST2 (commonly referred to as VST) and VST3. One of the main differences between VST and VST3 is that VSTs are always enabled and consume CPU resources, while VST3 plugins are only active if there's an audio signal to process.
If the plugins offer multiple VST versions, it’s best to stick to just one, preferably VST3, as this is the latest version.
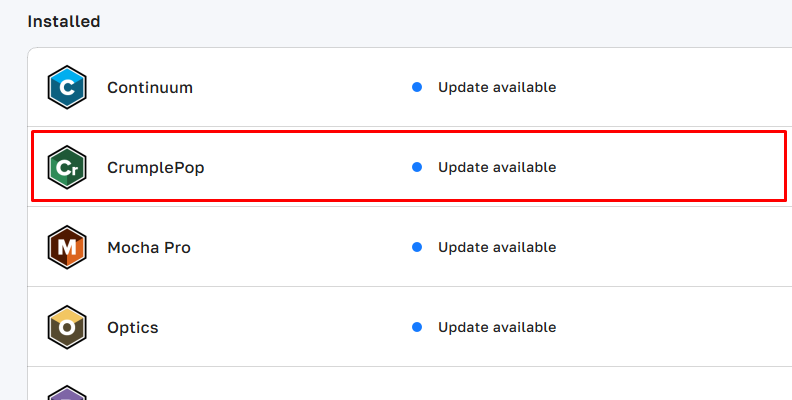
Keep All Third-Party Software Up to Date
Remember to keep all your third-party VST plugins up to date to avoid issues and crashes. Some third-party plugins install software where you can keep track of all your VST versions and notify you when a new update is released. Another option, if the plugin does not offer a hub application, is to check periodically with the developer's webpage for the latest news and fixes.
Route and Freeze Tracks
Most of the issues when using VST plugins on Windows are lag and crashes due to running out of CPU resources. When applying the same VST plugin on several tracks, a pro tip is to route multiple tracks to a bus and add the VST plugin once.
Another option is to disable, freeze, or render and replace the VST plug-ins that are not in use to improve your performance by reducing CPU usage.
Manage VST Plugins Folder
Keeping track of your VST folders will make managing your plugins easier. Whenever you have an issue with one, you can refresh your plugins list or reinstall them, and you'll know where to delete the file if you ever need to uninstall it manually.
Final Words
The importance of VST plugins in audio post-production can't be denied. They are powerful tools that can make you stand out among the rest of the producers and audio engineers; however, remember that VST plugins are just tools, and your ability and knowledge of audio editing and music production will determine the quality of your work.
Good luck!