Surrealist photography has a unique charm, but starting out can feel a bit overwhelming. In this Photoshop tutorial, you’ll discover how to transform your photos into stunning, surreal images using Adobe Photoshop and Optics. We’ll cover the key techniques you need to master and recommend some amazing filters to help you create your dreamlike visuals.
Let’s dive in!
What is Surrealist Photography?
Surrealism is a genre of photography that blends the ordinary and natural of the real world with the irrationality of our subconscious mind. A surreal scene can create a fantastic, dreamlike, bizarre, and unsettling imagery to challenge our perception of reality. Surreal photography is inspired by the surrealist art movement of the early 20th century.
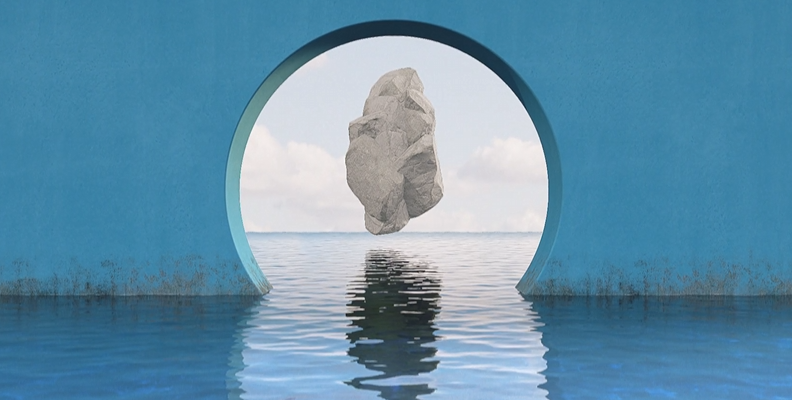
Surrealism explores the power of your imagination by using common, atypical, and eccentric objects to tap into the unconscious mind, making the irrational look real; like a floating island in a landscape, a fish in the sky, or a person diving and breathing underwater.
The surrealism genre relies more heavily on photo editing than other genres. To get into it, you'll need at least basic knowledge of compositing techniques, layering, blending modes, masking, color manipulation, lights, shadows, scaling and transform settings, and distortion effects. Understanding juxtaposition, symbolism, and metaphors is also useful for incorporating new layers of meaning into your photos.
Here are a few characteristics to consider when you're creating surrealistic photography:
-
Create dreamlike imagery and atmospheres with strange and uncanny scenarios.
-
Use unexpected and unrelated objects, people, or environments to challenge the viewer.
-
Use transformation and metamorphosis to create a distorted version of reality, crossing into a fantasy state.
-
Defy gravity.
-
Include symbolism and metaphors.
-
Use distortion and scale changes to challenge the conventional.
-
Experiment with and mix compositing techniques.
-
Explore other surrealist photographers such as Man Ray, Claude Cahun, Lee Miller, Maurice Tabard, and Hans Bellmer, as well as surrealist art from Salvador Dalí, René Magritte, and others.
-
Take inspiration from mystic topics, psychology, movies, and books.
How to Make a Surreal Photo in Photoshop

-
Step 1: Inspiration and Conceptualization
The first step is to know what you want to create. This is where you brainstorm ideas, gather inspiration, and make rough sketches to help you visualize the final image.
Think of what you want to represent: the objects and the general scene. A landscape? People or animals? Will you describe a scene, its emotions, and ideas?
-
Step 2: Gather Your Assets
Now that you know what you want to do, let's work with what you have. Gather images to compose your photo. It can be pictures you have taken, stock images, textures, digital art, or whatever suits your vision.
Try to use photos of similar quality, preferably high quality, so it's easier to manipulate without affecting the final result quality.
-
Step 3: Set Up A New Document in Adobe Photoshop
Open Photoshop and create a new document with the dimensions for your intended output. Import your photos into Photoshop, such as the background photo or landscape, where everything else will be added to the composition. Create new layers for each subject and object you want to blend with the background.
-
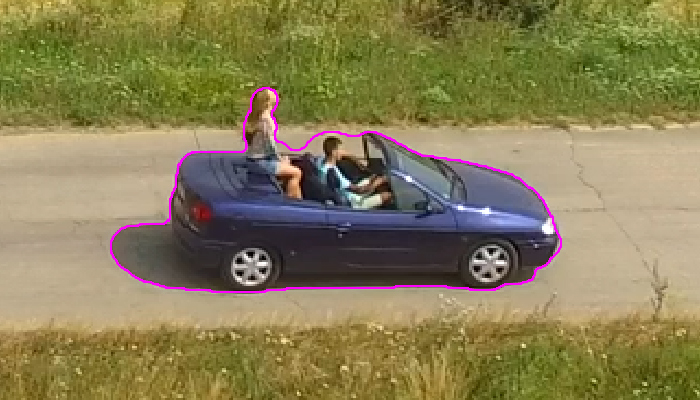
Step 4: Masking
Begin by isolating the objects you want in the final image. Use a selection tool to select the subject you want to keep, then go to Layer > Layer Mask and choose Reveal Selection.
Arrange your layers to place the object in your main canvas to build the surreal effect, and scale them at different sizes to create unusual perspectives. Pay attention to the order of your layers to organize which ones will appear on the front and which are at the back.
-
Step 5: Blending Everything
Experiment with the blending modes in the layer panel to see how the layers affect each other. Adjust the opacity, use the brush tool, and the dodge and burn tools to create smoother transitions between all the layers.
-
Step 6: Color Manipulation
Add adjustment layers to manipulate color, brightness, and contrast. Select the Adjustment Layer button at the bottom of the layer panel and choose an option. I suggest using the curve, hue/saturation, levels, and color balance to play with the colors. You can use masks to apply these corrections selectively.
-
Step 7: Add Effects for Final Adjustments
Add final touches with effects. Use the clone stamp to multiply items, remove things with the healing tool, add distortion effects such as Liquify or Warp, add texture and displacement maps, and get chaotic if needed. Be careful of getting lost in technicalities, and don't lose sight of what you're trying to achieve.
Additionally, if you have external plug-ins, you can use the soft brush to add abstract shapes, particles, and other effects and filters that can give your image that final surreal touch.
Create Surreal Photos Using Optics

Boris FX Optics is a powerful photo editing tool for creating surreal images. It features hundreds of filters you can combine creatively to transform any picture or stock photo into something extraordinary.
-
Step 1: Visualize Your Surreal Scene
Think of what you want to create and choose a photo that can be turned into a surreal image. You can use a picture of your own, a stock image, or one of your drawings or paintings.
When working with Optics, one suggestion is to composite your photo with multiple layers in Photoshop and render it before opening it with Optics. Or, if you use the plug-in version, merge the layers before applying Optics. Select the layers you want to integrate with Shift + Click, then press CTRL/CMD + E.
-
Step 2: Launch Optics
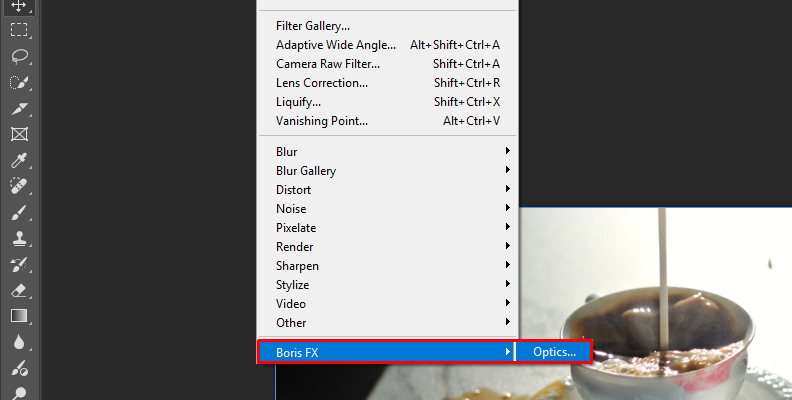
When using the plug-in version, apply Optics from the Filter menu. First, right-click the layer with the image and select Convert to Smart Object. Now, go to the Filter menu, browse for Boris FX, and choose Optics.
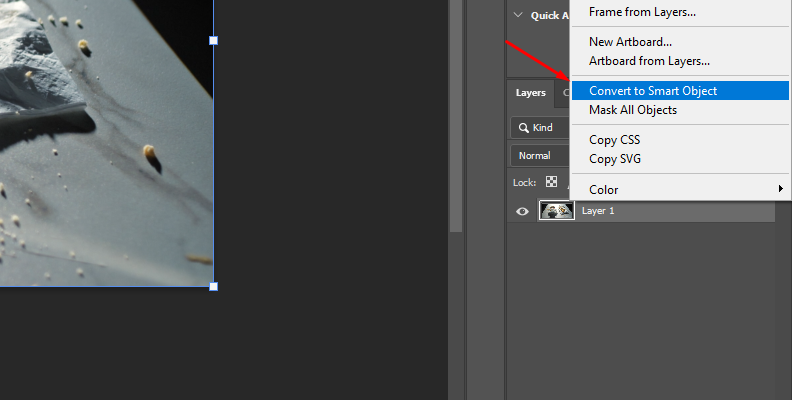
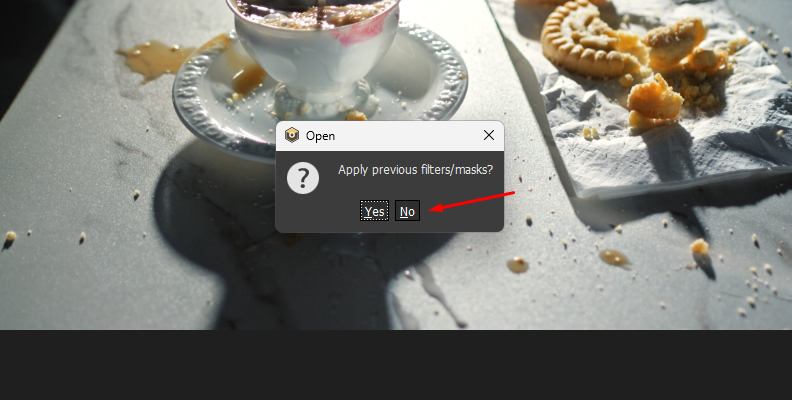
The Optics UI will launch and import your layer. If you receive a pop-up window asking to apply previous filters, click no, as we haven't done anything yet.
In the standalone version, click File > Open and browse for the photo you want to edit.
-
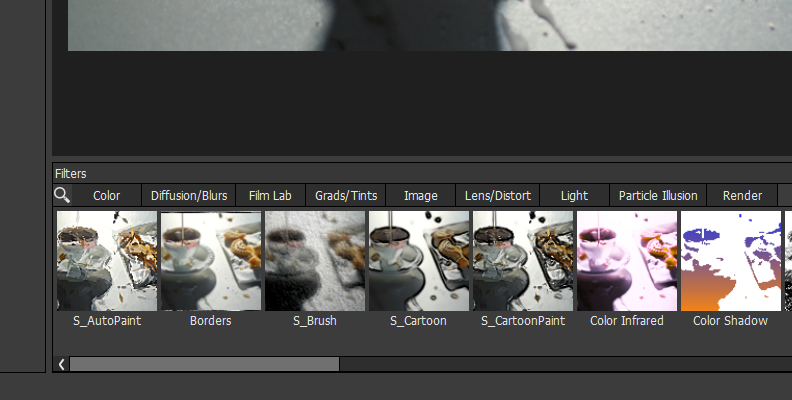
Step 3: Explore the Filter Gallery
In Optics, each filter is applied to the current layer. Explore the filter gallery for surreal effects.
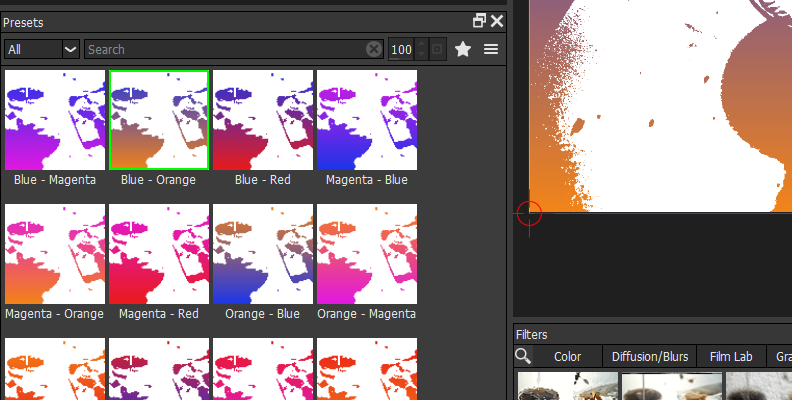
Select one by clicking on it, then choose a preset from the presets panel. You can adjust the preset using the parameters in the right panel.
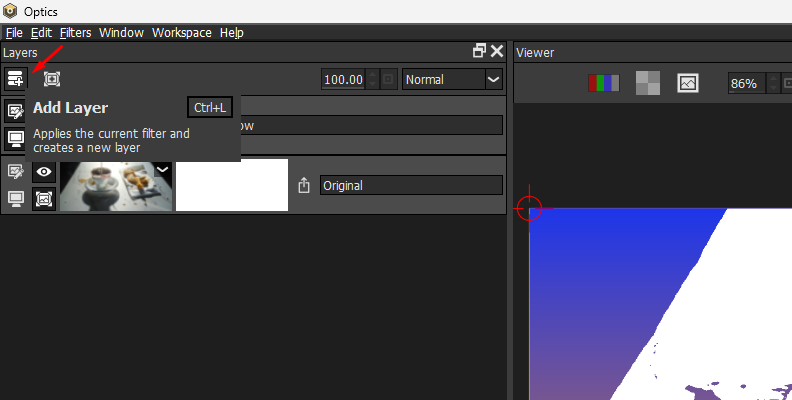
Whenever you want to add a new filter, remember to add a new layer by clicking the Add Layer button above the layer panel or using CTRL/CMD + L.
You can explore each category of effects or use the search option to type an effect. Here are some suggestions of effects you can try for surreal effects, and don't forget to check the presets:
Distortion: S_WarpPolar, S_WarpTransform, S_WarpChroma, Lens Distortion.
-
Light: S_Glow, S_Aurora.
-
Stylize: S_Kaleido, S_InfiniteZoom, S_ParallaxStrips.
-
Particles: Explore the particle category to find dust motes, bubbles, fire, and magical effects.
-
Render: S_Clouds, S_NightSky, S_UltraZap.
-
Color: S_ChannelSwitcher, Levels, Curves, Ozone, Selective Color Correct. Check also the Grads/Tint category.
-
Blur: S_BlurChannel, S_BlurChroma.
-
Step 4: Masks
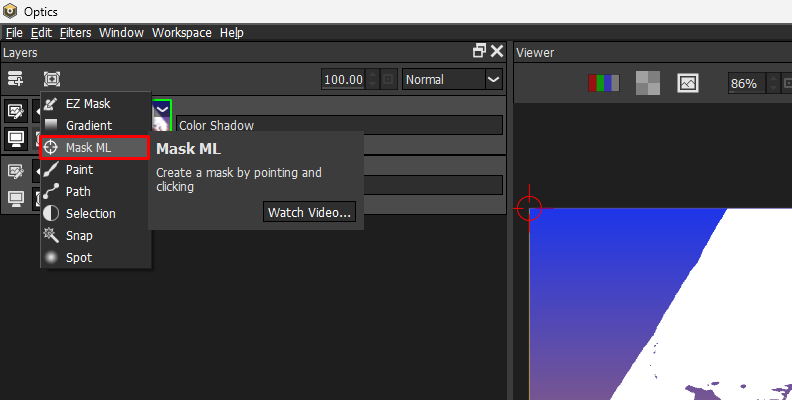
Use masks to apply the filters selectively on specific areas of your image. Isolate objects to add a surreal touch. Optics features advanced AI masking tools that make the masking process quicker, keeping you working creatively.
Layer various effects, rearrange them, and add masks to create unique effects for different realities within the same image.
-
Step 5: Save Your Image
Click Apply to return to Photoshop in the plugin version. In the standalone version of Optics, go to File and click Save. Select the file type and name your new surreal image.
Final Words on Surreal Photography
Surrealism is all about pushing boundaries and breaking the ordinary. Experimentation and creativity are key when editing your photos, so make sure you try different combinations of settings and filters to discover new surrealist looks for your photography portfolio.
Keep practicing until you find your style and share it with the world, and good luck!