Drums are undoubtedly the trickiest instrument to record and mix. In professional recording studios, drums can be surrounded by 20 or more microphones, each designed to best capture the frequencies of the drum part they’re next to.
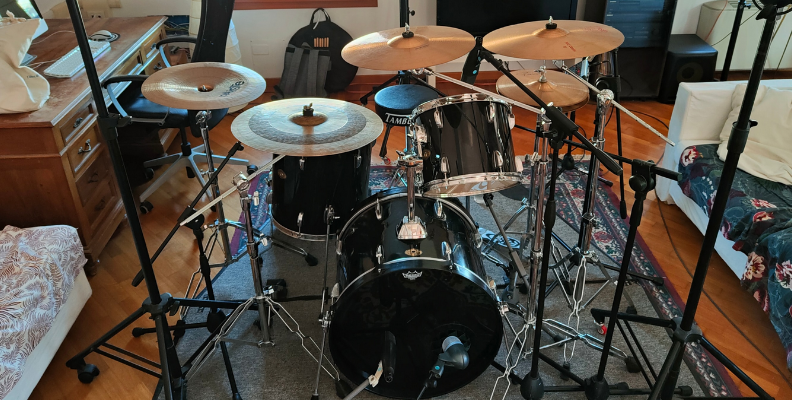
In my experience, there’s very little guesswork when it comes to mixing drums. You need to have a clear idea of the sound you’re looking for, and whether you can achieve that sound with what you have at hand: the instrument, microphones, plug-ins, and the musician themselves.
Today’s article is all about mixing drums. We’ll take a look at the most common practices, how to make every part of your drum kit shine, and how to use Samplitude to mix drums quickly and professionally.
Step-by-Step Guide: How to Mix Drums
-
Kick
Opinions vary, but 90% of the time, I start mixing from the drum kick. The reason is that the kick is usually the natural “pulse” of a song, and also because it sits right in the center of the mix.
Whether you're mixing a techno track, rock drums, or an avant-garde jazz piece, you want your kick drum sound to be punchy and deep, and the way you achieve this is by carefully combining EQ and compression.
Start with a high-pass filter around 30-40Hz to get rid of unwanted low frequencies, but make sure you don't affect the natural resonance of your kick drum. If it still sounds muddy, try to mitigate cutting frequencies between 200 and 250Hz.
To give the kick sound more power, I usually boost the range of 70-100Hz and enhance the 2k-4kHz range; the former dynamic range gives it depth, while the latter a "snap" effect that makes it more groovy.
There’s no one-size-fits-all solution with compression. Most of the time, your goal is to make sure kick hits sound cohesive and natural, with the same volume level and energy.
As a rule of thumb, I suggest you start with a subtle ratio of 3:1 to 5:1, then adjust the threshold until you see some compression happening, with about -3 dB to -6 dB of gain reduction.
For the attack and release settings, go for a fast attack to give it a punchy sound, and adjust the release time so that it stops working before the next kick hit.
Once you’re happy with the sound, adjust the output gain to match the original volume of your kick, as compression will have lowered the volume.
-
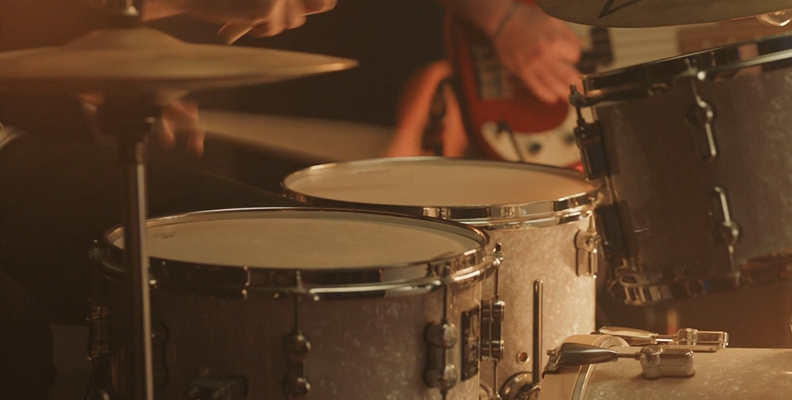
Snare

The snare drum is just as important as the kick. It’s the driving force of a song’s groove, and it has to work in unison with the kick drum to push the song forward.
Start with a high-pass filter to remove low-end frequencies below 100 Hz.
Next, focus on the snare's fundamental frequency, which is usually between 150 and 250 Hz. Boosting the 150Hz-170Hz range will make it sound fuller, whereas enhancing the 180Hz-200Hz range will make it sound sharper. The choice is up to you.
If necessary, you can cut frequencies around 500 Hz to 800 Hz to make the sound clearer and less muddy.
If the snare has some unpleasant ringing or harsh frequencies, use a parametric EQ and lower the gain on any annoying spots, usually between 500 Hz and 1.5 kHz.
Now, let’s make the snare drum stand out.
Boost the 3–5 kHz range and use a high shelf boost above 8 kHz to make it more present and powerful.
As for snare compression, start gently as with the kick drum, and apply a fast attack with a medium to slow attack. The result should be a snare drum with a sharp and controlled sound, and a compression that ends right before the next hit.
-
Toms
Depending on the track you’re working on, toms can be a crucial or marginal element of your mix.
Regardless of their presence, you should start by removing the low-end rumble below 100 Hz.
The tom's natural resonance normally sits between 80 and 200 Hz, so boost these frequencies to give it depth and make a cut around 400 Hz to make it less muddy.
Finally, enhance the attack by boosting the 1–5 kHz range. When it comes to compression, a good starting point is a 4:1 ratio with a fast attack and a medium to slow release.
The process changes depending on the genre you're working on and the tom mics. You might want a faster attack in a heavy metal track and a slower one in smooth jazz. All in all, your ear is the ultimate judge.
Finally, I'd recommend you add reverb to create a sense of space and immersiveness.
-
Cymbals
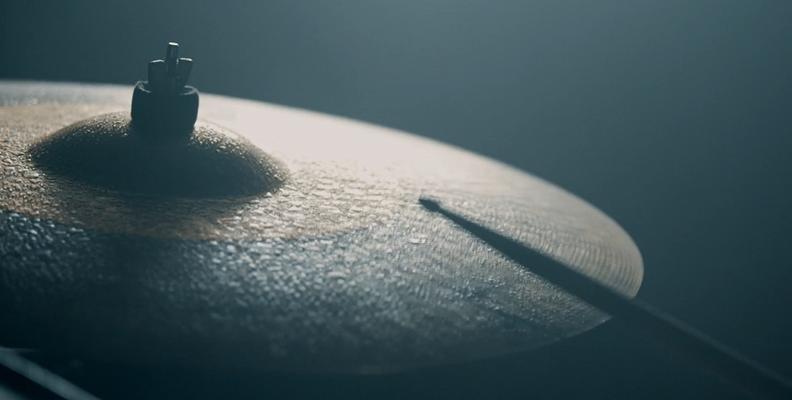
Cymbals can be a nightmare in post-production, especially the hi-hat, the most obtrusive drum element ever invented.
All cymbals have their own specific sound signature, which means that each cymbal's dynamic range has to be carved out carefully to avoid conflicts in the final mix.
At this stage, EQ is your best friend. Start with the hi-hats and apply a high-pass filter around 150Hz to mitigate "drum bleed" from the snare mic. Adjust the body of the hi-hat at 400Hz by either boosting or trimming, depending on whether you want a thinner or fuller sound.
If it sounds too harsh, use a dynamic cut at around 4kHz, and if necessary, make it brighter with a boost at 7kHz.
With compression, try to smooth out sharpness in the higher frequencies and get a gain reduction of around 1-2dB. This should give it more power without sacrificing any fundamental resonance.
When it comes to cymbal mics, I start with a high-pass filter at 200Hz to get rid of low-end frequencies we don't need.
A boost in the 300-400Hz range can enhance the body of the cymbals, but if they sound too thick, try reducing frequencies in this area.
Just like with the hi-hats, mitigate frequencies at 4kHz to get rid of harshness. Give a small boost around 10kHz to make it sparkling, but if the cymbal is already prominent, you can cut these frequencies to make it blend better with the rest of the mix.
-
Overheads
Overheads or room mics are critical because they record the whole drum set. That said, the sounds they capture are "reinforced" by the other mics, so I'd suggest you don't do too much to affect their sound, unless they're creating conflicting issues.
If you're using them to enhance just the cymbals, you can use a high high-pass filter to highlight their frequencies. If you want the full kit, go for a lower setting.
It's likely you'll find some frequency clashes around 500 to 600 Hz. In that case, use a parametric EQ to fix any conflict.
I tend to avoid compression on overheads, but you can add a little if you want a powerful sound in certain parts of your mix. If there's any harshness you want to get rid of, focus on frequencies around 4 to 8 kHz.
How to Mix Drums with Samplitude

With the recent release of Samplitude 2025, let’s take a look at how we can mix drums professionally using the latest version of this powerful DAW.
-
Setting the Levels
Volume balance is the first thing you should work on.
I usually start by bringing up the faders one by one, starting with the kick and snare, then the toms, cymbals, and overheads.
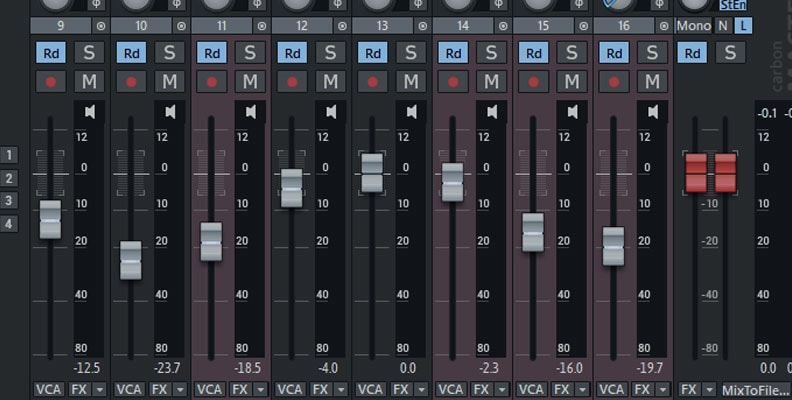
Create a natural balance where every part of the kit is audible, but leave some headroom. If your drums are peaking around -10 dB, you’ll have enough space for other instruments and mastering later.
-
Panning
Panning helps you create space and add realism to your drum sound. Every element of your drum set should be clearly positioned in the soundstage before you apply any effect.
It’s super easy to control stereo placement on Samplitude. In the Mixer view, you can find the panning knob at the bottom of each track.
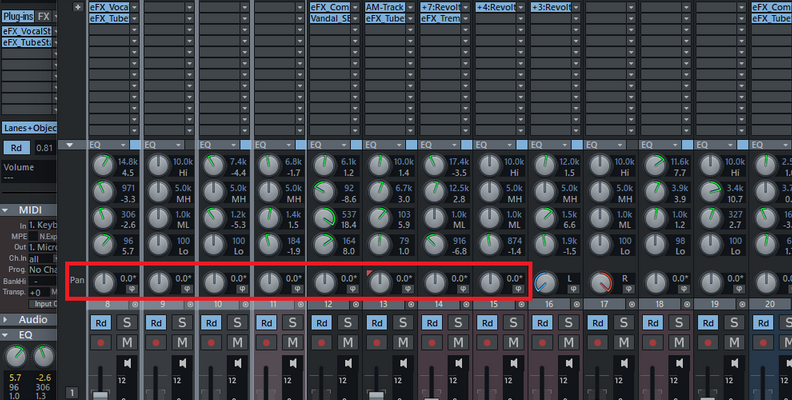
Pan your hi-hats slightly to the left or right, toms across the stereo field depending on how you want them to feel, and leave the kick and snare in the center. Cymbals should be slightly off-center and spread organically on both sides.
Overheads should create a wide soundstage to recreate the drummer's perspective. Not fully panned, but almost.
-
EQing
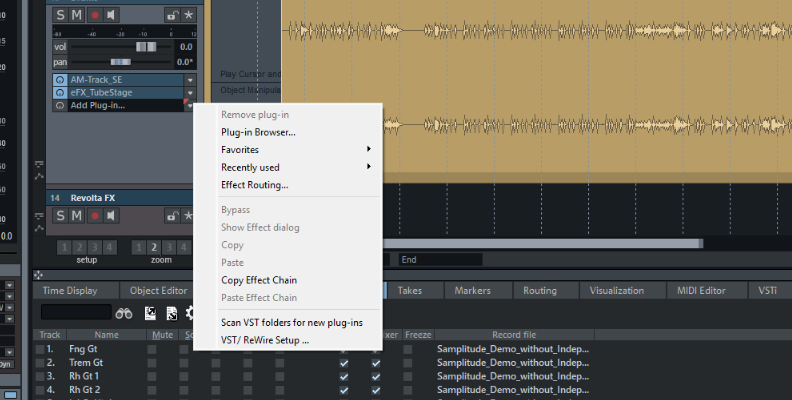
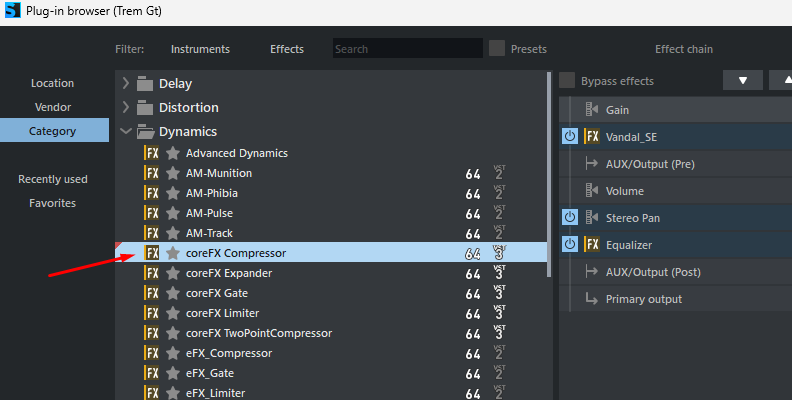
As for EQing, you can refer to the previous section of the article where I talked about each separate element of the drum kit. To add a plug-in, go to the track, and in the plug-in section, click on the dropdown menu and load your plug-in.
-
The Drum Bus
Let’s route all your drum tracks to a dedicated drum bus.
Drum bus processing helps you treat the drum kit as one instrument, and not separate recordings, which gives you a uniform and cohesive sound that makes the instrument sound more realistic.
It also makes balancing and processing all the instruments much easier, as you can add EQ, compression, and other effects to the entire mix at once.
Once you’re happy with the internal balance of your tracks, on the Default view on Samplitude, click on the dropdown menu of the track you want to route to a bus and select Insert New Tracks – New Submix Bus.
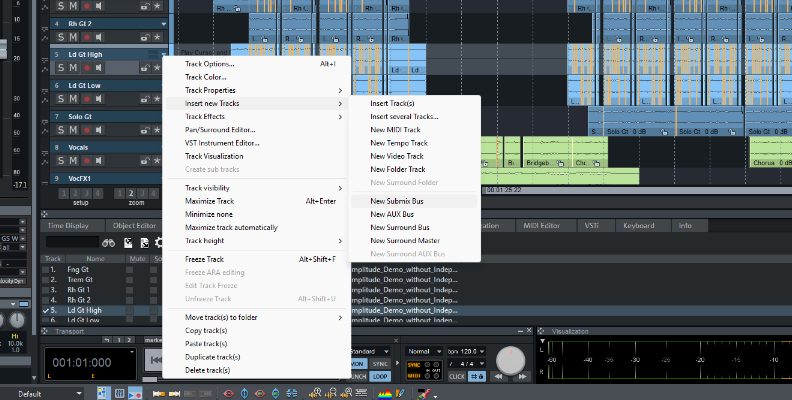
You can do the same by scrolling down to the bottom of your workstation and right-clicking Insert New Tracks – New Submix Bus. In this way, you’ll create an empty submix.
Next, open the Mixer window (press M or the Mixer icon at the bottom left), select all the tracks you want to add to the mix bus (Ctrl + left-click). Go to Output at the bottom of one of the selected tracks, and select the correct bus.
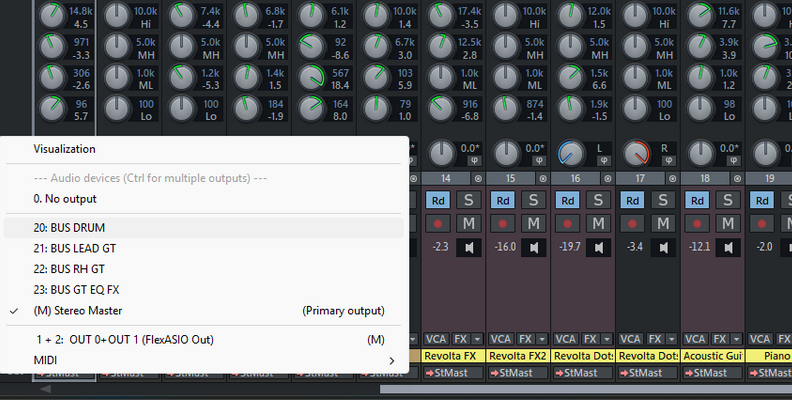
Adding effects to this channel will affect all drum recordings in the drum bus.
-
Compress and EQ the Drum Bus
Adding compression to the drum bus will glue the drum kit together and make sure the volume is consistent.
This is the part where you should trust your ears: adjust the threshold until you get some gain reduction, but make sure you don’t sacrifice the natural sound of your drums for the sake of making them louder.
You can also try parallel compression. Instead of compressing the drum channel directly, you send it to a separate channel, apply heavy compression there, and then blend it back with the uncompressed drums. This will preserve the initial sound of the drum kit while adding the energy from the compressed signal.
Next, apply some EQ to make the tone cohesive. If you boost the low end, you’ll get a deeper and more galvanizing sound, and enhancing the high frequencies will give you more sparkle. Try both and see what works best for your music.
-
Create Space Using Reverb
A final touch: add reverb to give your drums a sense of space. Subtle reverb on the snare or toms works magnificently if you want to make the kit sound larger and more immersive.
Reverb should add realism but also smooth out harsher frequencies on the drums. If you want to go extra deep into the mix use Samplitude's exceptional 3D Reverb to create an immersive effect that will enhance the beauty of your drum sound.
Common Drum Mixing Mistakes
-
Phase Issues
Since drums are recorded with multiple microphones, overlapping frequencies can cancel each other out or cause a very weak signal.
If this happens, you’ve got a few options during the mixing process. One is to use EQ: shape each track so that where one has a boost, the other has a cut. Another option is to flip the phase on one track with a phase polarity plug-in.
-
Harshness
The late Steve Albini called the hi-hat a “truly satanic instrument”, and I couldn’t agree more. It gets everywhere, affects every microphone and all high frequencies, and makes music editing a nightmare.
Hi-hats and cymbals in general are harsh by nature. If they sound too piercing, use EQ to cut some of the high frequencies around 4–8 kHz. A dynamic EQ works even better because it only lowers harsh spots when they pop out.
-
Neglecting the Stereo Image
If you keep all your drums in the center of the stereo field, they’ll sound dull.
Use panning to spread them out: keep the kick and snare in the middle, place the toms across the left and right, and let the overheads give the kit some stereo width.
-
Too Much Reverb
Reverb can make drums sound alive, but use it carefully: it should enhance the sense of space in your mix, without sacrificing the natural sound of your drum kit or affecting other instruments.
-
Over-Compression
Compression makes drums tighter, but it’s easy to flatten them, especially if you’re mixing a rock or heavy metal track. Use it subtly, and focus on realism rather than raw power. If the drums sound great, they’ll naturally feel loud and powerful.
Final Words
I hope this guide will help you bring an unforgettable drum sound to life!
With cutting-edge features and a flexible workflow, Samplitude gives you everything you need to record, mix, and master drums professionally. Start your 15-day free trial today and see how it can transform the way you mix your drums.