Whether you're a reporter, a film student, a podcaster, a social media influencer, or just someone who loves recording regularly, knowing how to get the most out of your content by optimizing all that's in your power is very important for your success, regardless if that's just a hobby or a professional project.
This guide will cover everything you need to know about recording good-quality audio on your Android device that you can take anywhere with you, so if you want to learn more, let's dive straight into it!
Here's what you need to know.
Step-by-Step How to Record Audio on Android
Smartphones nowadays are very capable of various tasks. You can create professional content using nothing more than your Android phone, and most won't even notice that you aren't using professional industry-standard equipment.
However, even though smartphone developers try to simplify and improve features and functionality with each new hardware and software update, so there are still some things you need to take into your own hands to get the best possible results.
Here's what you can do to ensure your Android audio recordings are top-notch:
-
Step 1: Choose the Right App
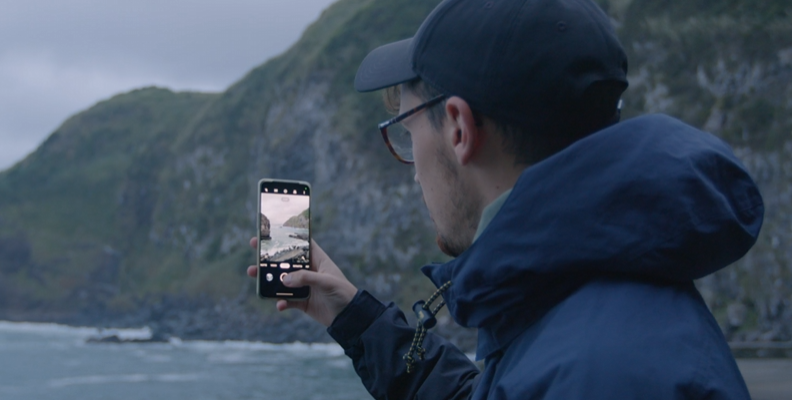
The first step in recording high-quality audio on your Android device is selecting the right app.
While the default voice recorder app on most Android devices works for basic recordings, third-party apps often provide advanced features that can greatly improve audio quality. Apps like Dolby On, RecForge II, and Hi-Q MP3 Voice Recorder allow you to adjust audio settings, reduce noise, and select different file formats for better control.
Make sure to review the app’s features, ratings, and compatibility with your device to ensure it meets your needs.
-
Step 2: Set Up Your Environment
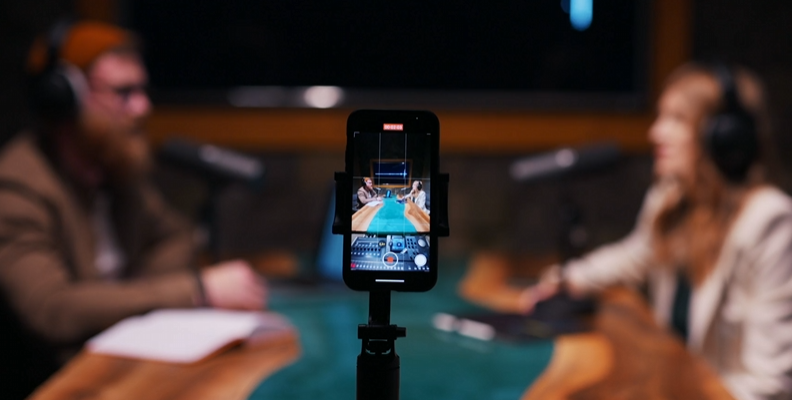
Recording in a quiet and controlled environment is essential for capturing clear audio. Minimize background noise by choosing a room away from external sounds, such as traffic or people talking.
Rooms with soft furnishings, like curtains, carpets, or cushions, are ideal as they absorb echo and reduce reverb. Turn off appliances like fans, air conditioners, or anything else that generates noise, and consider placing blankets or towels on hard surfaces to further dampen sound reflections.
-
Step 3: Prepare Your Android Device
Before you start recording, ensure your device is fully prepared. Check that the battery is sufficiently charged, or keep the phone connected to a power source.
Make sure you have enough storage space available to prevent interruptions or reduced quality due to limited memory. To avoid disruptions from calls or notifications, activate airplane mode before you begin your recording session.
-
Step 4: Use an External Microphone
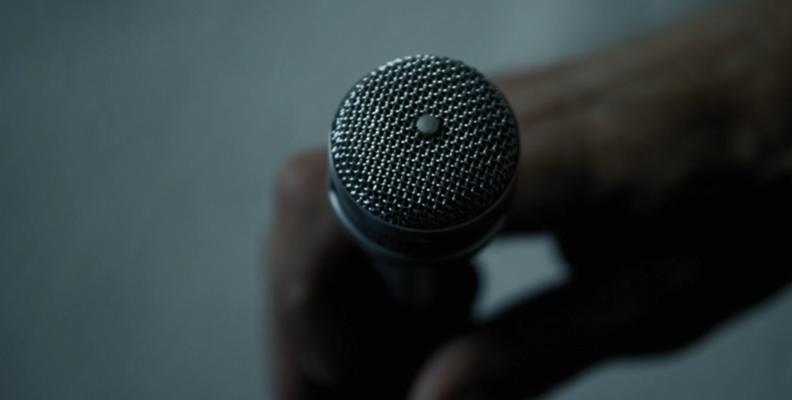
Although the built-in microphone on most Android devices is serviceable, using an external microphone can significantly enhance the audio quality. Consider options such as lapel microphones for interviews, shotgun microphones for directional sound, or USB condenser microphones for studio-quality recordings.
If your device lacks a headphone jack, you can use a USB-C adapter to connect the microphone. Test your setup with a short recording to confirm that the app recognizes the external microphone.
-
Step 5: Adjust App Settings
After selecting your recording app, take a moment to adjust its settings for the best results. Choose a high bit rate, such as 256 kbps, and a sample rate of at least 44.1 kHz to ensure detailed audio capture.
Use lossless formats like WAV for professional-grade recordings or MP3 if you need smaller file sizes. Check the microphone gain settings to avoid audio distortion from loud sounds or overly quiet recordings. It’s a good idea to do a test recording to make sure your settings are optimized.
-
Step 6: Position Your Microphone
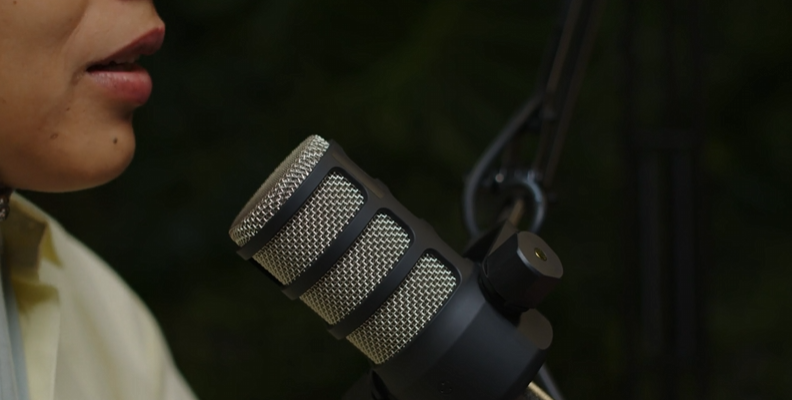
Proper microphone placement is crucial for clear and consistent audio. For speech recordings, position the microphone about 6 to 12 inches away from your mouth. Ensure that the microphone is pointed directly at the sound source to capture the best quality.
If you’re using a handheld microphone, try to keep it steady or use a stand to minimize handling noise. In case you must handle the microphone yourself, try wearing clothes that aren't made of materials that make a lot of noise when touched.
-
Step 7: Start Recording
With your environment and settings ready, open your recording app and press the record button. Speak clearly and consistently into the microphone, maintaining a steady volume throughout.
If your app allows you to monitor audio levels in real time, keep an eye on them to ensure they stay within an acceptable range without clipping or distorting.
-
Step 8: Pause or Stop Recording

If your app supports pausing, use this feature during breaks to create a continuous recording without unnecessary sections. When you’re done, stop the recording and save the file. It’s helpful to give the recording a descriptive name that includes the date or project name to make it easier to locate later.
Pausing during breaks may seem like a hassle at the time, but it will save so much time later on in editing that it's worth doing every chance.
-
Step 9: Review and Edit Your Recording
After recording, listen to the playback to ensure the audio quality meets your expectations. If there are issues, you can use audio editing software like Adobe Audition, Audacity (on a computer), or mobile apps like WaveEditor to clean up the file.
Common edits include trimming unnecessary sections, removing background noise, and adjusting volume levels to ensure there aren't parts that are too low or peaking.
-
Step 10: Share or Backup Your Recording
Once you are satisfied with your recording, it’s important to save and back it up. Use cloud storage services like Google Drive or Dropbox to keep a secure copy.
Alternatively, transfer the file to your computer or an external hard drive for long-term storage. This step ensures that your work is safe and easily accessible for future use.
Avoid sending your files through various platforms that aren't specifically meant for sharing files without compression. You do not want to lose quality before your files even reach the editing workspace.
Best Third-Party Recording Apps for Android
When it comes to recording high-quality audio on your Android device, third-party apps often provide features and flexibility far beyond the default voice recorder. Here are three of the best options available, each offering unique tools to help you achieve professional-level recordings.
-
Dolby On

Dolby On is an excellent choice for anyone looking to record audio with minimal effort while achieving high-quality results. This app is powered by Dolby’s advanced audio processing technology, which automatically reduces background noise, balances levels, and enhances clarity. It’s perfect for recording music, voiceovers, or even podcasts.
The app’s user-friendly interface makes it accessible even for beginners, while its customizable options appeal to professionals. Dolby On supports various file formats and includes built-in tools for adding effects like reverb or equalization. You can also tweak settings manually if you prefer a more hands-on approach. Additionally, it integrates seamlessly with streaming platforms, allowing you to share your recordings directly to social media or cloud services.
-
Hi-Q MP3 Voice Recorder
Hi-Q MP3 Voice Recorder is a versatile app known for its high-quality recordings and intuitive controls. One of its standout features is the ability to record directly in MP3 format, which ensures compatibility with a wide range of devices and platforms. The app also supports WAV, FLAC, and OGG formats for users who need lossless quality.
Hi-Q MP3 offers manual control over bit rates, sample rates, and microphone gain, giving you the flexibility to adjust the settings based on your recording environment. It also supports external microphones, making it a great choice for professional audio capture. The app’s built-in cloud integration allows you to back up recordings to services like Google Drive or Dropbox automatically. While some advanced features are locked behind the premium version, the free version offers more than enough for most users.
-
RecForge II

RecForge II is a powerful audio recording and editing app designed for users who need more advanced functionality. Unlike other apps, it focuses not only on recording but also on post-processing, allowing you to edit and enhance your audio directly within the app. It supports a wide range of formats, including MP3, WAV, and OGG, and provides detailed customization for bit rates, sample rates, and recording duration.
One of RecForge II’s highlights is its scheduling feature, which lets you automate recordings at specific times—a useful tool for meetings, lectures, or capturing ambient sounds. The app also supports external microphones and offers tools like pitch adjustment, tempo control, and real-time monitoring. While its interface might take some time to get used to, the range of features makes it ideal for power users and professionals who need detailed control over their recordings.
These three apps provide a range of options to suit different needs, from casual users to professionals. Whether you prioritize simplicity, compatibility, or advanced features, choosing the right app will significantly enhance your audio recording experience on Android.
How to Improve Quality of Audio Recorded on Android with Voice Enhance
Try Voice Enhance Now!
Instantly transform any voice recording into professional-quality sound with the power of AI. No internet access required- your audio stays private and secure. Toggle it on/off to hear the difference.
On-location Interview
Selfie-style Phone Audio
Zoom Call
Ridiculous Echo
Traffic Noise
Far from Mic
Untreated Room
Recording at Home
On-location Interview
Voice Enhance is one of the world's most popular plug-ins for clearing up and enhancing audio files. It's part of the CrumplePop from Boris FX.
One of the best things about Voice Enhance, CrumplePop, and all Boris FX products, in general, is that they're widely compatible with all popular editing programs, meaning you won't have to change from your familiar and comfortable working environment to reap their benefits.
The second best thing is that the plug-in does everything you want it to do to your audio file in just a few clicks. Regardless of what you used to capture audio, you can make your work sound professional with this AI-powered tool.
In this section, we'll show you how to use Voice Enhance to easily and quickly improve the quality of your recorded audio.
-
Step 1: Import the Recorded Audio to Your Software of Choice
Launch your software of choice and create a new project. This software can be any software that CrumplePop's Voice Enhance is compatible with. It can be a DAW like Audacity or a video editing software like Adobe Premiere Pro or After Effects.
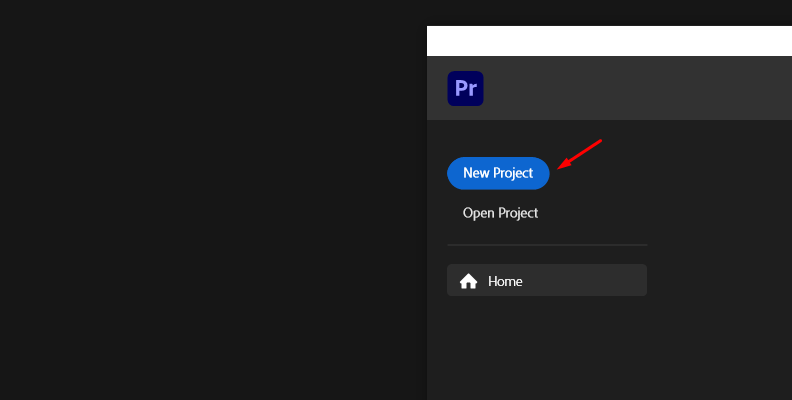
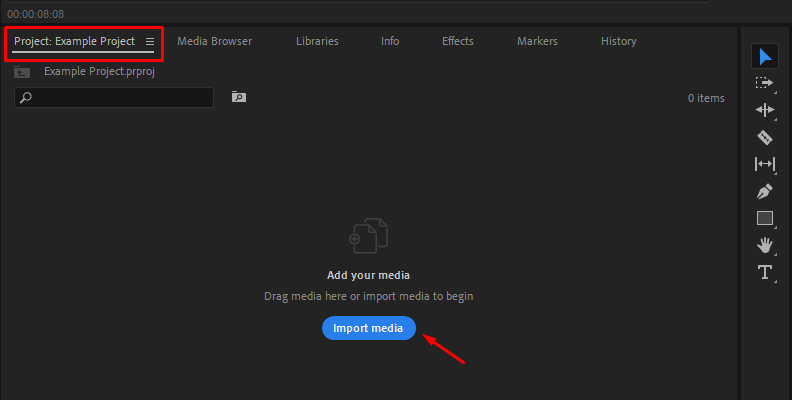
Once the software loads, import your recorded audio files. Then, once you have a timeline/sequence to work with, you need to apply Voice Enhance to your clip.
-
Step 2: Apply Voice Enhance to Your Audio Clip
Depending on the software you choose to work in and its user interface, this step may be a tad different. However, the idea is the same across all programs. Open the "Effects" panel and find Voice Enhance on the list.
Then, apply it to your audio clip that's set and ready on the timeline.
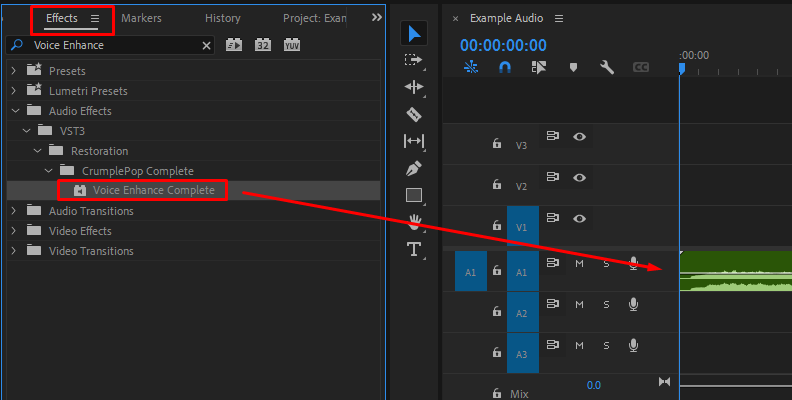
Once you apply Voice Enhance, you'll immediately notice the difference in your audio file's quality.
-
Step 3: Modify Settings if Required
In most cases, the results from just applying Voice Enhance to your clip will be enough. However, specific projects have specific goals, so if you need to adjust or modify anything, that's also easy to do with Voice Enhance due to its friendly UI.
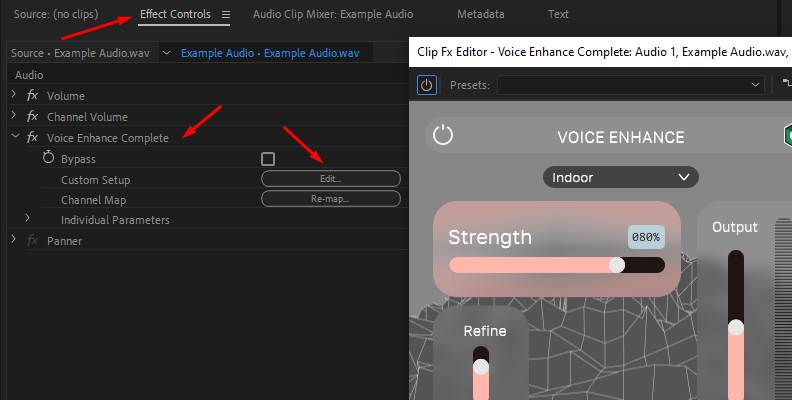
Depending on the software you're using, open the Effect Controls for Voice Enhance and adjust some of the parameters to your liking.
When done, re-listen and confirm that you like the changes. Then, your only step left is to save and export your enhanced audio file!
Final Words
Recording internal and external audio on Android is a regular need for many. If this is your first time needing to record audio through a sound recorder app on your phone, what we covered in the sections above should guide you in the right direction.
That said, we hope this will help you with all your projects in the near future.
We wish you the best of luck, and thank you for reading!
FAQ
In this section, you will find some of the most frequently asked questions and answers regarding this topic.
Does Android Have a Built-in Voice Recorder?
Yes. Android Phones have a built-in voice recorder. However, this applies when you want to record external audio or internal audio, such as sounds playing on your device. It's better to find a third-party app from the Google Play Store as they usually offer a lot more customization options.
How to Transfer Audio Recordings from Android to a Computer Without Losing Quality?
Whether you did some screen recording using the screen recorder feature on your Android phone or you recorded something outdoors using audio recording apps, it's important to transfer that material to your computer for further editing without losing any quality.
The easiest way to do this is to send the file to yourself via platforms such as WeTransfer, Dropbox, or Google Drive that allow sending files without compression. If you simply message yourself the file as a voice clip or a video through apps like Instagram or Facebook, they will very likely go through the built-in compression process and lose quality.


