Old photos are tangible mementos of our past, of loved ones long gone, and cherished moments. They can hold historical and emotional value, but sadly, with time, they can suffer damage from degradation, moisture, and mishandling, resulting in scratches, stains, and tears.
Restoring these photos digitally allows us to preserve a digital archive of those memories, and with today’s tools, anyone can restore, enhance, retouch, and even colorize old photos with programs like Adobe Photoshop.
In today’s tutorial, you’ll learn how to restore your old photos using Adobe Photoshop and the plug-in Optics by Boris FX, which expands the Photoshop built-in tools to further enhance and transform your old photos into unique pieces of art.
Let’s dive in!
How to Restore Old Photos in Photoshop

Let’s start with the first method using Adobe Photoshop's built-in tools. I’ll show you how to restore old photos manually and using the Neural Filters.
-
Step 1: Scan Your Old Photos
First, you need digital copies of the photos you want to restore. Scan your old photographs at the highest resolution possible, and save them in a folder on your computer. Then, import the photo into a new Photoshop document, duplicate the background layer (CTRL/CMD + J), and hide it. You’ll make all changes to the duplicated layer.

-
Step 2: Crop to Adjust the Photo
Often, when digitizing photos, you can end up with a tilted photo or blank spaces that need to be cropped. Analyze the image to identify what needs to be corrected and removed from the photo. Select the Crop tool from the left toolbar and adjust the edges of the handles to the desired size.
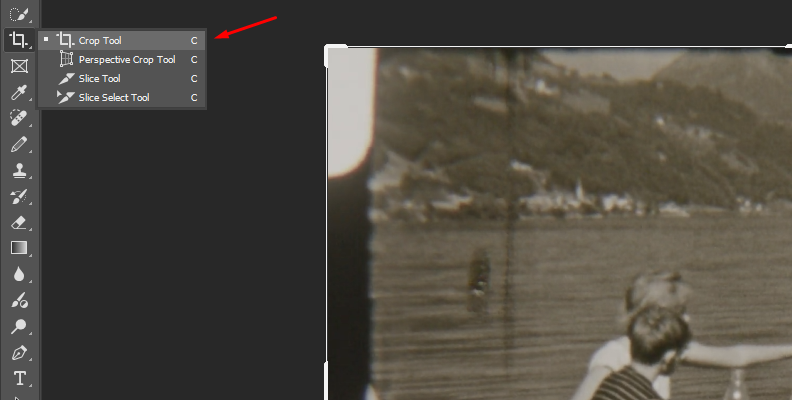
If you need to rotate the image, place the mouse outside the handles. When the rotate icon appears, drag it to adjust the desired orientation. Press Enter to apply the changes.
-
Step 3: Photo Restoration Filter
Next, apply a Neural Filter, which we’ll use as a starting point to later fine-tune it in the following steps. However, if you don’t have this option or prefer a manual process, you can skip this step.
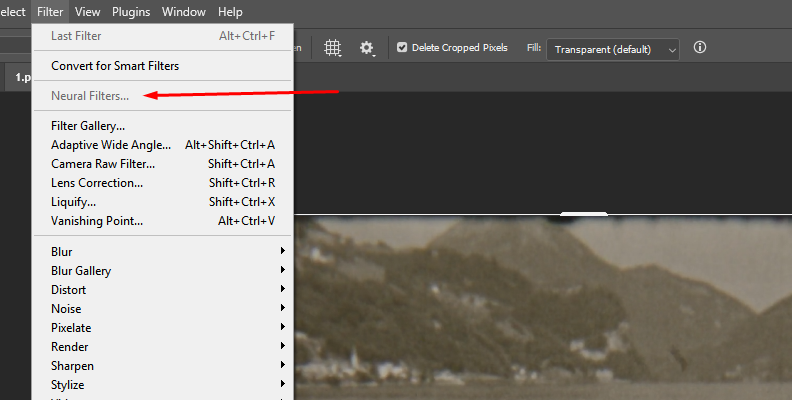
Select the duplicated layer, then go to Filter > Neural Filter > Photo Restoration and click download to get the filter. Once it downloads, turn it on, and you'll have several options to adjust on the right panel: "Photo enhancement" for general adjustments, "Enhance face" to improve facial details, and "Scratch reduction" to remove scratches from the image.
If you click the Adjustment tab, you can adjust more parameters for noise and artifact reduction. Once you have achieved the desired look, you can fine-tune it if it requires further restoration.
-
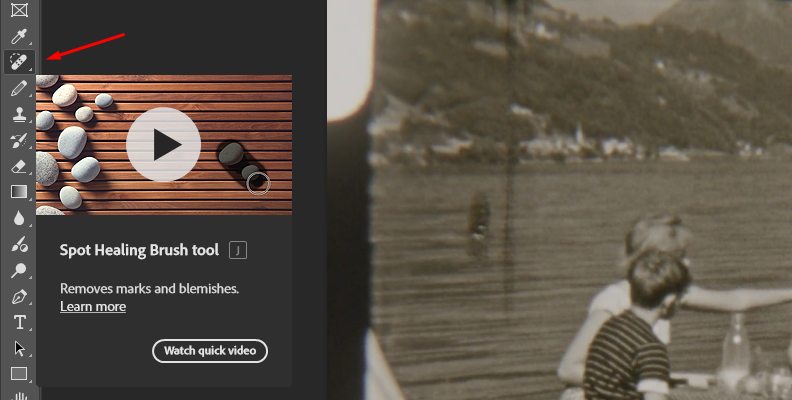
Step 4: Spot Healing Brush
The Healing brush helps you remove scratches and dust spots that the Neural filter may not be able to remove. Alternatively, if you're performing the restoration process manually, it's the most effective way to remove these artifacts. Select the Healing brush or press J, adjust the brush size, and then start painting over the scratches and blemishes.
-
Step 5: Clone Stamp Tool
Sometimes the tears and scratches are on areas that you need to keep consistent throughout the photo. Using the Clone Stamp tool to clone an area of the image can help you remove imperfections more naturally. Select the Clone Stamp tool or press S. Adjust the brush size and press ALT + Click to select an area of the image to sample. Release the ALT button and paint over the area you want to clone.
You can also experiment with the Patch tool to cover scratches and imperfections. Some tools will work best with different photos.
-
Step 6: Color Correction
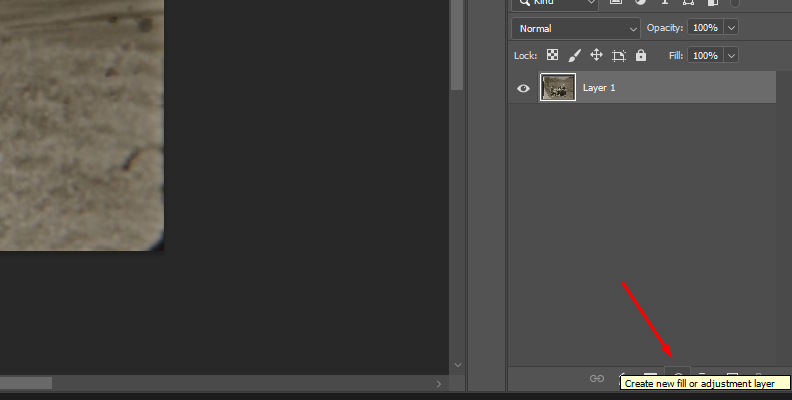
Click the New Adjustment Layer button at the bottom of the Layers panel and choose a Levels layer. You can click the Auto button or manually adjust the settings.
Add a new Hue/Saturation adjustment layer and use the sliders to change the colors of the image.
-
Step 7: Colorize (Optional)
If you're working with black and white photos, you can add color to enhance the image using the Colorize Neural filter, located in Filter > Neural Filters > Colorize. Then choose the profile and its strength, or adjust each slider manually to achieve a good colorizing effect.
Alternatively, you can colorize the image using the brush tool to paint your photo manually. Add a new layer and select the desired color to paint. Press B to select the brush tool, adjust the size as needed, and start painting over the image to color that area. Change the blending mode to Color and repeat the process with all elements that require color.
-
Step 8: Export Image
All you have left to do is save the picture. First, delete the original layer. Then, select all layers where changes were made and merge them to combine all layers into a single layer. Then, export the image by going to File > Save As. Choose the file format of your choice, the destination folder, and name the image file before clicking Save.
You’re finished restoring a photo in Photoshop!
Restore Old Photos in Photoshop with Optics

In this next part of the tutorial, you'll restore old photos using the Optics plugin inside Photoshop. Optics is a Photoshop plug-in that transforms your photos with professional-grade effects. Optics' editing toolkit enables you to restore and enhance your photos with over 100 filters and presets, featuring customizable controls, AI-powered masking, and film stocks.
-
Step 1: Set up Adobe Photoshop
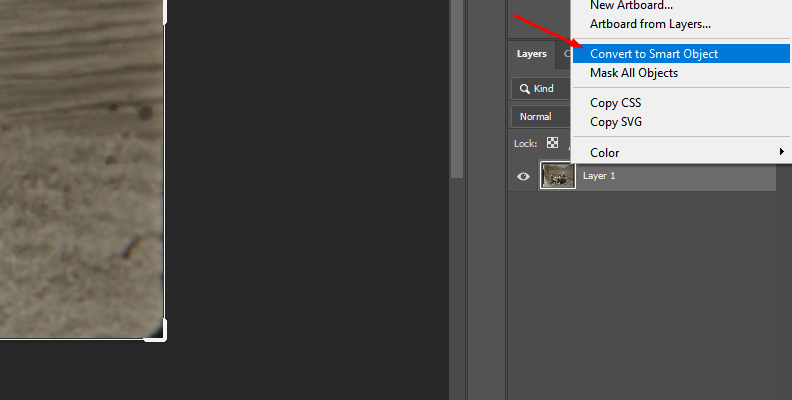
Import a scanned image into Photoshop and duplicate the image layer. Then, right-click the duplicate layer and select the option to convert the layer to a smart object to make non-destructive edits to it. If you need to crop or rotate the image, this is the moment to do it before applying the Optics filter.
-
Step 2: Add Optics
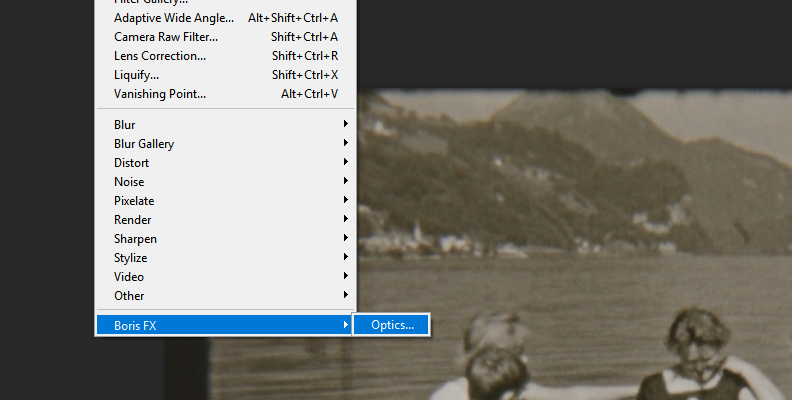
Select the new layer, then go to Filter > Boris FX > Optics to apply Optics as a filter to the layer.
This will launch the Optics plugin user interface, which works as an external photo editor. Once in Optics, your photo will be imported, and you can proceed with the restoration process.
-
Step 3: Fix Scratches and Noise
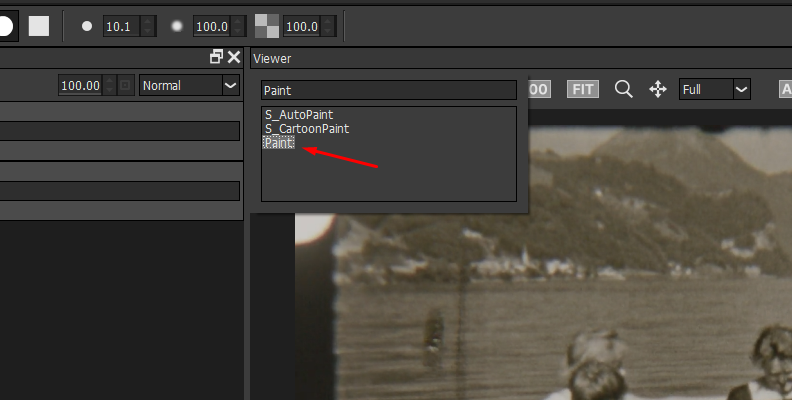
Let’s start by removing the scratches, blemishes, and other imperfections. Go to the Image category and select the Paint filter to apply it.
Think of this as the Brush tool in Photoshop. Locate the Repair tool (represented by a wrench icon) and adjust the brush size and softness settings.
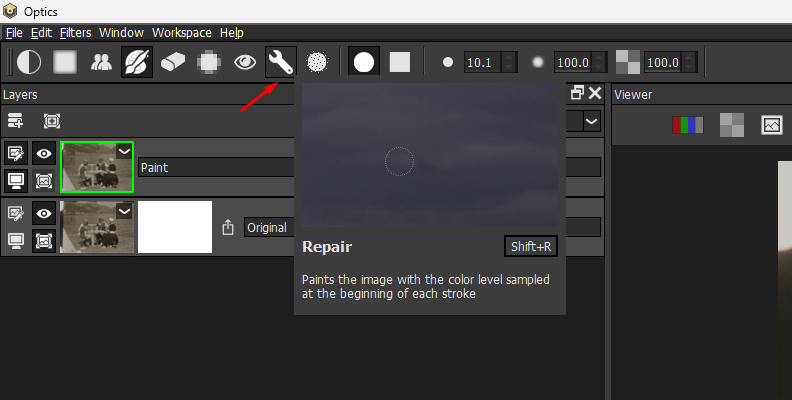
Start painting over the damaged areas, and the Repair tool will sample the color from the first click when you paint your strokes.
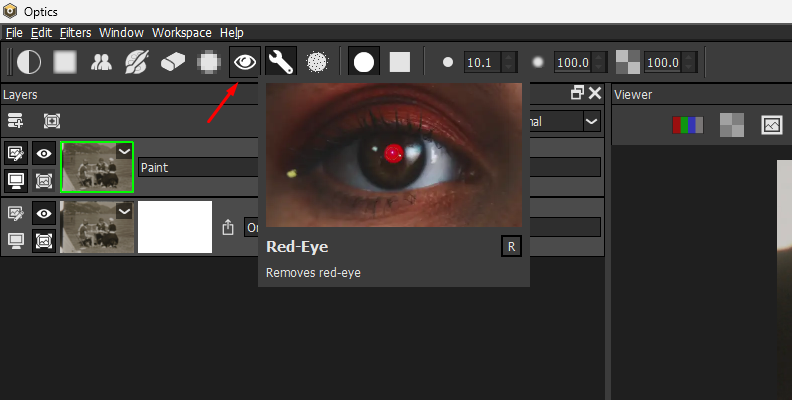
You can find other useful tools in the Paint filter, such as the Clone, Color, and Red-Eye tools.
-
Step 4: Fix Pixelation
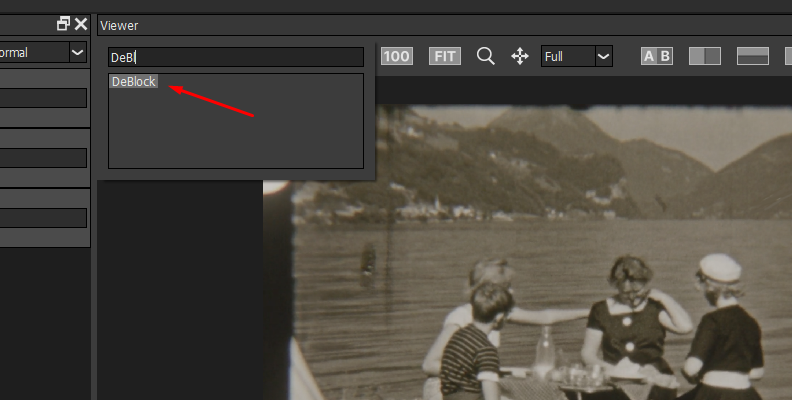
If your photo appears pixelated due to the low quality of the original image or the scanning process, Optics offers a DeBlock filter that can quickly correct this issue. Add a New Layer with CTRL/CMD + L, go to the Image category, and apply the DeBlock filter. This is a one-click tool that automatically removes block artifacts.
-
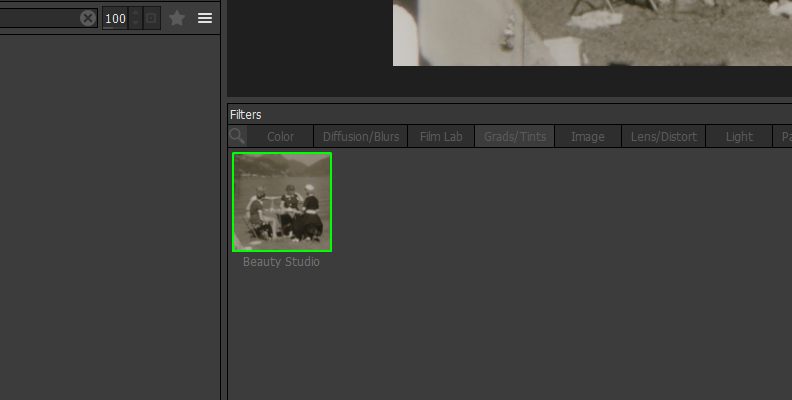
Step 5: Beauty Studio
Old photos are known for their imperfections in skin and facial features. With the Beauty Studio filter, you can soften them and apply color correction to achieve an accurate skin tone.
Add a new layer and apply Beauty Studio from the Diffusion/Blurs category. This filter features presets (located in the preset panel below the layer panel) that you can explore and customize using the filter’s parameters (on the right side panel).
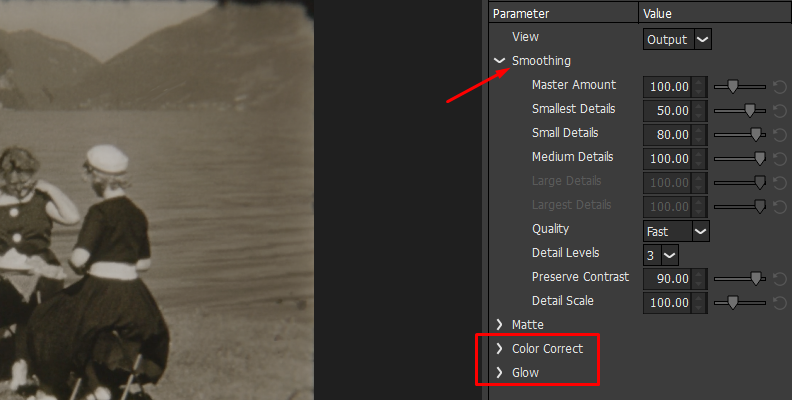
The filter works by establishing neutral skin colors to create the Matte Effect, then adjusting the Smoothing settings to control the amount of detail applied to the image. The filter provides control to adjust the smoothing at different detail levels.
Additionally, you can color correct and add glow.
-
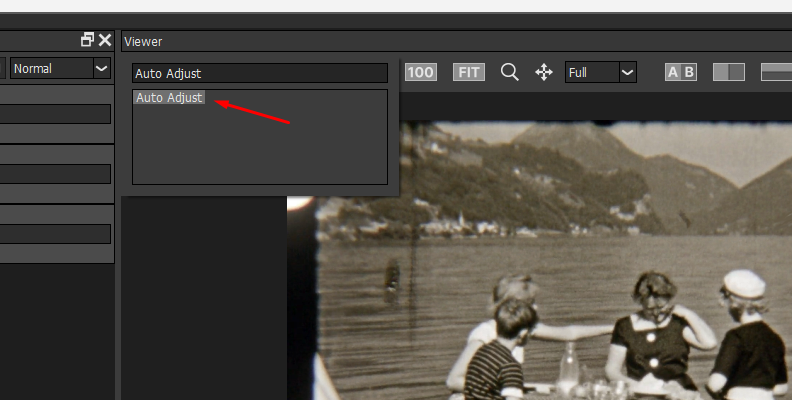
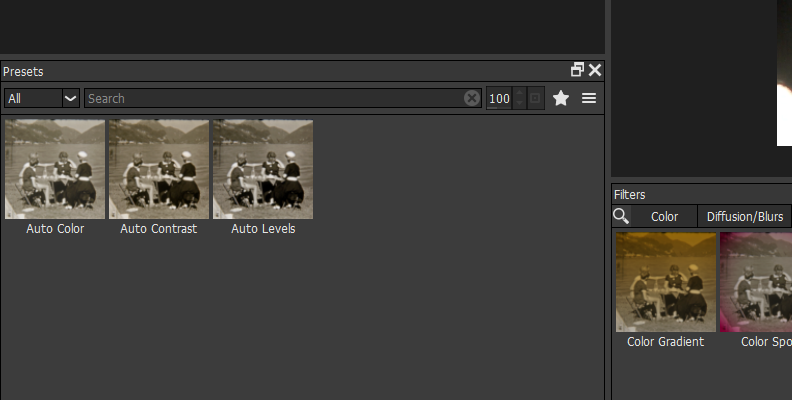
Step 6: Color Correction
The last step is to adjust the image's colors. In the Color category, you have several options for this process. A quick method is to use the Auto Adjust filter and select one of the three Types to adjust Color, Contrast, and Levels automatically.
Other filters I recommend trying and experimenting with are the Enhancing, Ozone, Develop, Selective Color Correct, and Selective Saturation.
You also have the standard wheels for Color Correct, Curves, and Shadows/Highlights. Remember to add a new layer every time you want to apply a different filter.
-
Step 7: Colorize (Optional)
If you want to colorize a black and white image, you can manually do it with the Paint filter and masks. Add a new layer and apply the Paint filter. Click the "Add Mask" button above the Layers panel to create a mask. The EZ Mask and Mask ML are the fastest options.
Now, click the Color filter thumbnail to edit it and select the desired color from the Parameters panel. Then, change the Mode to Tint and start painting. Create more instances of the filter if you need to add more detailed masks for objects and repeat the process.
You can also get creative using the Grads/Tints filters and masks to colorize black and white photos.
-
Step 8: Render
To render the image back to Photoshop, click the Apply button in the bottom right corner of the Optics user interface. Now your digital image is ready!
Final Words
Old photo restoration can be time-consuming, but thanks to Adobe Photoshop tools like the Neural Filters and Optics plug-ins, you can restore old photos more efficiently with minimal skills, simply by following this tutorial and experimenting with the filter settings. Every photo will have specific needs and details to adjust, so it’s wise to have a toolkit that can take on any project.
FAQ
Can Photoshop Restore Old Photos Effectively?
Photoshop is a professional tool that can efficiently restore old photos. However, you need to understand that the outcome will largely depend on the quality of the original image. Old photos that are highly damaged, torn, or have missing details may not be fully restorable. Thankfully, most old photos that do not present severe damage can be digitally restored.