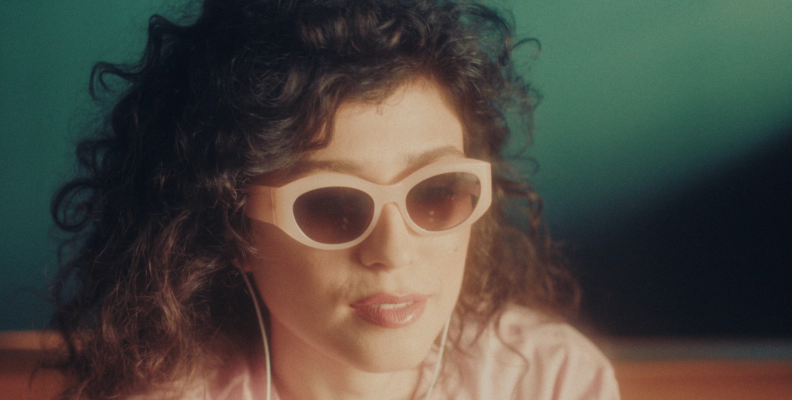
Do you remember the distinct look of VHS footage?
Whether you experienced it firsthand as a child during the height of VHS popularity or you simply appreciate the vintage aesthetic it offers, there’s something uniquely nostalgic about it. Low-quality VHS tapes come with all sorts of analog artifacts, noise, scanlines, distortion, and tracking issues: features that can now be replicated using post-production software.
Today, you’ll learn how to create a VHS effect in After Effects. I’ll show you different methods to replicate this effect with After Effects built-in tools and the new VHS Damage effect from Sapphire 2025.
Let’s dive in!
Create VHS Effect Using Adobe After Effects in 5 Steps
In Adobe After Effects, we’ll use different effects to simulate the characteristics of VHS tape, such as noise, color bleed, scanlines, and other analog artifacts.
Step 1: Set Up the VHS Tape Project
Import your footage to create a new composition. Add a new adjustment layer where we will craft the VHS look from scratch.
This way, if you want to make other edits, we won't modify the source footage.
Step 2: Craft the VHS Tape Look
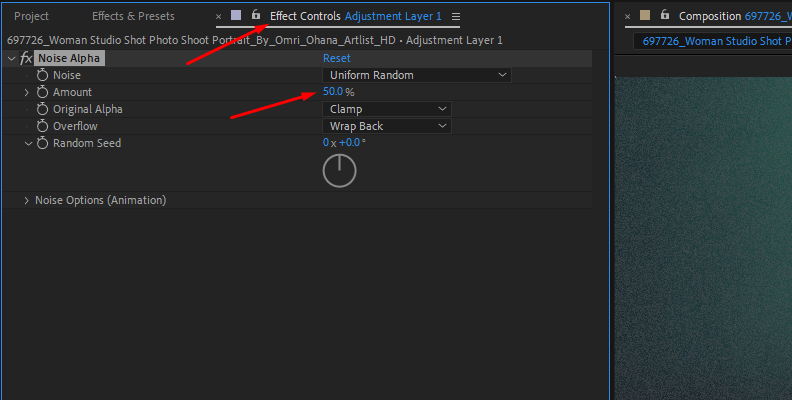
We'll start by adding noise to create the VHS footage. Go to your effects menu, search for Noise & Grain > Noise, and adjust the amount of grain in the effect controls panel. In Noise Type, you can add color grain or monochromatic noise.
Step 3: Create Scan Lines
Next, let’s add Venetian blinds to simulate the scan lines. Search for the Venetian Blinds effect and drag it to the adjustment layer.
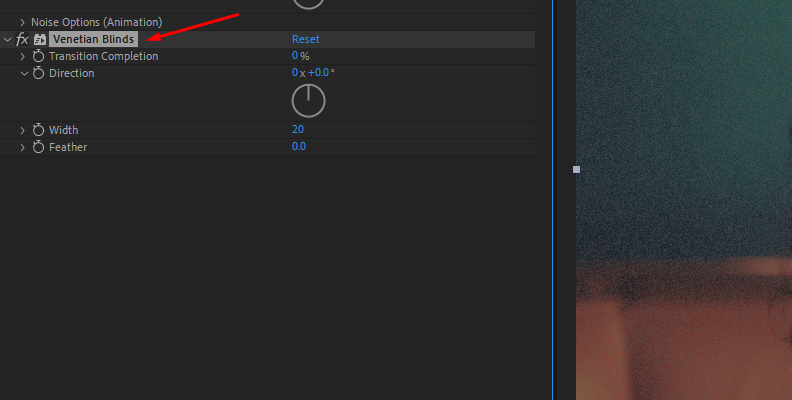
Adjust the Transition completion to set the blinds' openness. Set the direction to 90° to make the lines horizontal, and adjust the width and feather depending on how thin or wide you want the scan lines to be.
Step 4: Color Correction
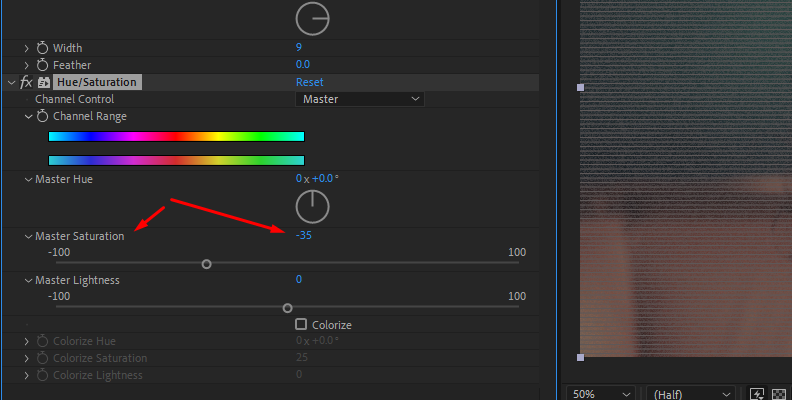
Add the Hue/Saturation effect and lower the saturation slider to dull the colors, creating a more authentic VHS look. You can use additional color correction filters to achieve a specific tone and adjust saturation, contrast, and brightness. In this step, you can get as creative as you want.
Step 5: Create a Displacement Map
Create a new solid layer called Displacement Map and add the Turbulent Noise. You can use the Transform parameter to create the noise's appearance. Then, add keyframes to the Evolution parameter to animate the noise.
If you're comfortable using expressions, alt-click the stopwatch and add a Time expression to a high number. Try a few combinations to set the speed of the animation.
Hide the displacement map layer and return to the adjustment layer. Add a Displacement Map effect to the adjustment layer and set your solid layer as the displacement map. Select Effects & Masks on Source and adjust the Max Horizontal and Vertical Displacement.
Review your composition and make any necessary adjustments. You can return to modify the noise, make color corrections, or add more distortion effects. When you're happy with the result, export and render the video.
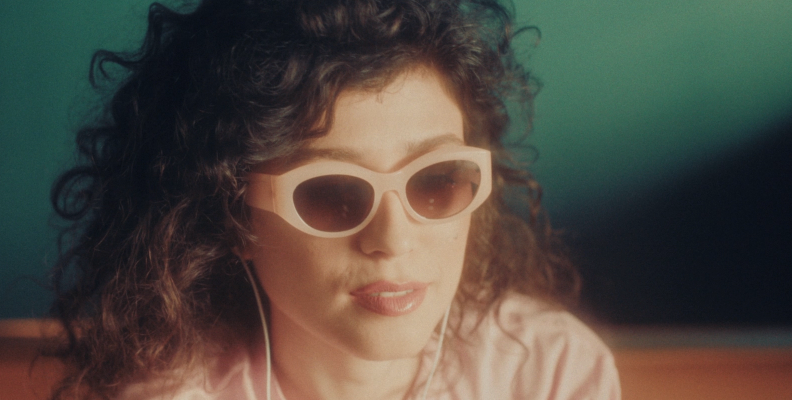
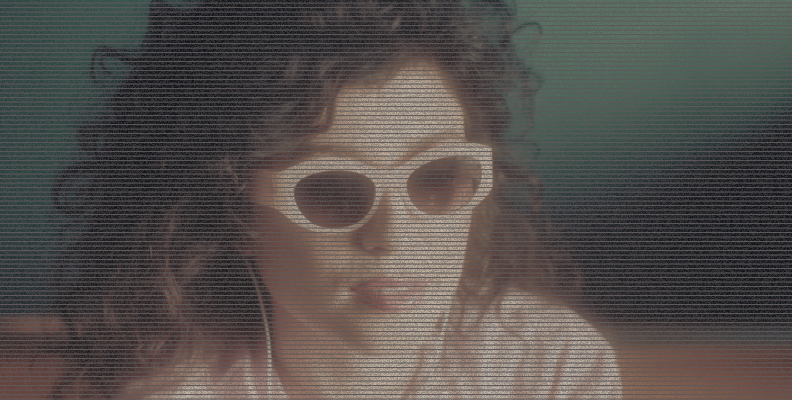
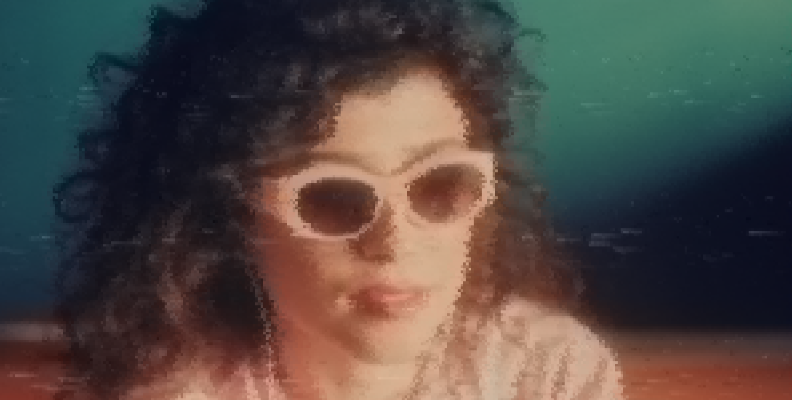
Here's how the final result turned out:
Create VHS Effect using Adobe After Effects with Sapphire VHS Damage in 8 Steps
Sapphire 2025 comes with VHS Damage, a nostalgic 80s analog tape effect that simulates the artifacts from analog tapes. The effect mimics interlaced combing, chroma, and luma degradation, tracking errors, and recreates other types of recording and playback noise. It features customizable presets ready to apply to your videos.
If you're a Sapphire user, update the plug-in to the 2025 version through the Boris FX Hub application to access VHS Damage. If you've never used Sapphire, you can download a free trial to follow the tutorial.

Step 1: Apply S_VHSDamage
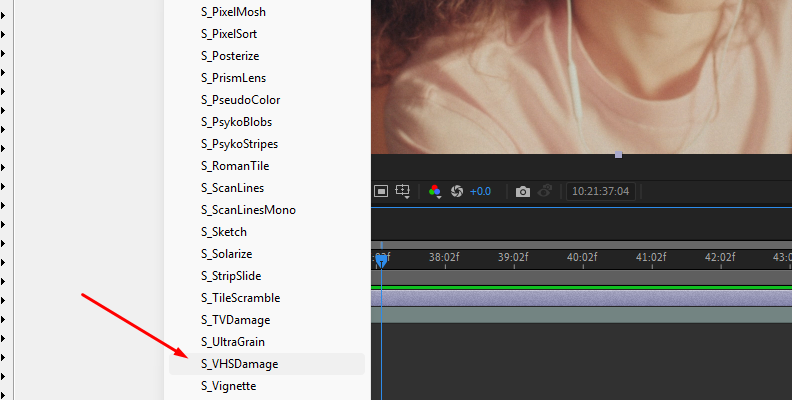
Import your video file and create a new composition in After Effects. Create a new adjustment layer to build the VHS effect. Go to the Effect menu, click Sapphire Stylize > S_VHSDamage, and apply the effect to the adjustment layer.
The effect’s settings are divided into different modules that can be turned on and off. When each module is on, you’ll have a group of settings to adjust for that particular parameter, providing you with tools to craft a different and unique VHS look for each project.
Just by applying the effect, your shot will already look very different.
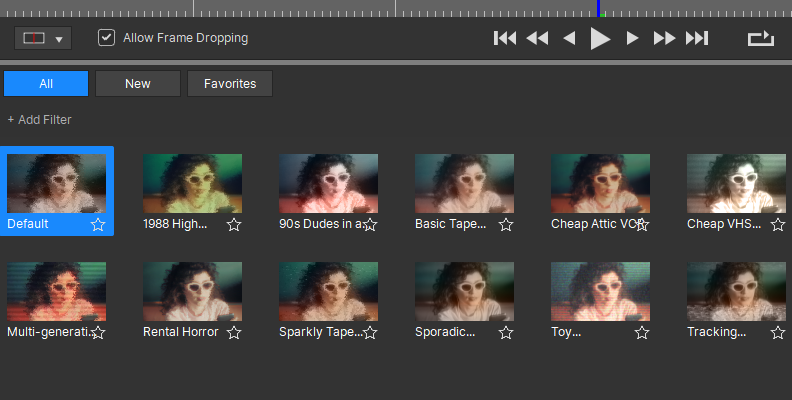
Step 2: Start with Presets
Since starting from scratch with all the options available can be daunting, you can browse the presets panel for inspiration. Then, each parameter can be customized to suit your projects.
Click the Load Preset button to preview all presets pre-installed with Sapphire. When you find something you like, click Load to return to After Effects.
If you want to start from scratch, you can select the Full Reset preset, which will restart all the settings to neutral so you can choose which modules to enable.
Step 3: VHS Damage Settings
We’ll briefly examine the VHS effect modules and what you can change with them. I encourage you to experiment with the settings, as creating a VHS look with VHS Damage can be fun but time-consuming when done from scratch. You can go for a complex or a simple VHS tape look.
You can adjust these settings in any order, but I'll use the order in which they appear in the effect controls panel.
Step 4: Downsample
The first module you have is Downsample. One of the main characteristics of a VHS tape is its low resolution. Enable this module to downsample the output resolution to 720 or 640 for an SD look.
Step 5: Interlaced Combing
Add interlacing artifacts, enabling Interlaced Combing to add that distortion that could be seen in interlaced videos. The effect will automatically adjust the raster lines in the frame to create a distorted look in areas with motion.
Step 6: Color Settings
You have several color options to craft your VHS effect the way you like. You can use LUTs by enabling the Color Style module and choosing up to two LUTs between four LUT options with a Strength and Tint slider to fine-tune the tone of your footage.
Other color settings are:
Color Downsample to reduce color resolution.
Color Aberration to add shift and blur to colors.
Color Bloom lets you add a vintage-saturated look.
Luma Adjust allows you to tweak the darks, mids, and lights and blur luma.
Step 7: Add Noise
VHS Damage gives you three modules to add noise and analog artifacts to your video, with settings to control the elements of each module.
Enabling Tape Noise adds a wiggle and distortion, which you can tweak to your liking within the Tape Noise Details settings. You can add a VCR Fast Forward effect and customize the band's look.
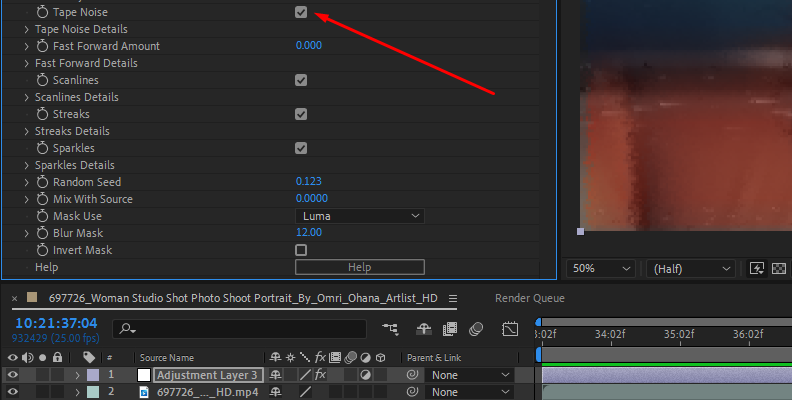
Add other noise elements, such as scanlines, streaks, and sparkles. Enable and modify their specific parameters to try different combinations to achieve an authentic VHS look.
Step 8: Final Touches
Whether you start from scratch or a preset, explore all the details you can configure for your VHS effect. Remember, you can combine other Sapphire effects to enhance your filter. Also, you can launch Mocha from within VHS Damage for tracking and masking.
If you're happy with the VHS effect but want it to be more subtle, you can use the Mix With Source setting to tune down the effect by blending it with the source image.
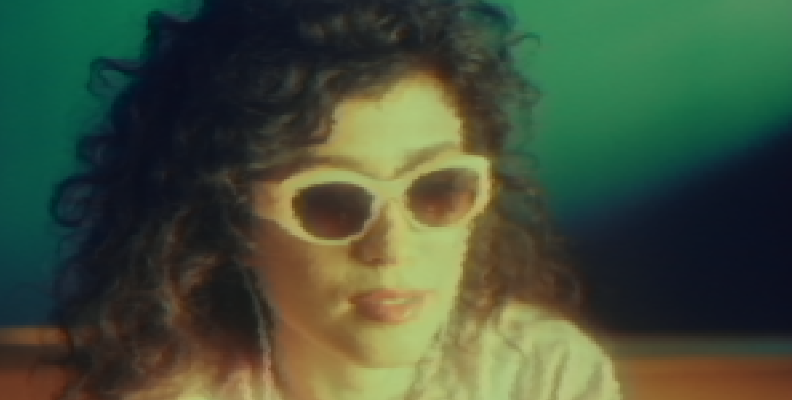
Here are the before and after results of using this effect:

Step 9: Saving Custom Presets
VHS Damage provides many options for creating an authentic VHS look, which you can save as customs presets to begin building your personal VHS effects template. Click the Save Preset button, type a name for your new preset in the dialog window, and click Save. The preset will be stored in the presets library.
Final Words
The Sapphire VHS Damage effect is an excellent way to give your video projects a retro look. Use it to craft engaging music videos, intimate vlogs, and outdated-looking short films with the nostalgic vibe of a VHS tape.
Start your free trial today and explore the vast works of Sapphire effects.
Good luck!